
Yogurt Tubes On-The-Go: A Quick and Nutritious Snack 🌟🍦🥳
1. Introduction
In a world where healthy snacking is essential, yogurt tubes stand out as a convenient and fun way to enjoy delicious flavors while on the move. These yogurt tubes are perfect for kids and adults alike, these delightful treats are packed with nutrition and easy to make at home. The convenience of yogurt tubes cannot be overstated. Whether you’re heading to school, embarking on a family picnic, or just need a quick snack at work, yogurt tubes are an exceptional choice. They’re also a great alternative to ice cream cups! In this guide, we’ll walk you through the steps to create your very own yogurt tubes on-the-go, ensuring you never have to compromise on taste or health! Looking for other quick snack ideas? Check out these delicious snack recipes.

2. Ingredients for Homemade Yogurt Tubes
To get started with your homemade yogurt tubes, here’s what you’ll need:
- 2 cups of plain Greek yogurt. Ensure it’s fresh for the best taste and texture.
- 1 cup of fresh fruits (berries, banana, or mango). Opt for ripe fruits for added sweetness.
- 2 tablespoons of honey or maple syrup (optional). Adjust the amount to your desired sweetness level.
- 1 teaspoon of vanilla extract (optional). Adds a delightful flavor boost to your yogurt tubes.
- Reusable or disposable squeeze pouches. Make sure they are food-grade and easy to seal.
3. Preparation Steps for Delicious Yogurt Tubes
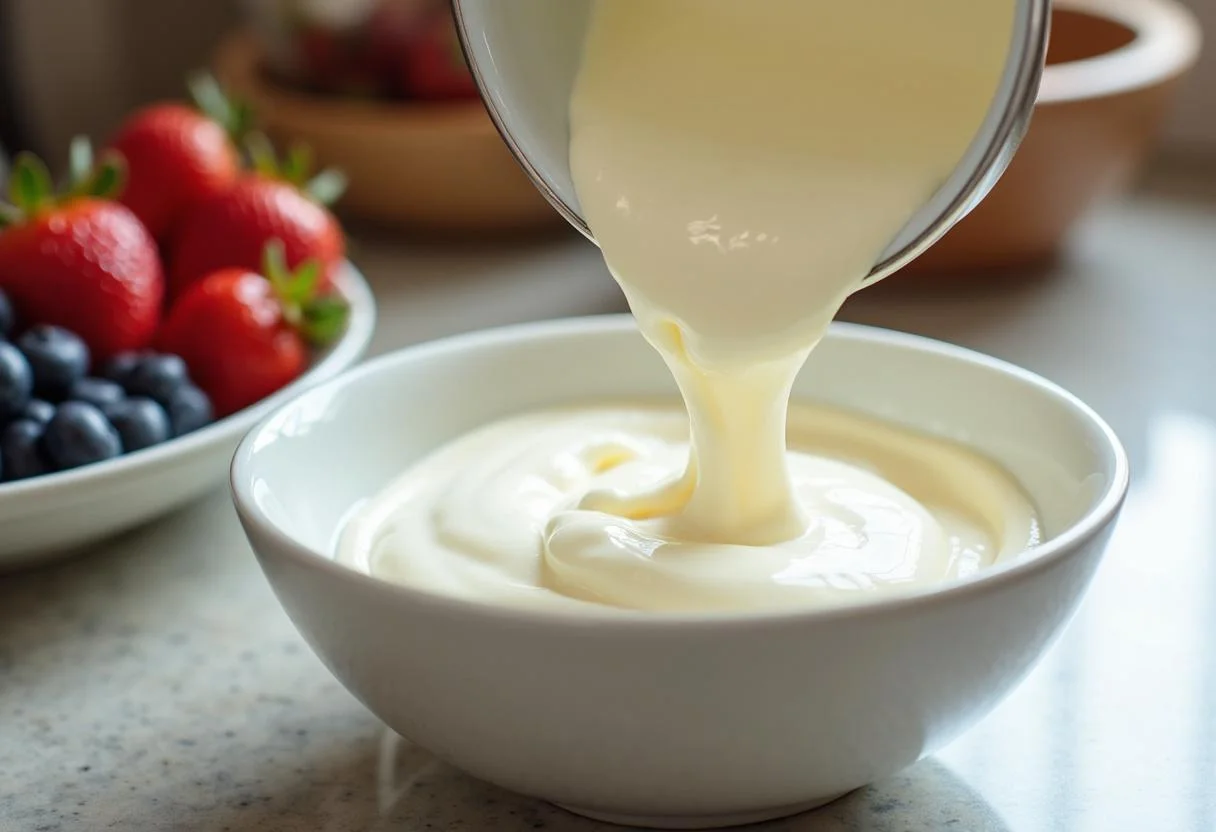
Step 1: Prepare the Ingredients
The first step in crafting your own refreshing yogurt tubes is preparing your ingredients. Choose fresh fruits that you enjoy, such as strawberries, blueberries, or bananas. Ensuring your fruits are properly washed is crucial. If you prefer a sweeter taste in your yogurt tubes, you may also need honey or maple syrup. Gather all your ingredients before beginning the blending process. Why not try some apple fritters while you’re at it? You can find a great recipe here.
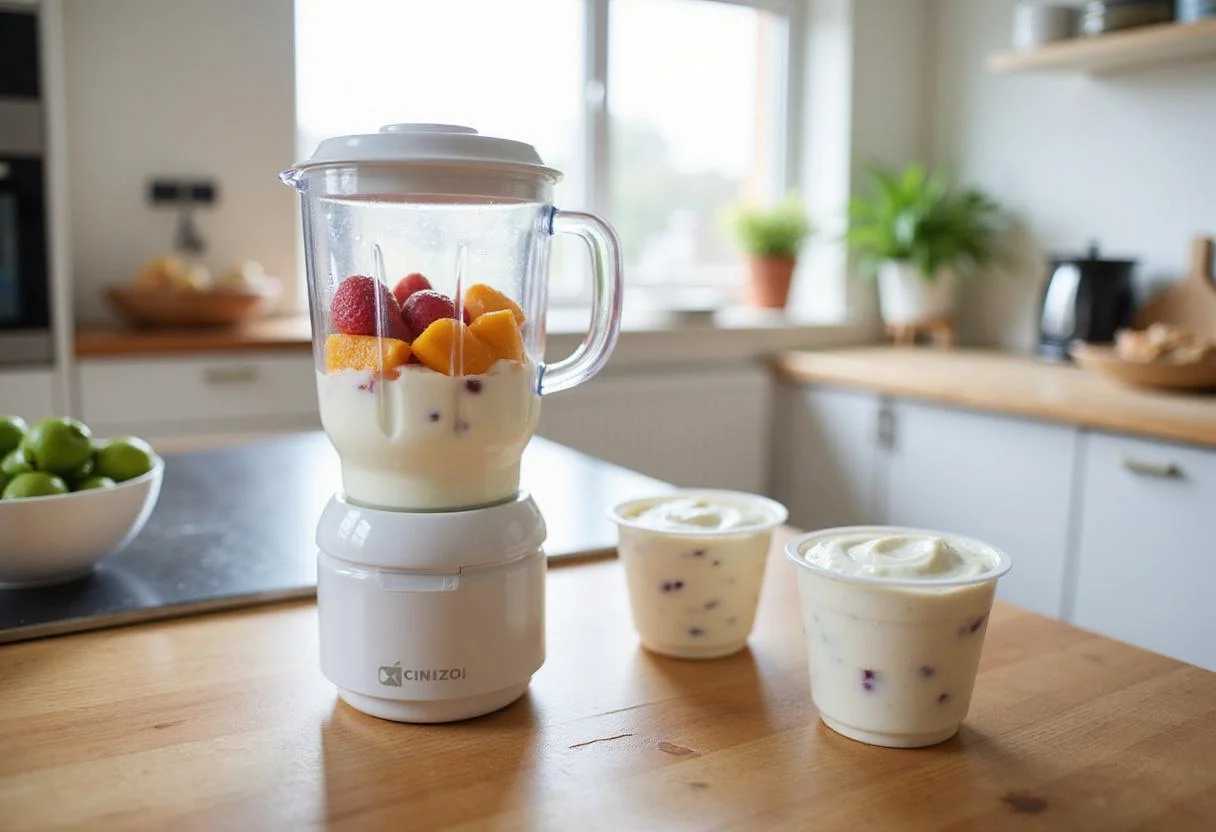
Step 2: Blend the Mixture for Perfect Yogurt Tubes
In a blender, combine the Greek yogurt with your chosen fruits. If you opted for honey and vanilla extract, add them as well. Blend until smooth, ensuring the mixture is well combined and creamy. Taste the mixture and adjust sweetness if needed. This step is where you can get creative with flavors by mixing different fruits together! Consider adding a touch of lemon or lime for a zesty twist to your yogurt tubes. For a unique flavor profile, you could also try adding a pinch of cinnamon or nutmeg. For another quick snack, try some nutritious Hawaiian roll delights here.
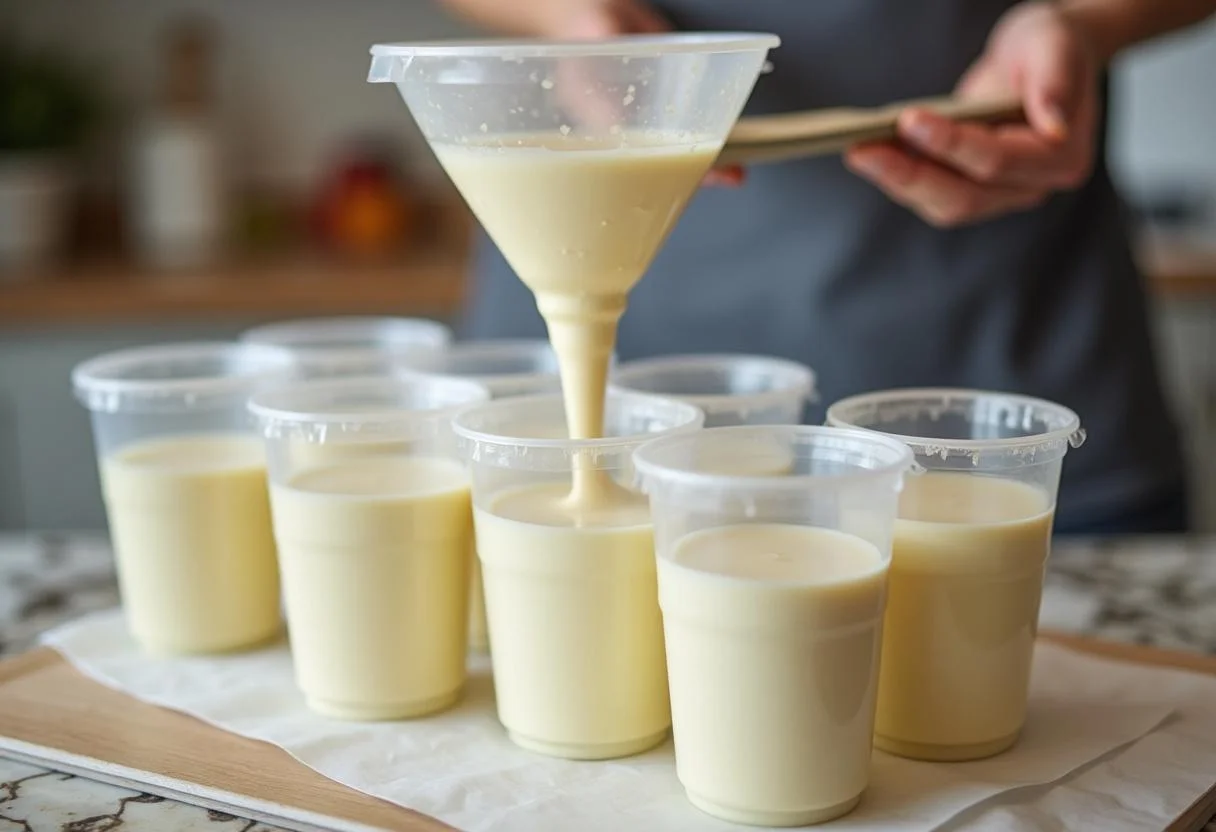
Step 3: Fill the Squeeze Pouches
Once your yogurt and fruit mixture is ready, it’s time to fill your squeeze pouches. Using a funnel can make this step a lot easier and less messy. Pour the mixture into the pouches, leaving some space at the top to ensure easy sealing. Ensure the pouches are clean and dry before filling to prevent any contamination. This is the fun part where you see your homemade yogurt tubes start to take shape! For mess-free filling, consider using a piping bag with a wide nozzle.
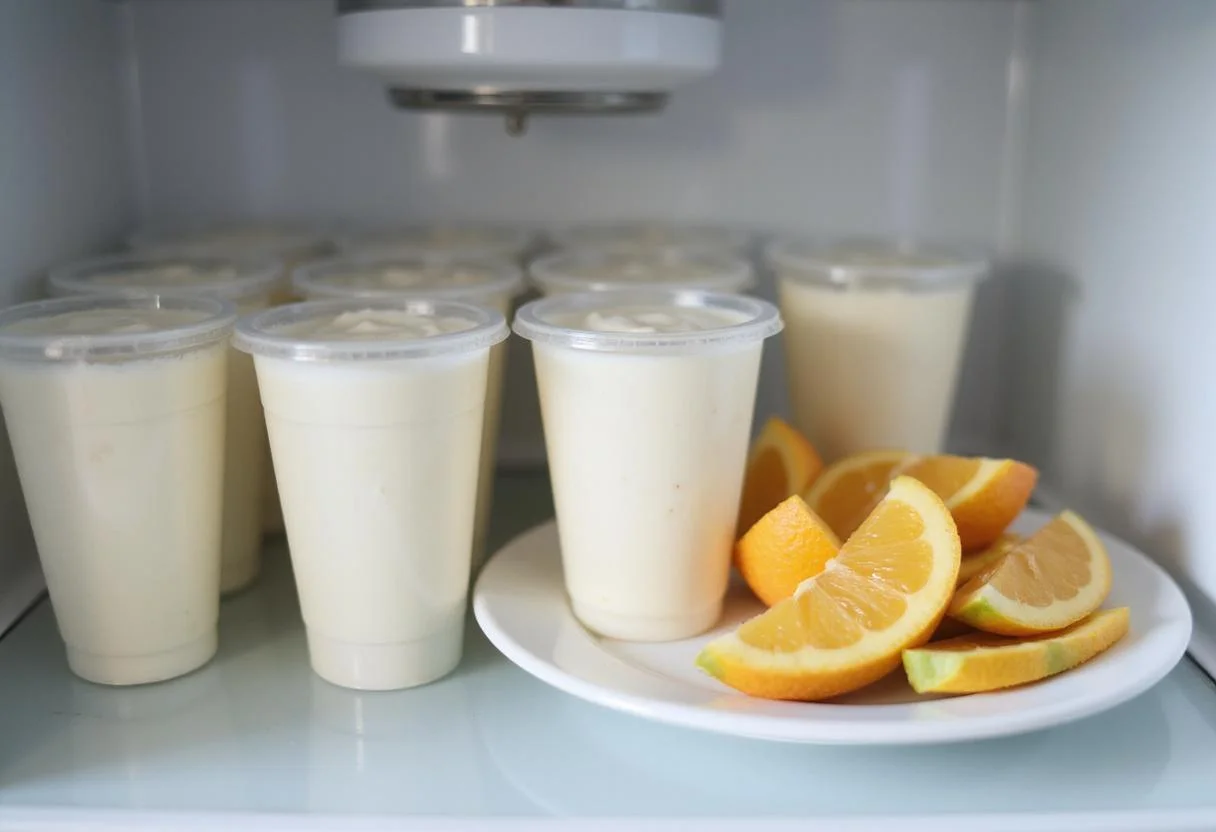
Step 4: Chill the Yogurt Tubes for the Perfect Snack
After filling your pouches, seal them securely and place them in the freezer or refrigerator. Allow them to chill for at least 2-3 hours before serving. For a frozen treat, freeze them completely. This step is crucial to achieve that refreshing taste when you’re ready to enjoy your homemade yogurt tubes! If refrigerating, ensure they are consumed within a few days. Consider making a large batch of sweet potato cracker snack here to enjoy with your yogurt tubes.
4. Serving Suggestions for Your Yogurt Tubes
These yogurt tubes can be enjoyed in various ways! Perfect for a quick snack during a busy day, they can also be packed in children’s lunchboxes or brought along on outings. Pair them with some granola or fruit for an extra crunch, or even use them as a smoothie ingredient by pouring the contents into a blender and adding a splash of juice! For a fun twist, try dipping them in chocolate before freezing. The possibilities are endless when it comes to enjoying these versatile yogurt tubes. Like a Miche bread loaf with some vanilla extract!
5. Storage Tips for Fresh Yogurt Tubes
Your yogurt tubes should be stored in the freezer to maintain freshness. They can stay good for about 2 months while frozen. When ready to eat, simply take them out of the freezer and let them thaw for a few minutes. To prevent freezer burn, ensure the pouches are tightly sealed. If kept in the refrigerator, consume them within a week to ensure they stay tasty! Always check for any signs of spoilage before consuming. If you enjoy homemade treats, you might also like our recipe for moist delicious zucchini bread.
6. Why Choose Homemade Yogurt Tubes?
Opting for homemade yogurt tubes means you have complete control over the ingredients, ensuring they are healthy, nutritious, and free from preservatives. Store-bought versions often contain added sugars and artificial flavors, so making your own is a much better choice. They are also a fun and interactive way to get kids involved in the kitchen, teaching them about healthy eating and cooking techniques! Plus, you can customize the flavors to suit your family’s preferences. For comparisons, consider brands like Yoplait Go-Gurt (external link) to see the difference in ingredients.
7. FAQs About Yogurt Tubes
What fruits can I use in yogurt tubes?
You can use a variety of fruits like strawberries, blueberries, bananas, peaches, or even mangoes. Feel free to mix and match to create your favorite combination! Experiment with different fruit purees for a smoother texture, or add small chunks for a bit of bite. Some less common but delicious options include raspberries, kiwi, and pineapple.
Can I make yogurt tubes without sugar?
Absolutely! You can leave out the honey or maple syrup and enjoy the natural sweetness of the fruits. This makes for a healthier option. You can also use natural sweeteners like stevia or monk fruit, but be sure to adjust the amount as needed. For a tangy twist, try a chili lime treat here.
How long do yogurt tubes last?
When frozen, yogurt tubes can last up to 2 months. If refrigerated, they should be consumed within a week for the best flavor and texture. Always label your pouches with the date of preparation to keep track of their freshness. If you’re looking for another easy dessert, try our recipe for perfect ice cream cups.
8. Nutritional Benefits of Yogurt Tubes
Yogurt tubes are packed with probiotics, protein, and calcium, making them a beneficial choice for your digestive health and bone strength. Probiotics support gut health, while protein aids in muscle building and satiety. Calcium is essential for strong bones and teeth. Adding fruits increases the vitamin content, providing antioxidants and natural sugars for energy! This combination makes yogurt tubes a well-rounded and nutritious snack option. Compare that to some pizza like BC St. Ignace pizza here
9. Conclusion
If you’re looking for a quick, fun, and healthy snack, look no further than these homemade yogurt tubes. Easy to prepare and customizable, you can enjoy them on-the-go wherever life takes you. Whether you prefer yours frozen or chilled, these yogurt tubes are sure to be a hit with the whole family. Don’t forget to get creative with your fruit selections and enjoy the delicious health benefits of this nutritious snack! Get started today and discover your favorite flavor combinations! You could even try Mountain Mike’s supreme pizza here or see similar recipes there.
Print
Yogurt Tubes On-The-Go
Yogurt Tubes On-The-Go are a quick, nutritious snack that combines the goodness of Greek yogurt with your favorite fruits. Perfect for kids and adults, they are easy to make and fun to eat, ensuring you can enjoy a healthy treat anywhere!
- Total Time: 3 hours 15 minutes
- Yield: 10 yogurt tubes 1x
Ingredients
- 2 cups of plain Greek yogurt
- 1 cup of fresh fruits (berries, banana, or mango)
- 2 tablespoons of honey or maple syrup (optional)
- 1 teaspoon of vanilla extract (optional)
- Reusable or disposable squeeze pouches
Instructions
- Prepare the ingredients by choosing fresh fruits and gathering all other items.
- Blend the Greek yogurt with the chosen fruits, honey, and vanilla until smooth.
- Fill the squeeze pouches with the yogurt mixture using a funnel.
- Seal the pouches and chill in the freezer or refrigerator for 2-3 hours before serving.
Notes
- Store yogurt tubes in the freezer for up to 2 months than thaw for a few minutes before eating.
- Use various fruits for different flavors and fun combinations.
- Consume refrigerated yogurt tubes within a week for optimal freshness.
- Prep Time: 15 minutes
- Cook Time: 0 minutes
- Category: Snack
- Method: Blending
- Cuisine: American
- Diet: Healthy, Kid-Friendly
Nutrition
- Serving Size: 1 yogurt tube
- Calories: 80 Kcal
- Sugar: 10g
- Sodium: 40mg
- Fat: 1g
- Saturated Fat: 0.5g
- Unsaturated Fat: 0.5g
- Trans Fat: 0g
- Carbohydrates: 16g
- Fiber: 1g
- Protein: 5g
- Cholesterol: 10mg