Perfect Sticky Japonica Rice Grains: A Delectable and Silky Delight 🍚✨
1. Introduction to the Wonders of Japonica Rice
If you’re on the hunt for a truly exceptional dish that complements a wide array of Asian-inspired culinary creations, your search ends with sticky japonica rice. This exquisite short-grain rice variety is celebrated for its subtly sweet undertones and notably sticky consistency, rendering it an ideal choice for sushi, comforting rice bowls, or as a versatile side dish. While mastering the art of cooking perfect japonica rice may initially seem daunting, our comprehensive, step-by-step guide ensures that you’ll effortlessly achieve flawlessly sticky grains with each and every attempt. Ready to embark on this culinary adventure? Let’s dive in and explore the secrets to cooking the perfect japonica rice! If you are looking for more recipe ideas, check out these recipes.
2. Essential Ingredients for Your Japonica Rice Success
- 2 cups high-quality japonica rice
- 2 ½ cups of fresh, filtered water
- A pinch of salt (optional, to taste)
3. Equipment Checklist for Perfect Japonica Rice
- A reliable rice cooker or a sturdy pot equipped with a well-fitting lid
- Accurate measuring cups to ensure precise ratios
- A colander for thorough rinsing of the rice
4. Step-by-Step Instructions: Mastering Sticky Japonica Rice Grains
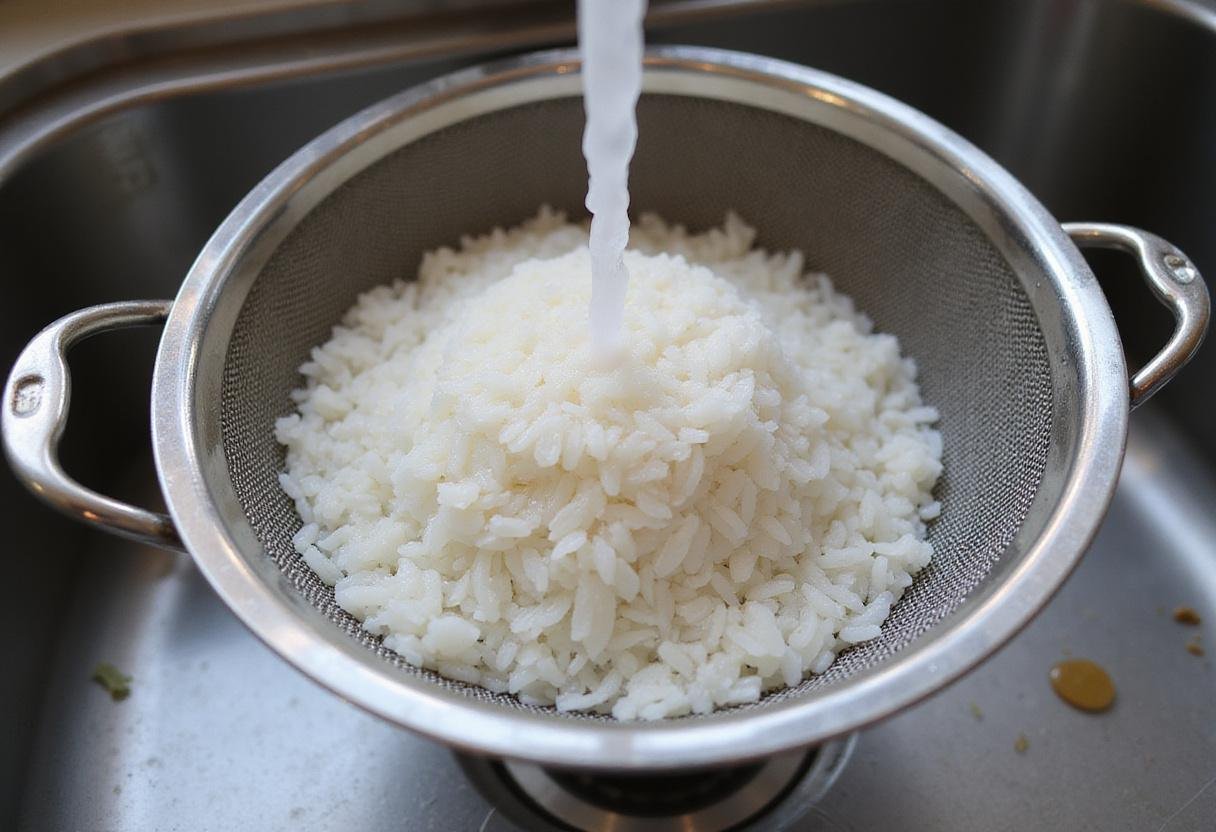
Step 1: Measure and Meticulously Rinse the Japonica Rice
Begin by accurately measuring out 2 cups of your chosen japonica rice. Introduce the uncooked rice into a spacious bowl and gently rinse it under a stream of cold, running water. This seemingly simple step is of utmost importance, as rinsing diligently aids in the removal of excess starch, preventing the rice from becoming gummy and ensuring the desired sticky consistency. Continue rinsing the japonica rice until the water runs clear, a visual cue that signifies optimal cooking conditions are set. While you are at it, check out these Baked Parmesan Zucchini Chips, easy to make and yummy!
Step 2: The Art of Soaking Japonica Rice
Post-rinsing, immerse the japonica rice in fresh, clean water for a duration of approximately 30 minutes to 1 hour. This crucial soaking period facilitates the absorption of water into the rice grains, promoting even cooking and enhancing the final texture. Adhering to this soaking step will contribute significantly to achieving the desired sticky consistency. Following the soaking phase, thoroughly drain the rice, preparing it for the next stage of the cooking process. For a complete meal, consider these dinner recipes.
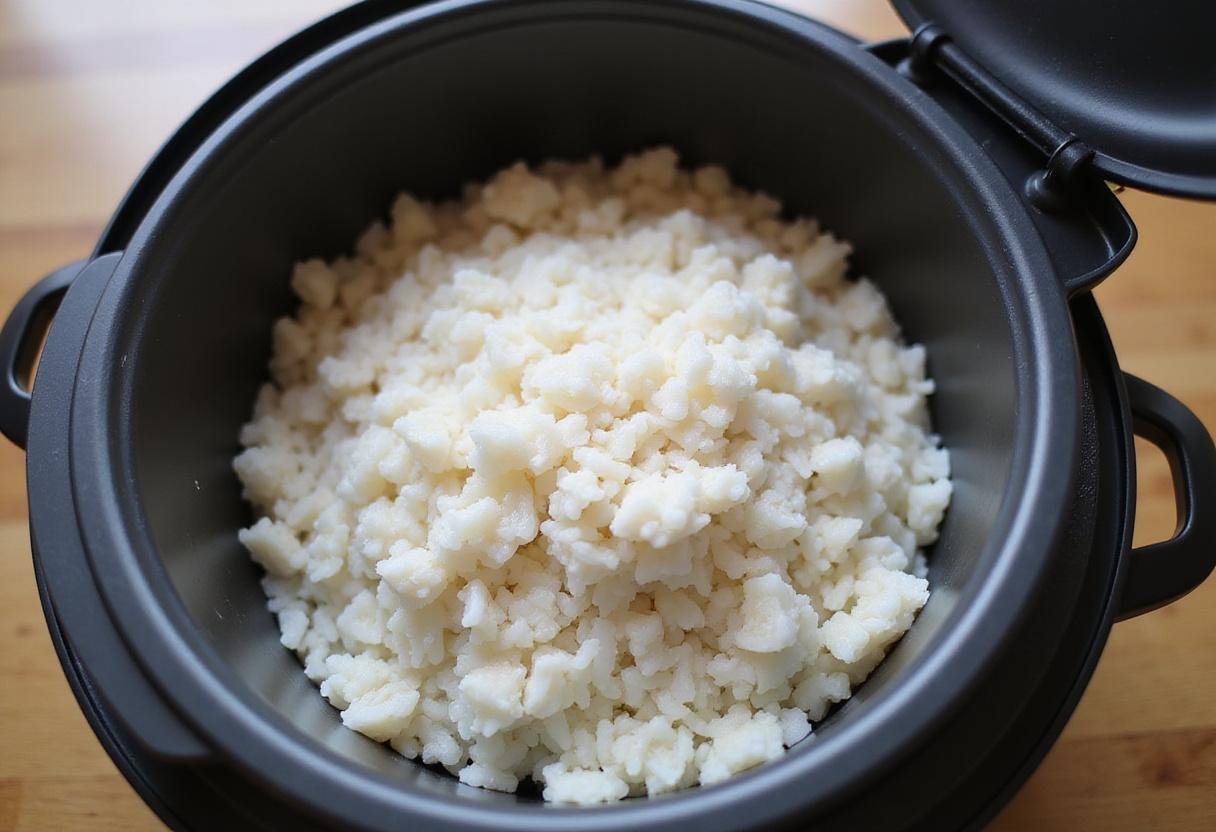
Step 3: Cooking the Sticky Japonica Rice to Perfection
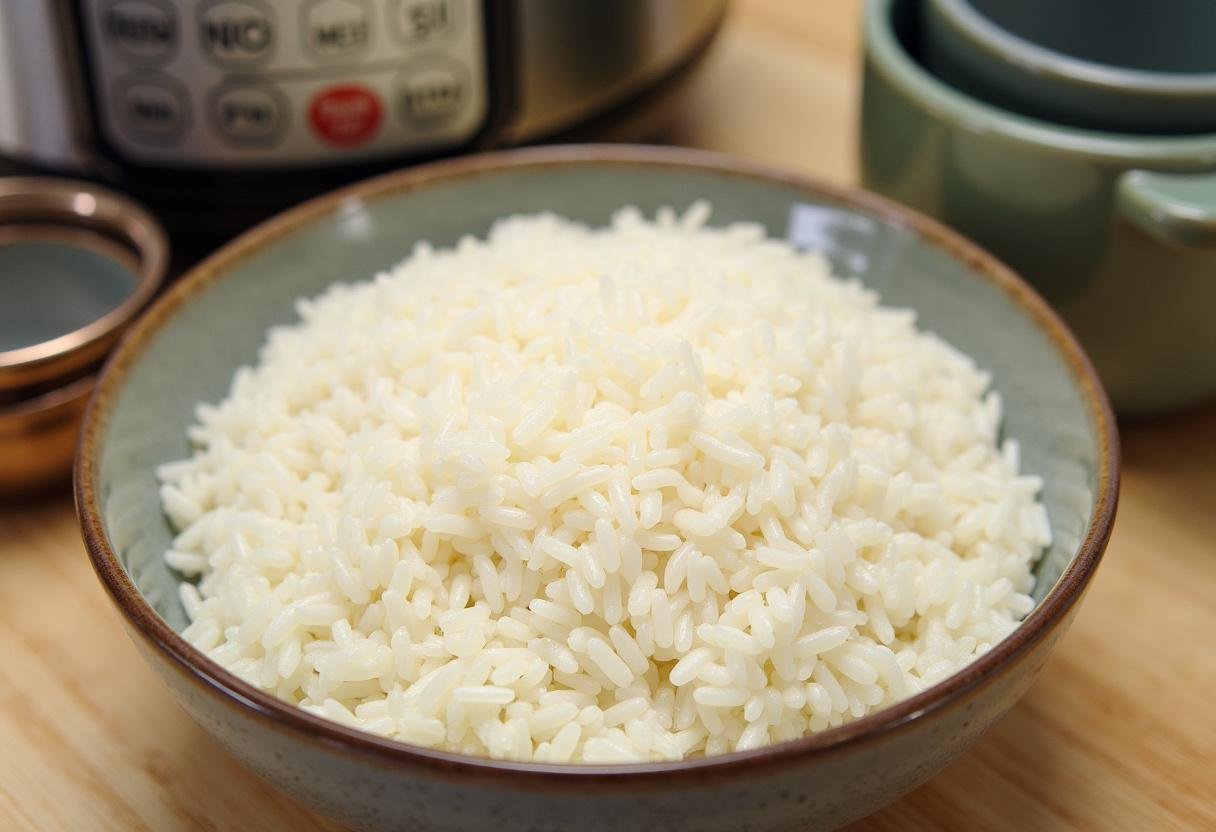
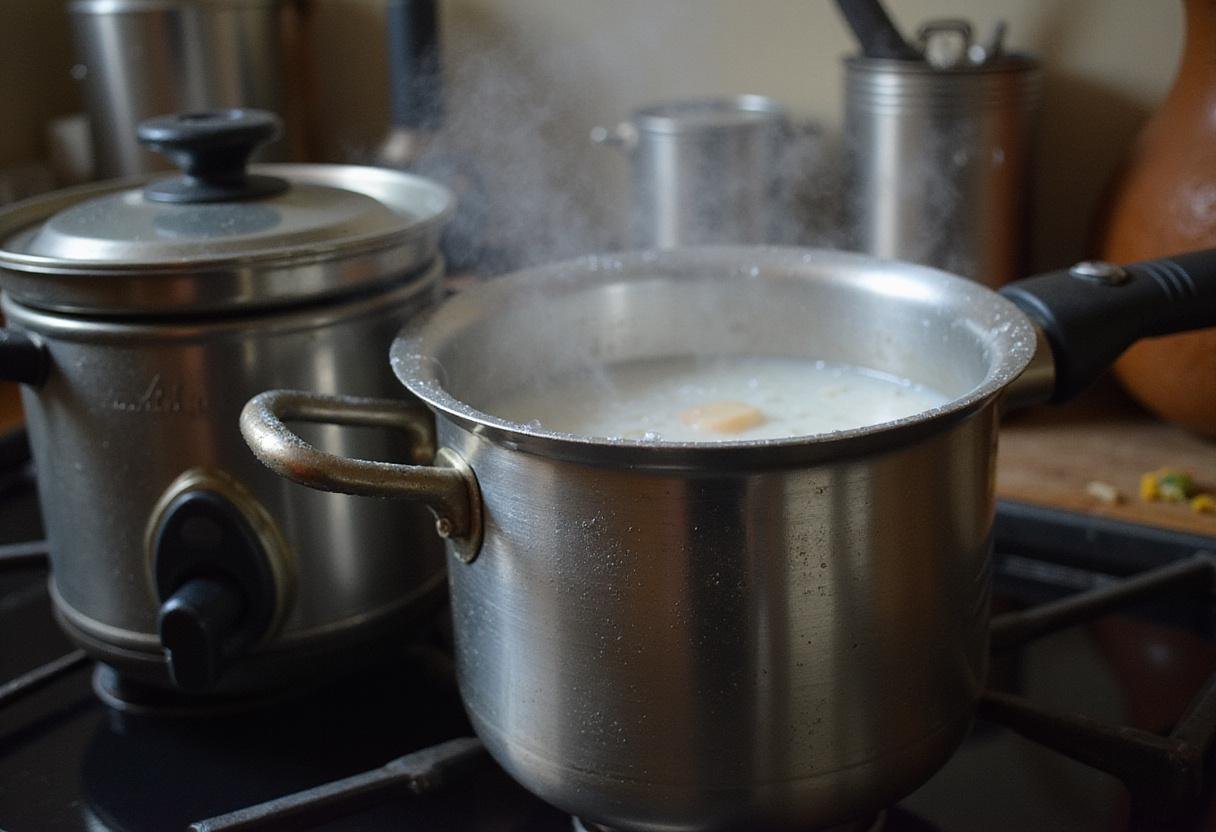
Transfer the drained japonica rice into your rice cooker or a suitable pot. Introduce 2 ½ cups of water and, if desired, a delicate pinch of salt to enhance the flavor profile. When utilizing a rice cooker, simply select the appropriate setting designated for white rice and allow the appliance to perform its magic. Alternatively, if employing a pot, bring the water to a vigorous boil, subsequently reduce the heat to a gentle simmer, securely cover the pot, and allow the rice to cook undisturbed for approximately 20 minutes. For a healthier option, try the diabetic-friendly slow cooker meals!
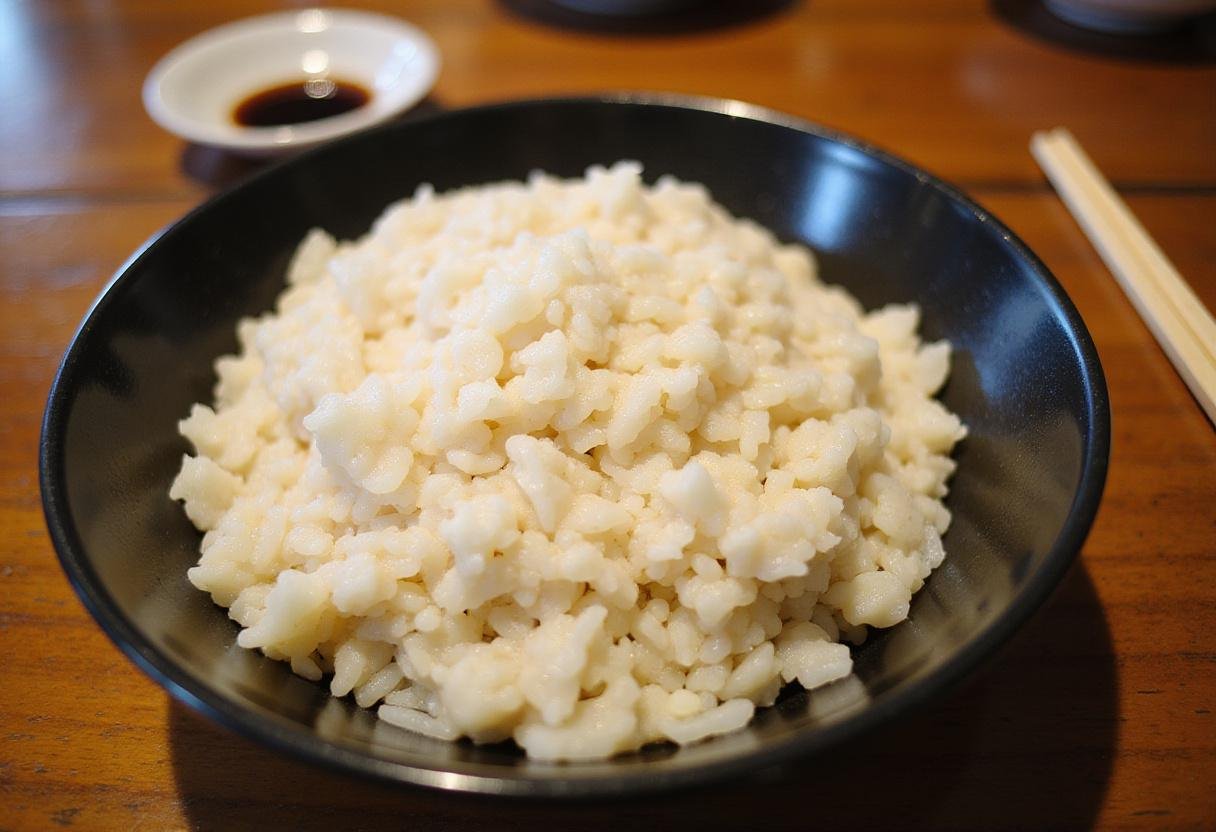
Properly cooked japonica rice should have a distinctly sticky consistency, making it ideal for various dishes. You can purchase japonica rice here.
Step 4: Fluff, Rest, and Delight in Your Sticky Japonica Rice
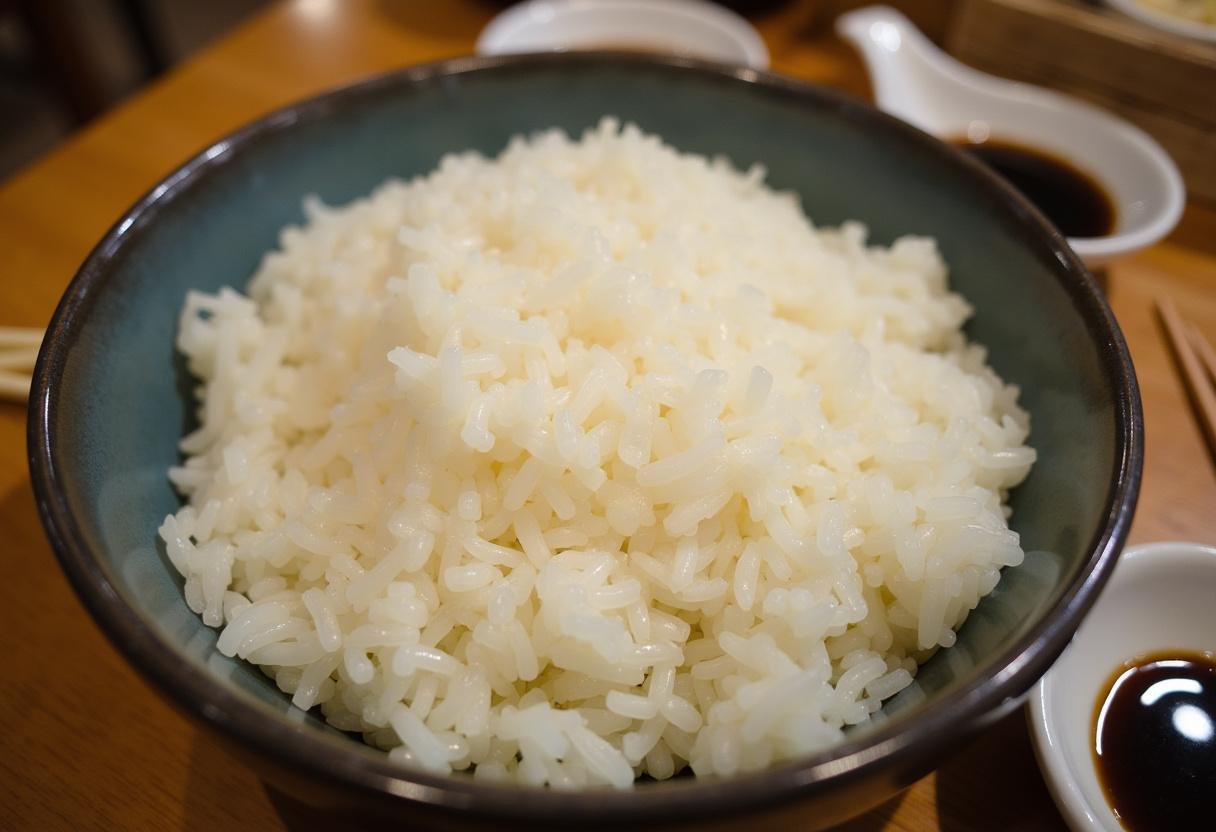
Upon completion of the designated cooking time, promptly turn off the heat source and allow the rice to rest, undisturbed, for a period of 10 minutes, refraining from lifting the lid. This resting phase is pivotal, as it enables the rice grains to solidify and attain the coveted sticky texture. Following the resting period, gently fluff the japonica rice with a rice paddle or a fork, ensuring each grain is separated and distinct. Finally, serve alongside your preferred dishes, savoring the delightful stickiness and subtle sweetness of your perfectly cooked rice. A great option for lunch is the lunch recipes that we have.
5. Storage Mastery: Preserving Your Sticky Japonica Rice Quality
To effectively preserve the quality of your leftover sticky japonica rice, transfer it to an airtight container and store it in the refrigerator for a maximum of 3 days. For reheating, introduce a small amount of water and microwave in short bursts until thoroughly warmed. For extended storage, consider freezing the rice for up to 3 months, ensuring it is properly thawed before reheating to maintain optimal taste and texture.
6. Serving Suggestions: Unleashing the Versatility of Sticky Japonica Rice
Sticky japonica rice boasts remarkable versatility, lending itself to a myriad of culinary applications. Use it as a foundation for delectable savory stir-fries, as a comforting accompaniment to a steaming bowl of miso soup, or as a complementary side dish alongside grilled meats or steamed vegetables. For an added layer of complexity, experiment with toppings such as sesame seeds, finely chopped scallions, or a delicate drizzle of soy sauce to elevate the overall flavor profile.
7. The Nutritional Riches of Japonica Rice
Japonica rice stands out as a gluten-free grain, abundant in carbohydrates and brimming with essential amino acids. Recognized as a superb source of energy, it’s frequently lauded for its potential digestive benefits. Incorporating japonica rice into your dietary regimen can play a significant role in fostering a well-rounded and healthful lifestyle, while simultaneously contributing favorable health attributes. Some people like to serve it with spicy grilled shrimp tacos!
8. FAQs About Cooking and Enjoying Japonica Rice
What exactly defines japonica rice?
Japonica rice is a distinctive short-grain rice celebrated for its characteristically sticky texture and subtle sweetness. It is a staple in Asian cuisines, particularly favored for its role in crafting sushi and various rice-based dishes.
How does one achieve the quintessential sticky texture when preparing japonica rice?
To attain the perfect sticky texture, it is essential to thoroughly rinse the rice to eliminate excess starch, soak it adequately prior to cooking, and rigorously adhere to the recommended water-to-rice ratio throughout the cooking process. These nuances make grilled halloumi salad a great meal!
Beyond sushi, can japonica rice be employed in other culinary creations?
Absolutely! Japonica rice is incredibly adaptable and can be seamlessly integrated into a diverse range of dishes, including flavorful rice bowls, vibrant stir-fries, and as an impeccable accompaniment to grilled or steamed fare. For your next BBQ, you can think about herb lemon grilled chicken!
9. Concluding Thoughts on the Art of Japonica Rice
Equipped with the knowledge to master the art of preparing sticky japonica rice, you are now poised to relish this delectable grain in a multitude of culinary experiences. With its distinctive texture, subtle sweetness, and inherent versatility, japonica rice is guaranteed to elevate your gastronomic adventures. Whether savored as a standalone delight or harmoniously paired with your most cherished dishes, this recipe promises to secure a prominent position in your culinary repertoire. Embark on your cooking journey and savor the delicious outcomes!
Print
Sticky Japonica Rice Grains
Sticky Japonica Rice Grains are a delectable and silky delight, perfect for pairing with various Asian cuisines. This short-grain rice boasts a slightly sweet flavor and is ideal for sushi, rice bowls, or as a side dish.
- Total Time: 35 minutes
- Yield: 4 servings 1x
Ingredients
- 2 cups japonica rice
- 2 ½ cups water
- Salt (to taste, optional)
Instructions
- Measure and rinse the japonica rice under cold running water until the water runs clear.
- Soak the rice in fresh water for about 30 minutes to 1 hour, then drain.
- Place the drained rice into a rice cooker or pot, add 2 ½ cups of water and optional salt, and cook according to your method.
- After cooking, let it sit for 10 minutes, fluff with a paddle or fork, and serve.
Notes
- Store leftovers in an airtight container in the fridge for up to 3 days.
- For longer storage, freeze the rice for up to 3 months.
- Experiment with toppings like sesame seeds or soy sauce for added flavor.
- Prep Time: 15 minutes
- Cook Time: 20 minutes
- Category: Side Dish
- Method: Cooking
- Cuisine: Asian
- Diet: Gluten-Free
Nutrition
- Serving Size: 1 cup
- Calories: 240 Kcal
- Sugar: 0.1g
- Sodium: 5mg
- Fat: 0.5g
- Saturated Fat: 0g
- Unsaturated Fat: 0.5g
- Trans Fat: 0g
- Carbohydrates: 53g
- Fiber: 1g
- Protein: 4g
- Cholesterol: 0mg