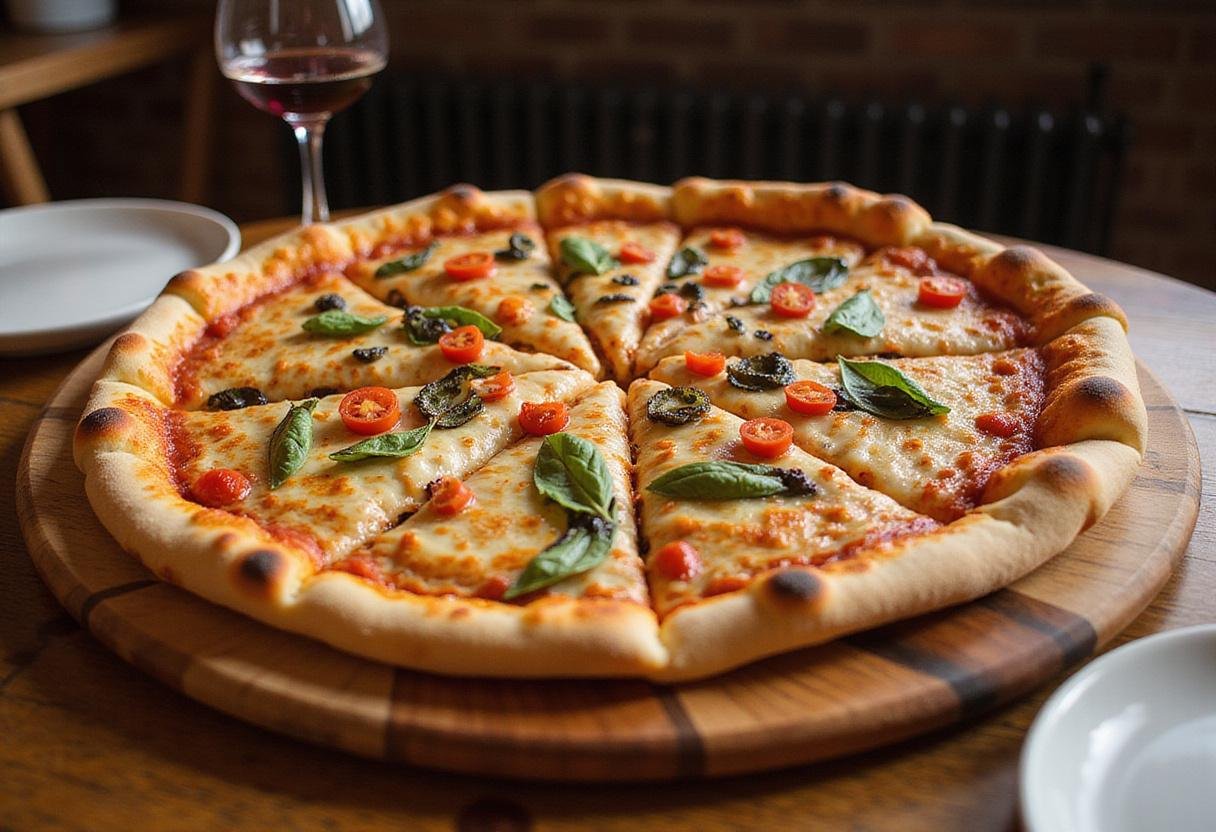
Quigs Pizza: The Ultimate Homemade Pizza Experience 🍕✨
1. Introduction to the Art of Quigs Pizza
If you’re on a culinary quest for the perfect pizza, a pizza that sings with flavor and boasts a satisfying texture, look no further than Quigs Pizza! This delightful recipe combines a crispy, golden crust, a vibrant medley of fresh, high-quality toppings, and an explosion of flavor that will transport you straight to pizza paradise. Every bite of Quigs Pizza is a celebration of taste and texture. Whether you’re planning a cozy family dinner, hosting a lively gathering of friends, or simply indulging in a well-deserved personal treat, this Quigs Pizza recipe is guaranteed to satisfy all your cravings. Making homemade pizza, especially Quigs Pizza, is an incredibly fun and rewarding experience! Get your apron on and let’s dive into the carefully selected ingredients and easy-to-follow, step-by-step instructions for crafting this pizza masterpiece. This is more than just a pizza; it’s an experience.

2. Gathering Your Ingredients for Quigs Pizza Perfection
The secret to an exceptional Quigs Pizza lies in the quality and freshness of the ingredients. Here’s what you’ll need:
- 2 cups all-purpose flour: The foundation of our crispy crust. Consider using bread flour for an even chewier texture.
- 1 packet (2¼ tsp) active dry yeast: The magic ingredient that gives our dough its lift and airy texture.
- ¾ cup warm water (110°F): The perfect temperature to activate the yeast and kickstart the dough-making process.
- 1 tsp salt: Enhances the flavors and controls the yeast activity.
- 1 tsp sugar: Provides a little food for the yeast and helps create a golden-brown crust.
- 1 tbsp olive oil: Adds richness and flavor to the dough, and helps create a crispy crust.
- 1 cup pizza sauce: Choose your favorite brand or make your own homemade sauce for an extra touch of love.
- 2 cups shredded mozzarella cheese: The classic pizza cheese, providing that melty, gooey goodness.
- Your choice of toppings: This is where you can get creative! Pepperoni, bell peppers, onions, olives, mushrooms, sausage – the possibilities are endless! Try some delicious beef sausage links!
For alternative options, explore something delicious such as a turkey tom sandwich feast or maybe start your day with some sweet fluffy pancake bread.
3. Step-by-Step Instructions: Crafting Your Quigs Pizza
Step 1: Preparing the Dough – The Foundation of Your Quigs Pizza
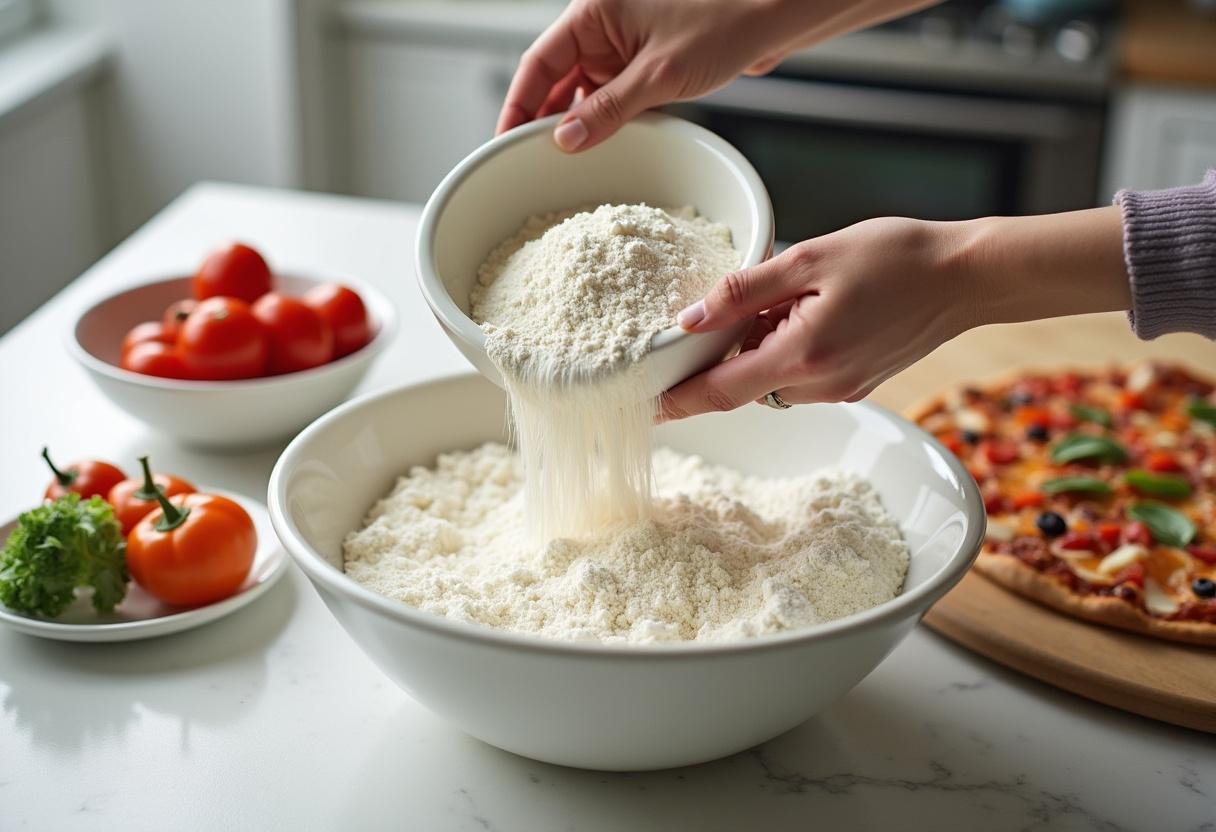
Start by sifting the flour into a large mixing bowl. This simple step helps aerate the flour, breaking up any lumps and ensuring a lighter, more tender pizza crust. A well-prepared dough is the cornerstone of a great Quigs Pizza.
Step 2: Activating the Yeast – Awakening the Magic Within Your Quigs Pizza Dough
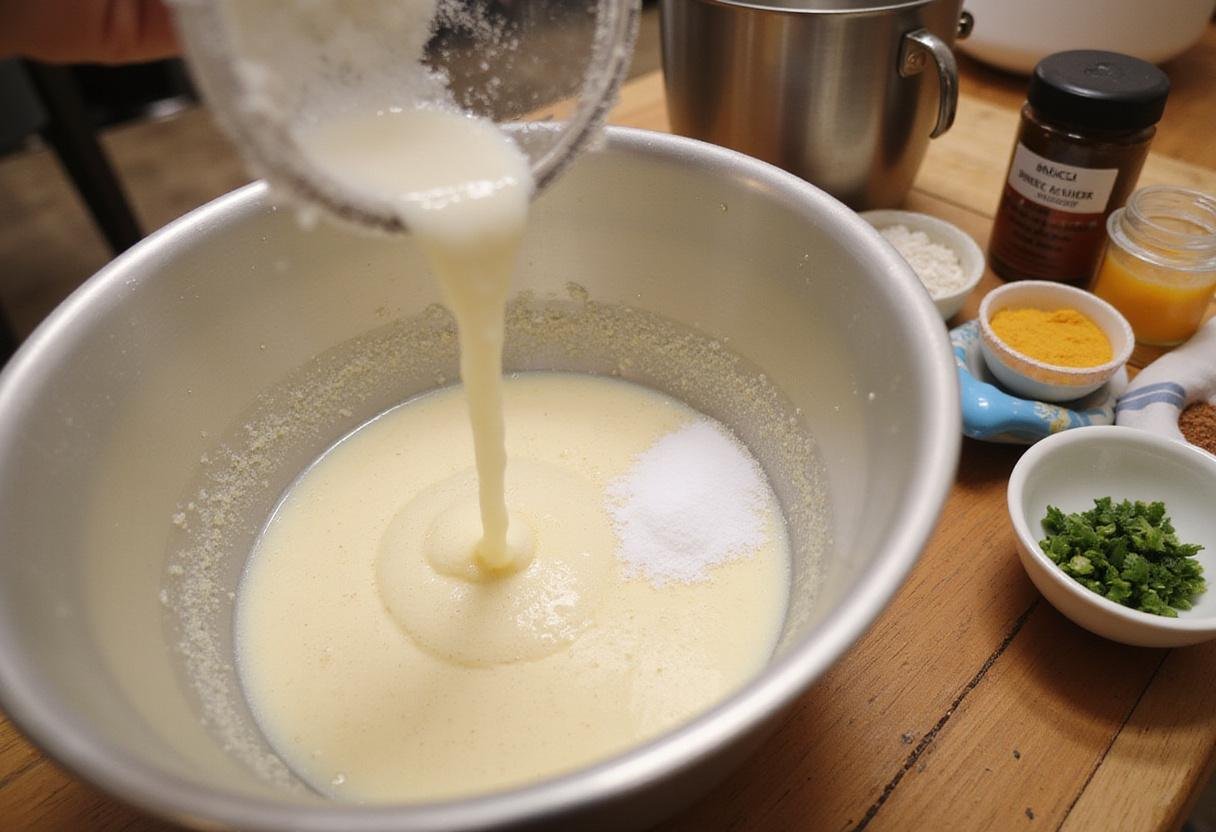
In a separate bowl, mix the warm water (make sure it’s not too hot, or it will kill the yeast!), yeast, and sugar. Give it a gentle stir and let it sit undisturbed for about 5-10 minutes, or until it becomes frothy and foamy. This step is absolutely crucial to ensure your Quigs Pizza has a delightful, airy, and perfectly risen crust. It’s the yeast that gives our pizza its signature texture.
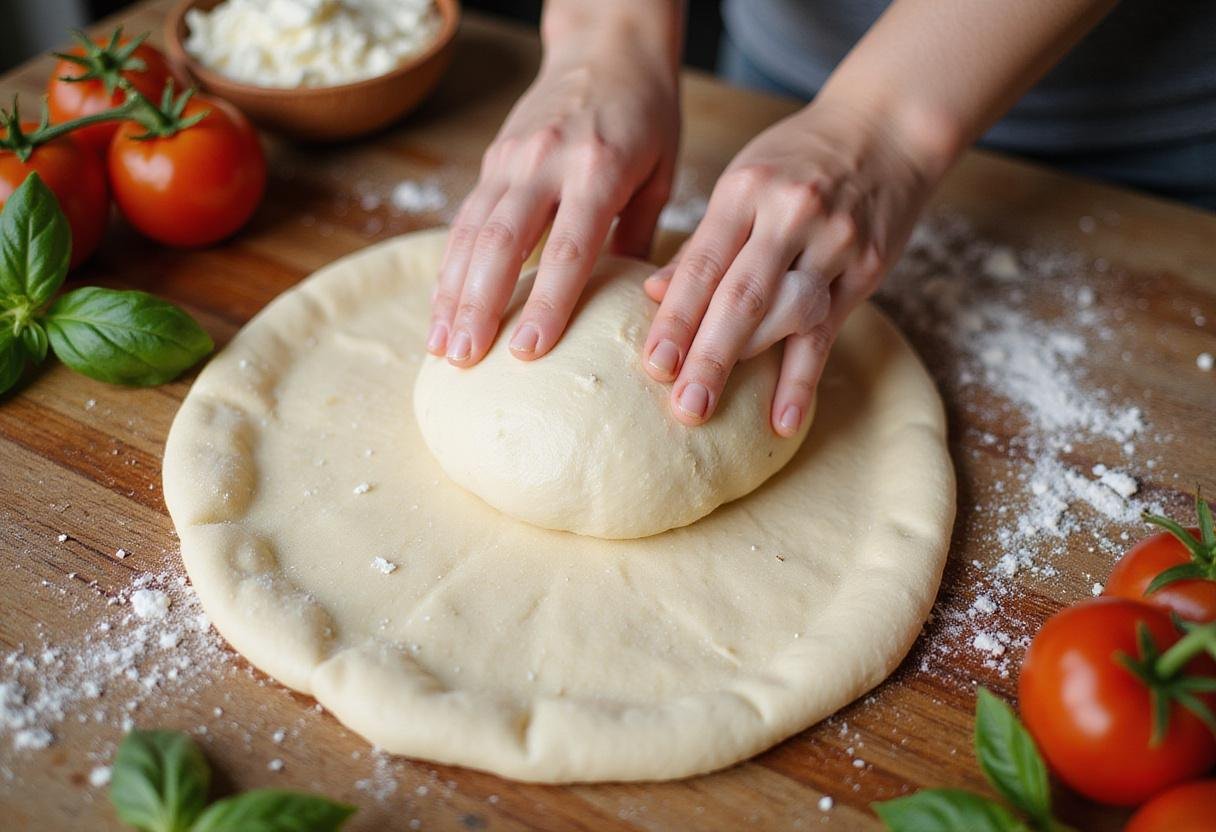
Step 3: Kneading the Dough – Developing the Perfect Texture for Your Quigs Pizza
Now it’s time to combine your sifted flour and activated yeast mixture. Pour the yeast mixture into the bowl with the flour and mix until a shaggy dough begins to form. Then, turn the dough out onto a lightly floured surface and knead it vigorously for about 5-7 minutes, or until it becomes smooth, elastic, and slightly tacky to the touch. This step is fundamental for the final texture of your Quigs Pizza dough – the more you knead, the better the gluten development, resulting in a chewier, more satisfying crust. Consider trying other recipes such as Reser’s potato salad when you knead your pizza dough.
Step 4: Baking Your Quigs Pizza to Golden Perfection
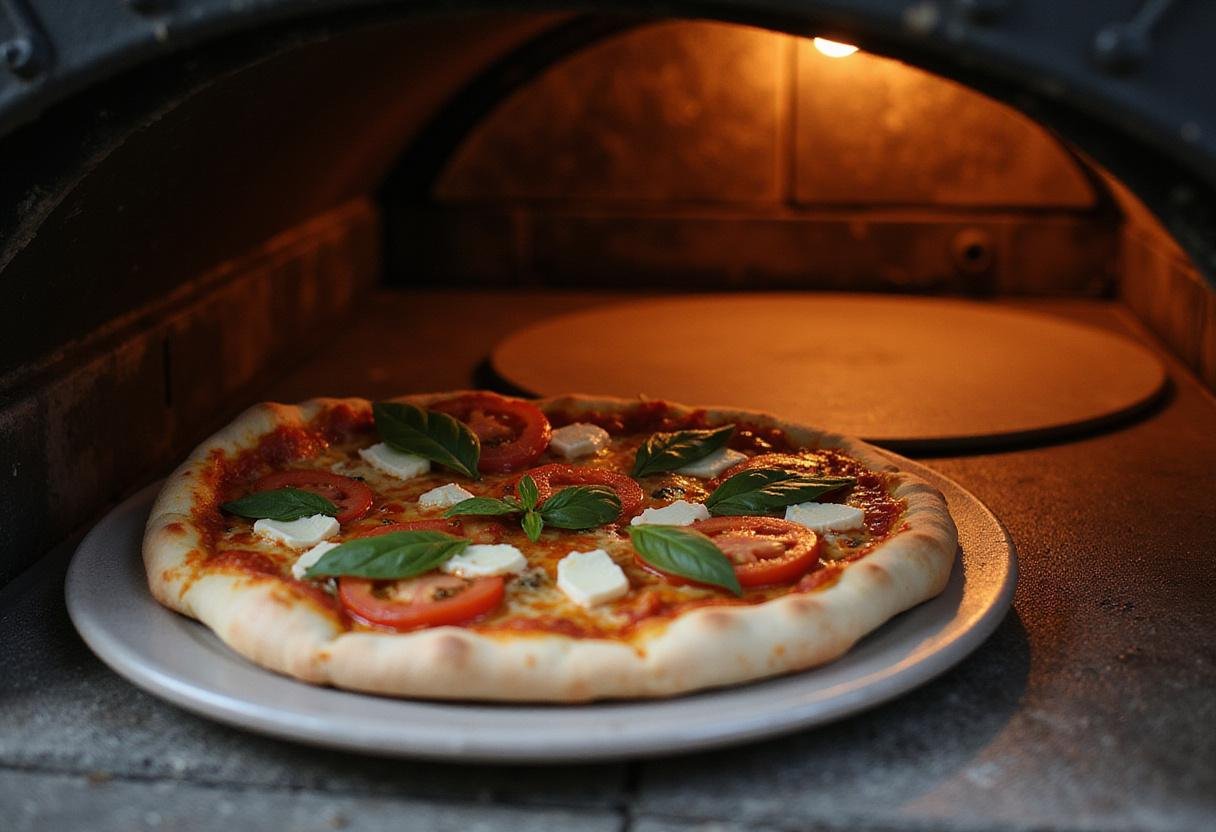
Preheat your oven to a scorching 475°F (245°C). This high temperature is crucial for achieving a crispy, restaurant-quality crust. While the oven is preheating, roll out your pizza dough to your desired thickness – whether you prefer a thin and crispy crust or a thicker, more substantial one. Carefully transfer the rolled-out dough onto a pizza stone or a baking sheet lined with parchment paper. Spread your favorite pizza sauce evenly over the dough, leaving a small border for the crust. Sprinkle generously with shredded mozzarella cheese, and then artfully arrange your chosen toppings. Bake for about 12-15 minutes, or until the crust is beautifully golden brown and crispy, and the cheese is melted and bubbly. This is the moment when your Quigs Pizza truly comes to life! If you’re looking for a different dinner idea, you might enjoy Chicken Chesapeake as well. You can also bake some puffy golden sopapillas fiesta for dessert.
4. Storage Tips for Your Delicious Quigs Pizza
If you happen to have any leftovers (which is highly unlikely!), store your Quigs Pizza in an airtight container in the refrigerator for up to 3 days. To reheat, simply place the slices in a preheated oven at 350°F (175°C) for about 10 minutes, or until heated through and the crust regains its crispy texture. You can also reheat it in a skillet for a crispier bottom crust.
5. Serving Suggestions: Enhancing Your Quigs Pizza Experience
Slice your homemade Quigs Pizza into generous wedges and serve it with a variety of complementary sides. Garlic bread, a fresh garden salad with a light vinaigrette, or even some spicy chicken wings can elevate your pizza night. Pair it with a cold, refreshing drink, such as soda, iced tea, or homemade lemonade, for the ultimate Quigs Pizza experience! To try a different kind of meat, you may consider a turkey gizzard recipe with your homemade pizza.
6. Frequently Asked Questions About Quigs Pizza
What makes Quigs Pizza different and special compared to regular pizza recipes?
Quigs Pizza distinguishes itself through its unique combination of carefully selected, high-quality toppings and a homemade crust that boasts a delightful texture – crispy on the outside, and soft on the inside. The perfect balance of flavors, the freshness of the ingredients, and the love that goes into making it truly set it apart, making it a memorable culinary experience.
Can I freeze Quigs Pizza for future enjoyment?
Absolutely! You can freeze uncooked Quigs Pizza dough, or even fully assembled but unbaked pizzas. For best results, wrap the pizza or dough tightly in plastic wrap, followed by a layer of aluminum foil. Frozen pizza can last for up to 2 months in the freezer. When you’re ready to bake, simply bake it directly from the freezer; there’s no need to thaw! Add a few extra minutes of baking time to ensure it’s heated through and the crust is perfectly crispy. Also, you can enjoy some round divine chocolate orbs while you wait for your pizza to bake!
What are some delicious variations I can try with my Quigs Pizza?
The possibilities are endless! Get creative with your toppings! Try adding grilled vegetables like zucchini and eggplant, crumbled feta cheese, pesto sauce instead of tomato sauce, or even a sprinkle of chili flakes for a spicy kick. Don’t be afraid to experiment and find your favorite flavor combinations. If you love sushi, you might enjoy exploring Love’s Premium Sushi Menu for more culinary inspiration!
7. Conclusion: Embracing the Joy of Homemade Quigs Pizza
In conclusion, crafting Quigs Pizza is not just about making any ordinary homemade pizza; it’s about creating a delicious, customizable, and unforgettable meal that everyone, from picky eaters to seasoned foodies, will absolutely adore. With its easily accessible ingredients, straightforward steps, and the freedom to personalize it with your favorite toppings, making Quigs Pizza can easily become (and should become!) a cherished tradition in your household. So, gather your ingredients, preheat your oven, and get ready to impress your family and friends with your newfound pizza-making skills! If you enjoyed making Quigs Pizza, check out our other delicious dinner recipes!
8. Enjoy Your Quigs Pizza and Share the Love!
Gather your loved ones around the table, share laughter and stories, and savor the delightful flavors of your homemade Quigs Pizza, crafted with love and your own two hands. Happy cooking, and bon appétit!
Print
Quigs Pizza
Quigs Pizza offers the ultimate homemade pizza experience with a crispy crust, fresh toppings, and delicious flavor. Perfect for family dinners or personal treats, making this pizza is fun and rewarding!
- Total Time: 30 minutes
- Yield: 8 slices 1x
Ingredients
- 2 cups all-purpose flour
- 1 packet (2¼ tsp) active dry yeast
- ¾ cup warm water (110°F)
- 1 tsp salt
- 1 tsp sugar
- 1 tbsp olive oil
- 1 cup pizza sauce
- 2 cups shredded mozzarella cheese
- Your choice of toppings (pepperoni, bell peppers, onions, olives, etc.)
Instructions
- Start by sifting the flour into a large mixing bowl.
- In a separate bowl, mix the warm water, yeast, and sugar. Let sit for 5-10 minutes until frothy.
- Combine the flour with the activated yeast mixture and knead for 5-7 minutes until smooth and elastic.
- Preheat the oven to 475°F (245°C). Roll out the dough, spread the sauce, sprinkle cheese, and add toppings. Bake for 12-15 minutes until golden and crispy.
Notes
- Store leftovers in an airtight container in the fridge for up to 3 days.
- To reheat, warm in the oven at 350°F (175°C) for about 10 minutes.
- You can freeze the pizza before baking for up to 2 months.
- Prep Time: 15 minutes
- Cook Time: 15 minutes
- Category: Dinner
- Method: Baking
- Cuisine: Italian
- Diet: Vegetarian
Nutrition
- Serving Size: 1 slice
- Calories: 250 Kcal
- Sugar: 2g
- Sodium: 400mg
- Fat: 10g
- Saturated Fat: 3g
- Unsaturated Fat: 5g
- Trans Fat: 0g
- Carbohydrates: 30g
- Fiber: 2g
- Protein: 10g
- Cholesterol: 15mg
[url=https://vc.ru/services/1948413-1s-fresh-oblachnaya-buhgalteriya]Бухгалтерия по цене двух чашек кофе: за кого нас держат?[/url]
https://t.me/s/Flagmanoficial