
Puffy Paint Edible Recipe: Unleash Your Inner Artist with a Whimsical, Tasty Treat! 🎨🍰✨
1. Introduction: Discover the Magic of Edible Puffy Paint
Welcome to a world where art meets dessert! This delightful puffy paint recipe will turn your kitchen into a canvas of creativity. Perfect for family fun, birthday parties, or just a rainy day activity, this recipe transforms simple ingredients into vibrant, edible paint that’s perfect for decorating cookies, cakes, and more. As families increasingly seek engaging and educational activities, this puffy paint recipe offers the perfect blend of creativity and culinary skills. Forget about messy, non-edible paints – let’s dive into a tasty and safe artistic adventure! If you’re looking for another fun treat, why not try our Sweet Fluffy Pancake Bread?
2. Ingredients: What You’ll Need for Your Edible Masterpiece
To create your own whimsical edible puffy paint, you’ll need the following simple ingredients. Look for some snack ideas while gathering your ingredients!
- 1 cup all-purpose flour: Provides the structure for your puffy paint.
- 1/2 cup water: Binds the ingredients together.
- 1 cup granulated sugar: Adds sweetness and helps create the puffy texture.
- 1/2 teaspoon baking powder: Essential for the “puffy” effect when heated.
- Food coloring (various colors): Gel food coloring is recommended for vibrant hues.
- Cookies or cakes for painting: Sugar cookies or frosted cakes work best.
- Optional: Edible Glitter for extra sparkle and fun! For another delicious treat check our Chicken Chesapeake dish.
3. Step-by-Step Instructions: Creating Your Edible Art
Step 1: Mixing the Base – The Foundation of Your Puffy Paint
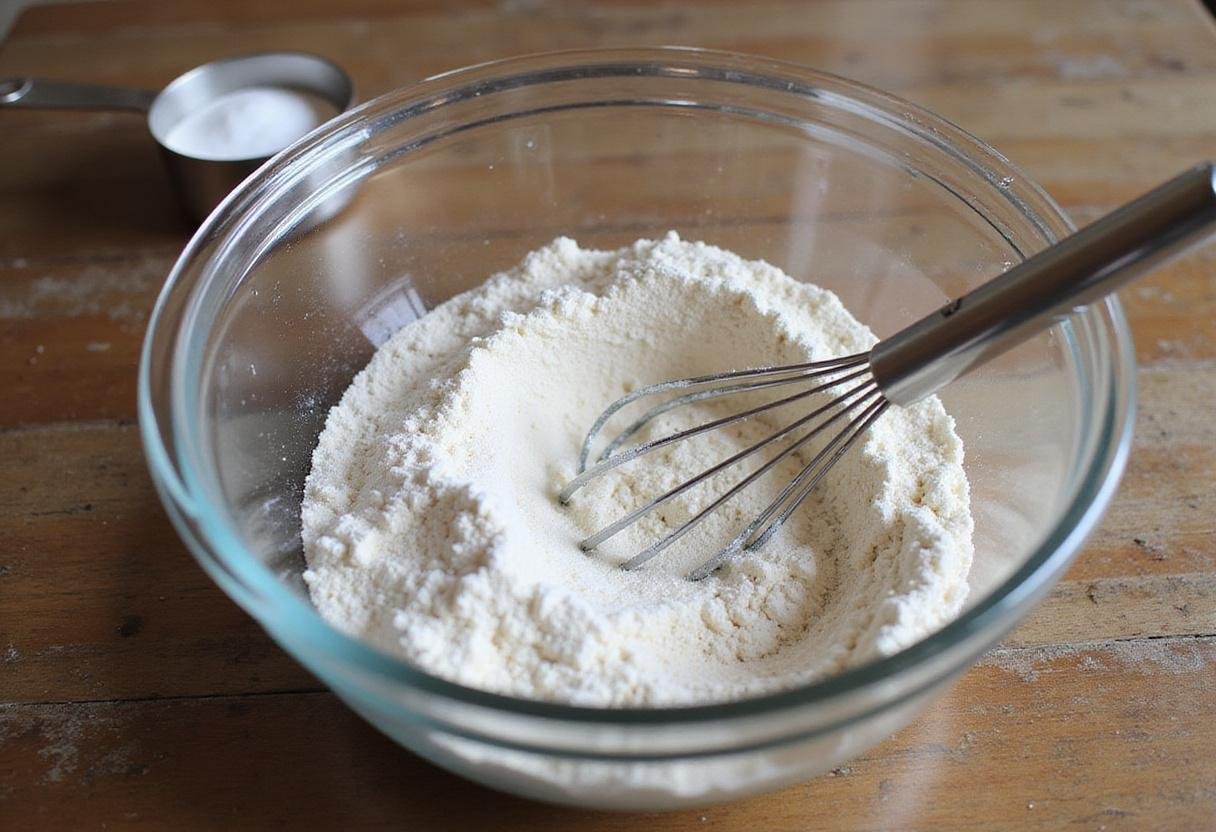
Begin by combining 1 cup of flour, 1 cup of sugar, and 1/2 teaspoon of baking powder in a mixing bowl. Whisk these dry ingredients together to ensure they are well combined. Slowly stir in 1/2 cup of water until the mixture reaches a smooth, thick, and slightly sticky consistency. This base is crucial; it will provide the fluffy texture that makes your puffy paint recipe so special. Make sure there are no lumps for the best results. If you’re feeling extra creative, consider adding a pinch of Xanthan Gum for a smoother texture!
Step 2: Adding Color – Rainbows at Your Fingertips
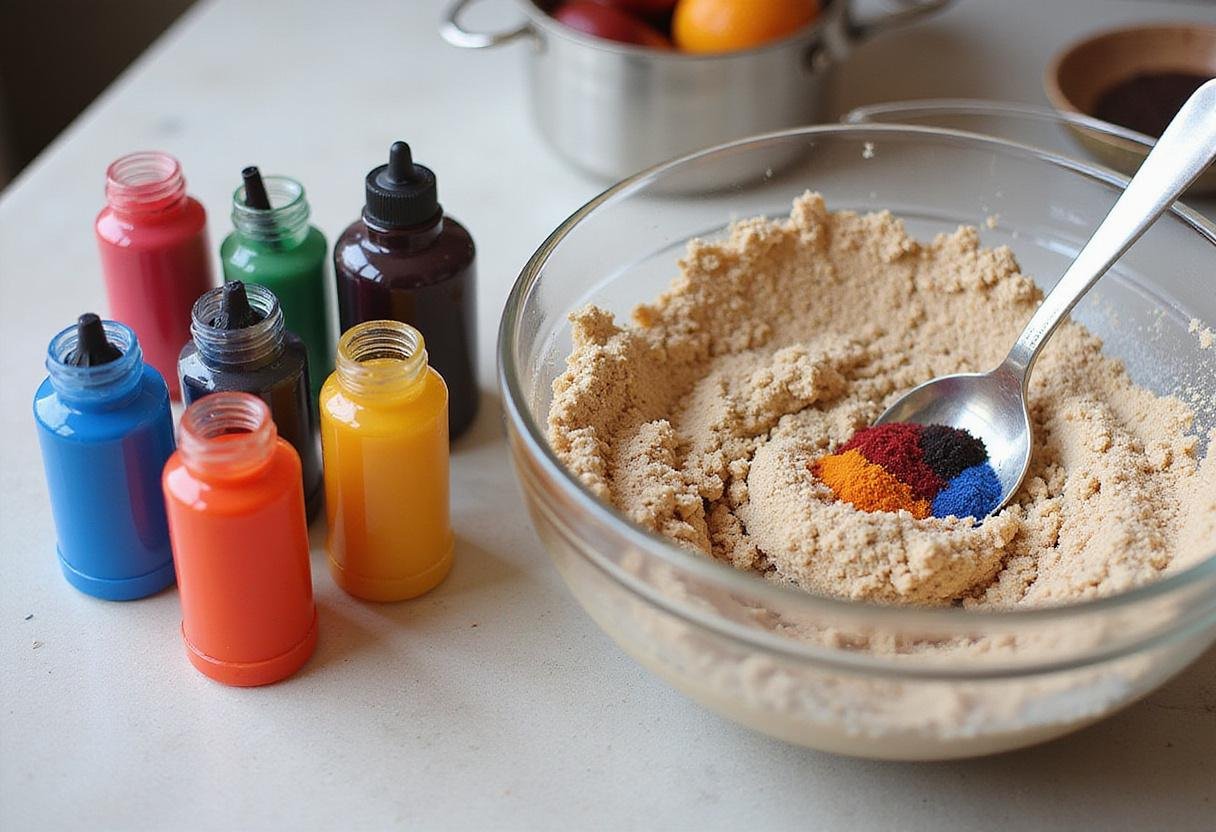
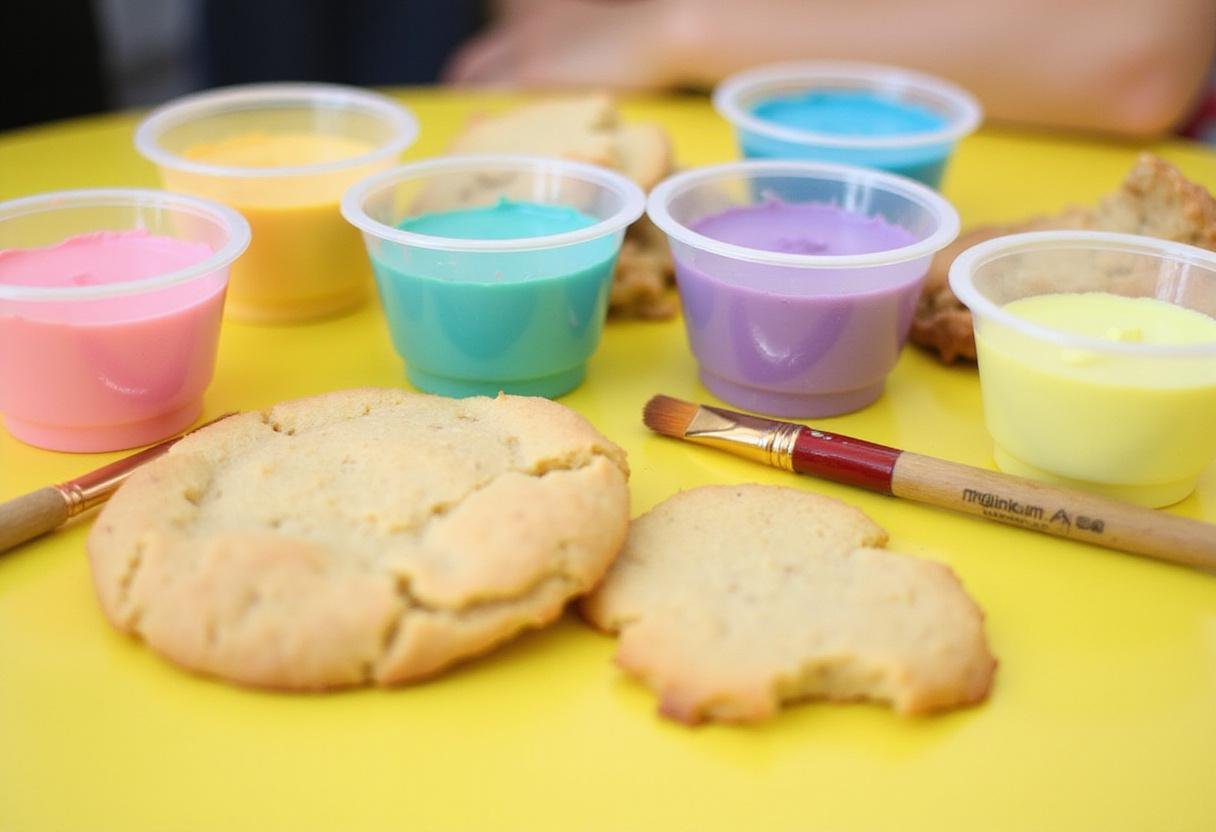
Once your base is ready, divide the mixture into smaller bowls. The number of bowls will depend on how many colors you want to create. Add different food colors to each bowl – gel food coloring works best for vibrant shades. Mix thoroughly to achieve the desired intensity for your edible painting. Remember, a little food coloring goes a long way! The more colors you create, the more exciting and versatile your art session becomes. Consider pastel shades for a softer look, or neon colors for a bold impact. If you’re looking for inspiration, maybe pairing this with our Round Divine Chocolate Orbs will help!
Step 3: Preparing for Painting – Unleash Your Inner Artist
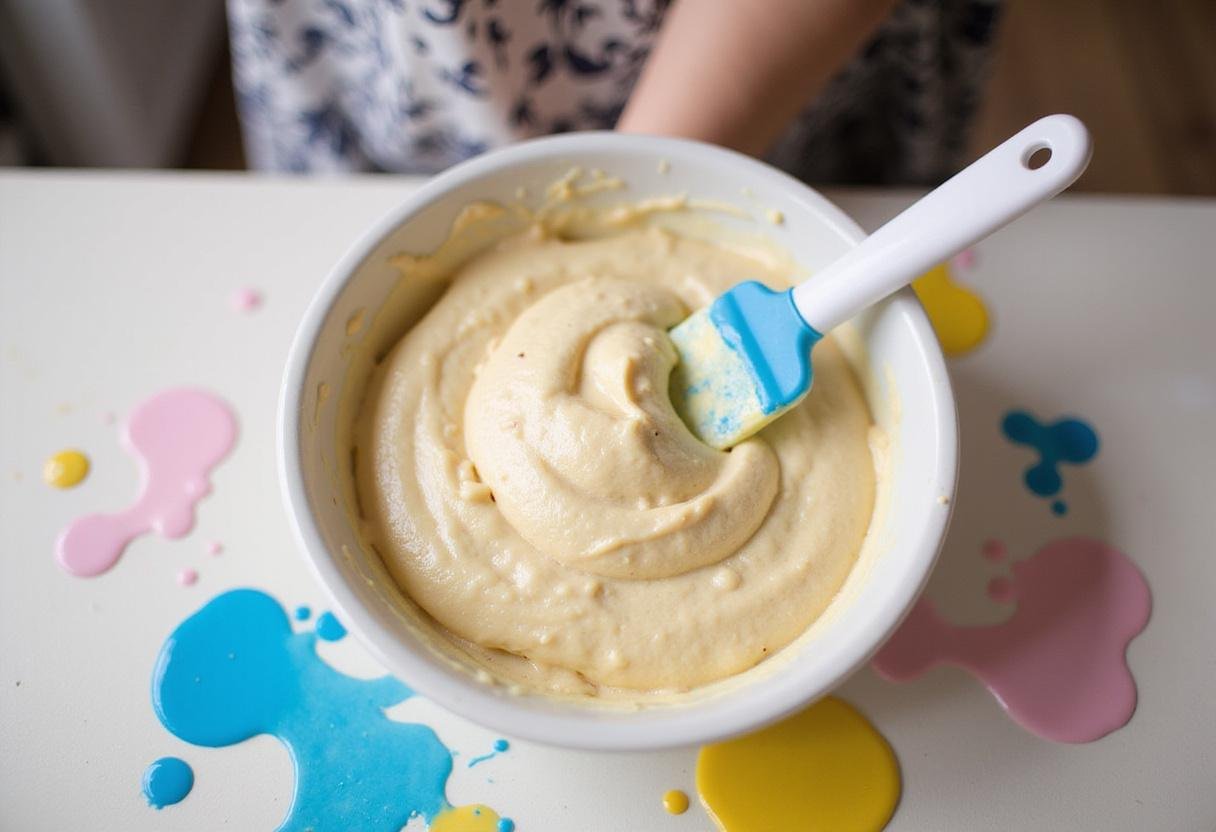
Now it’s time to get creative! Prepare some cookies or cakes (sugar cookies work particularly well) to paint on. You can also use crackers or even pieces of bread for a savory twist. Dip a paintbrush, use a squeeze bottle, or even a toothpick to apply the colorful fluffy paint to your treats. Squeeze bottles are great for creating detailed designs, while paintbrushes allow for broader strokes. Encourage everyone to express their artistic side as they transform simple desserts into edible masterpieces! For more snack ideas, check out this Beef Sausage Links recipe. Don’t be afraid to experiment with different techniques such as stenciling or freehand drawing.
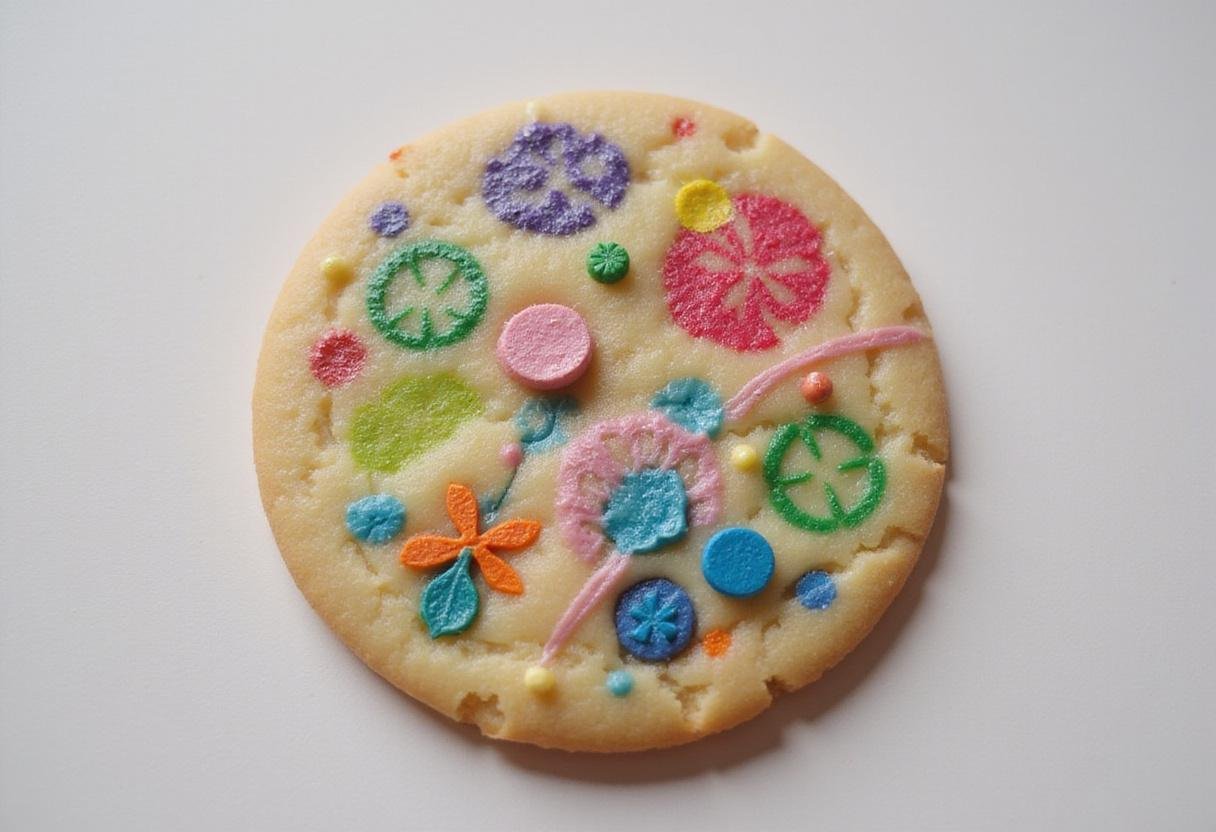
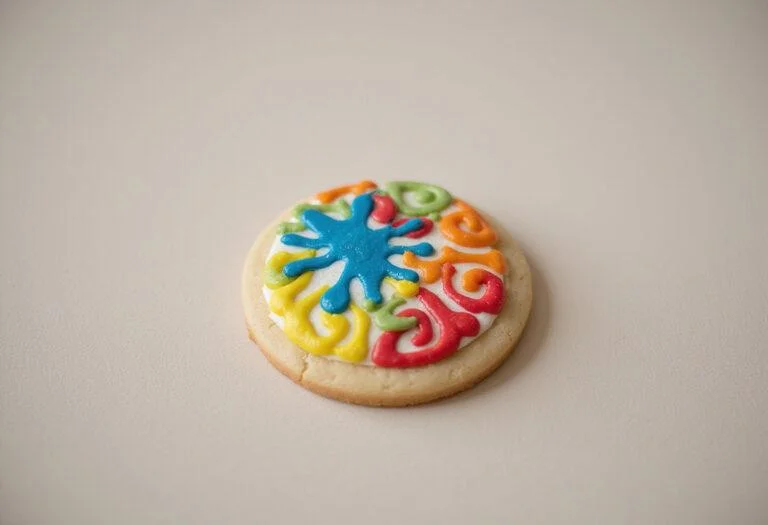
Step 4: Displaying Your Edible Art – A Feast for the Eyes and Taste Buds
Once your edible art is complete, display your beautifully decorated cookies proudly! These creations can also be used at parties, school events, or as a fun activity for kids – and remember, they are completely safe and delicious! Let the painted treats air dry for a few minutes to set the puffy paint slightly before serving. You can also lightly bake them in a preheated oven at 300°F (150°C) for 5-7 minutes to set the paint and give it a slightly hardened puffy texture. Get more creative inspiration with our recipe for Puffy Golden Sopapillas Fiesta!
4. Storage Tips: Keeping Your Puffy Paint Fresh
If you have leftover puffy paint recipe mixture, store it in an airtight container in the refrigerator for up to a week. Before using it again, mix it well to restore its fluffiness. You might need to add a few drops of water to achieve the original consistency. For the best results, consume your decorated treats within a few days to enjoy their freshness! Note that the puffy paint may lose some of its “puff” over time, but it will still be delicious. Another great recipe to try out is our Turkey Tom Sandwich Feast.
5. Serving Suggestions: Creative Ways to Enjoy Your Edible Art
Serve your puffy paint recipe cookies at birthday parties, school events, or family gatherings. Arrange them on a platter for an eye-catching display. Pair them with fun dips like chocolate sauce or whipped cream for an exciting dessert experience. Encourage guests to make their own art by providing additional ingredients or cookies to decorate! Consider setting up a decorating station with various toppings like sprinkles, edible glitter, and candies. This can be a fun and interactive activity for any event. Explore other tasty and creative snack ideas on this external site: learn how to make edible cool whip paint.
6. FAQs: Your Questions Answered!
Can I use other types of flour for this puffy paint recipe?
Yes! You can use alternative flours like almond flour or gluten-free flour, but the texture might vary slightly. Almond flour will give a slightly nutty flavor, while gluten-free flour blends may produce a less “puffy” result. Experiment to find what works best for your taste and dietary needs.
Is the puffy paint safe for all ages?
Absolutely! This puffy paint recipe uses edible ingredients, making it safe for children and adults alike. However, always supervise young children to prevent overconsumption of sugar.
What desserts can I use this puffy paint on?
You can use this edible paint on cookies, cakes, cupcakes, and even pancakes for a fun breakfast twist! Get creative and try it on rice cakes, waffles, or even fruit slices for a healthier option. The possibilities are endless! Also, have you tried our Reser’s Potato Salad?
7. Tips for Success: Mastering Your Puffy Paint
For best results, ensure your ingredients are fresh. Fresh baking powder is essential for achieving the desired “puff.” Don’t be afraid to experiment with different colors and designs. Get inspired by seasonal themes or favorite characters to make unique creations that everyone will love! Use gel food coloring for the most vibrant and concentrated colors. Also, If you’re a person that loves turkey, make sure to check our Turkey Gizzard recipe.
8. Related Recipes: Explore More Creative Culinary Adventures
- Edible Glitter for Festive Fun: Add sparkle to any treat!
- Homemade Cookie Decorating Icing: Perfect for detailed designs.
- Whipped Cream Art for Desserts: A light and airy alternative to puffy paint.
9. Conclusion: Unleash Your Creativity with Edible Puffy Paint!
The puffy paint recipe is not only a delightful way to engage in creative activities but also brings joy through edible art! It’s a fantastic way to spend quality time with family and friends, fostering creativity and making lasting memories. Whether you’re hosting a gathering or simply looking to add a touch of whimsy to your day, this fun recipe guarantees a colorful and tasty experience. Get ready to indulge in your culinary creations and savor the happiness they bring! So grab your ingredients, unleash your inner artist, and get ready to create some edible masterpieces with this amazing puffy paint recipe! Print
Puffy Paint Edible Recipe
Transform your baking into a fun art project with this delightful Puffy Paint Edible Recipe! Perfect for decorating cookies and cakes, this easy-to-follow recipe utilizes simple ingredients to create edible puffy paint that is safe and tasty for all ages. Enjoy an educational experience that combines creativity and culinary skills with your family.
- Total Time: 10 minutes
- Yield: Serves 6
Ingredients
- 1 cup flour
- 1/2 cup water
- 1 cup sugar
- 1/2 teaspoon baking powder
- Food coloring (various colors)
- Cookies or cakes for painting
Instructions
- In a mixing bowl, combine 1 cup of flour, 1 cup of sugar, and 1/2 teaspoon of baking powder.
- Slowly stir in 1/2 cup of water until the mixture reaches a smooth, thick consistency.
- Divide the mixture into smaller bowls and add food coloring to each, mixing thoroughly for vibrant shades.
- Prepare cookies or cakes, then use a paintbrush or squeeze bottle to apply the colorful puffy paint.
- Display your beautifully decorated treats and enjoy eating your edible art!
Notes
- Store leftover puffy paint in an airtight container in the refrigerator for up to a week.
- Mix well before reuse to restore fluffiness.
- For best results, consume decorated treats within a few days.
- Prep Time: 10 minutes
- Cook Time: 0 minutes
- Category: Dessert
- Method: Mixing and Decorating
- Cuisine: American
- Diet: Vegetarian
Nutrition
- Serving Size: 1 decorated cookie
- Calories: 150 Kcal
- Sugar: 25g
- Sodium: 10mg
- Fat: 0g
- Saturated Fat: 0g
- Unsaturated Fat: 0g
- Trans Fat: 0g
- Carbohydrates: 35g
- Fiber: 1g
- Protein: 1g
- Cholesterol: 0mg