Large Quart of Ice Cream: A Dreamy Delight for Every Occasion 🍦✨
1. Introduction
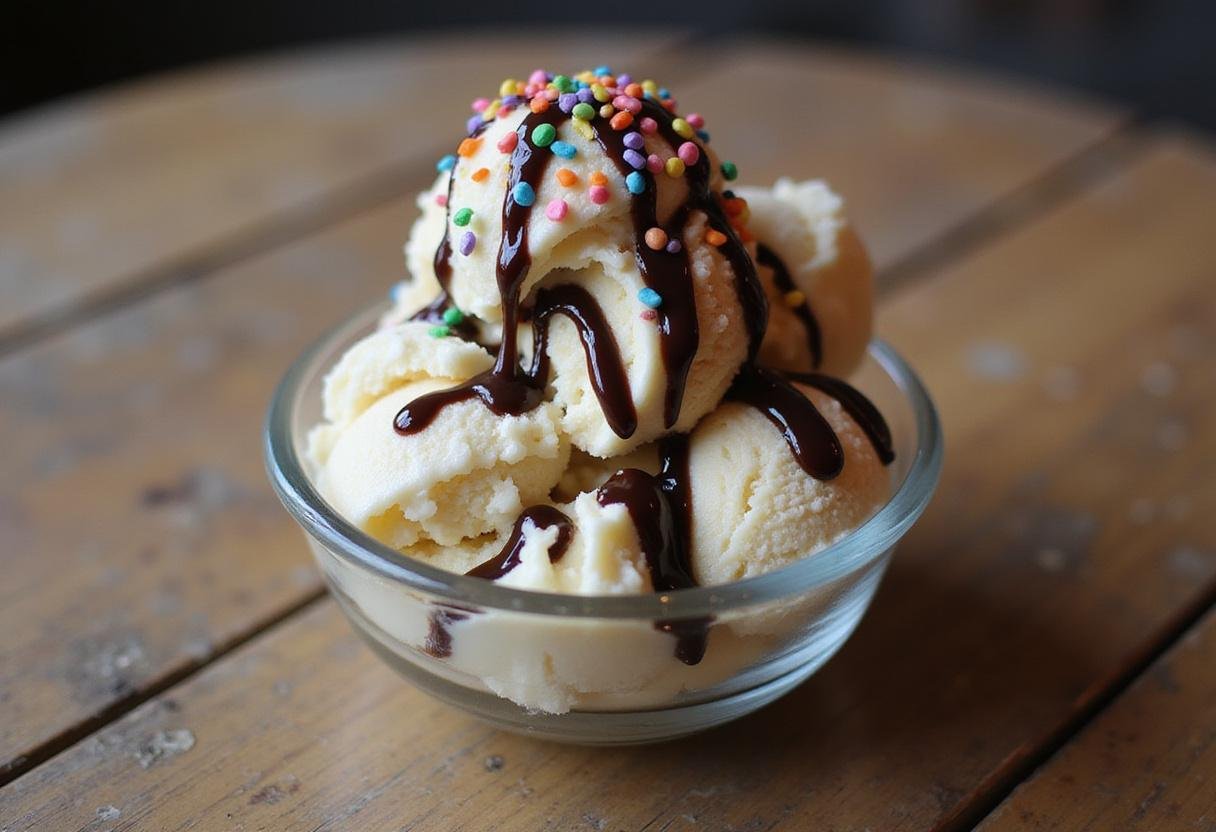
Indulging in a quart of ice cream is one of life’s sweetest pleasures, perfect for cooling down on a hot day or satisfying your dessert cravings any time of the year. This creamy, delightful treat is versatile and can be customized to your flavor preferences. Whether you love classic vanilla, rich chocolate, or fruity sorbets, making a quart of ice cream at home allows for endless creativity! Imagine the joy of creating your own frozen masterpiece, tailored exactly to your taste. In this recipe, we’ll guide you through the steps of creating a perfect quart of ice cream, ensuring it’s as delicious as it is fun to make! For another refreshing treat, you might also enjoy our premium sushi menu, perfect for a light meal before dessert!
2. Ingredients
To make a truly exceptional quart of ice cream, you’ll need the following high-quality ingredients. The better the ingredients, the richer and more flavorful your ice cream will be!
- 2 cups heavy cream: This provides the richness and creamy texture that defines good ice cream.
- 1 cup whole milk: Adds moisture and helps balance the fat content.
- 3/4 cup granulated sugar: Sweetens the ice cream and contributes to its smooth texture.
- 1 tablespoon vanilla extract: Enhances the overall flavor and adds a classic touch.
- Pinch of salt: Balances the sweetness and brings out the other flavors.
- Your choice of mix-ins (chocolate chips, fruit, nuts, etc.): Get creative with your favorite additions to customize your quart of ice cream.
Consider using fresh, seasonal fruit or high-quality chocolate for the best results. If you’re in the mood for something sweet, check out our sweet fluffy pancake bread recipe.
3. Step-by-Step Instructions
Follow these detailed instructions to create the perfect quart of ice cream at home. Each step is designed to ensure your ice cream is creamy, flavorful, and utterly delicious.
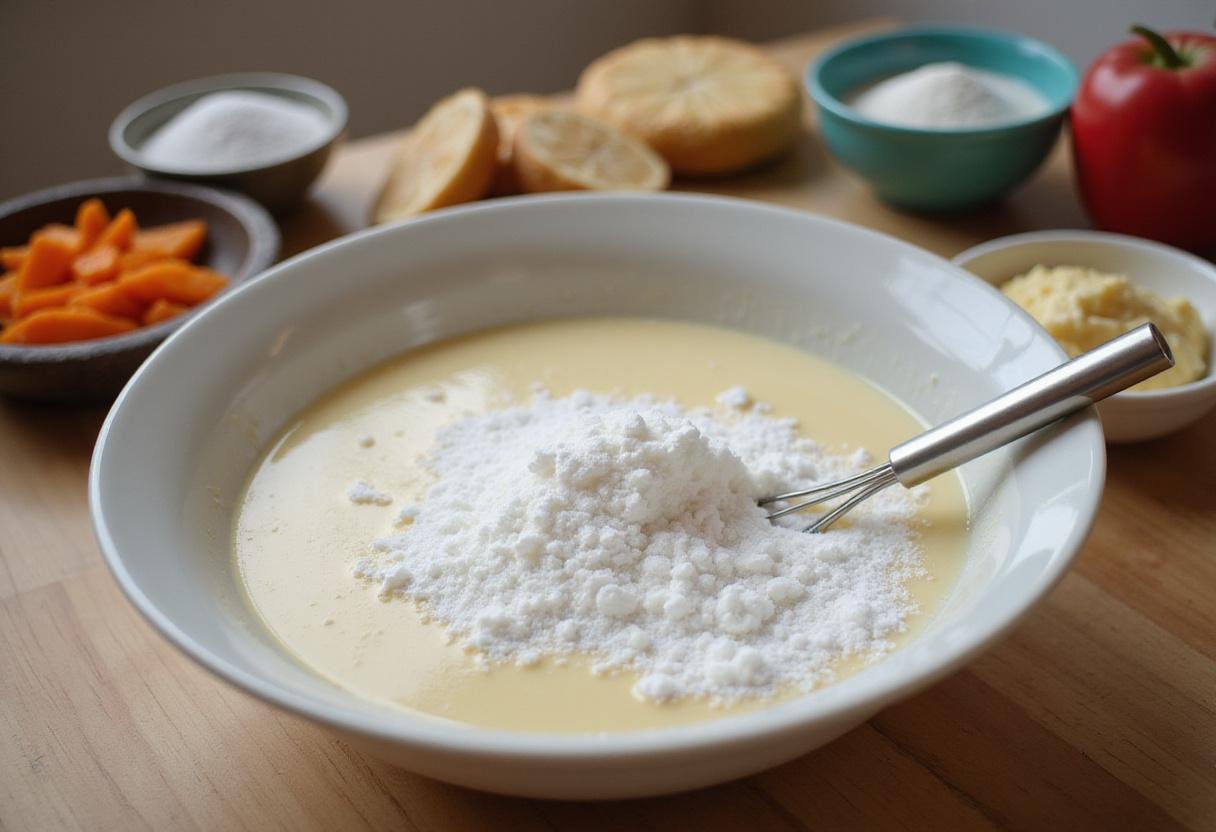
Step 1: Create the Ice Cream Base
The first step in making your quart of ice cream is to prepare the creamy base. In a mixing bowl, combine the heavy cream, whole milk, granulated sugar, vanilla extract, and a pinch of salt. Whisk until the sugar is fully dissolved and the mixture is smooth. This base is crucial for a rich and luscious ice cream. Ensure all ingredients are well combined to achieve a uniform texture and flavor. For another breakfast idea, explore our breakfast section.
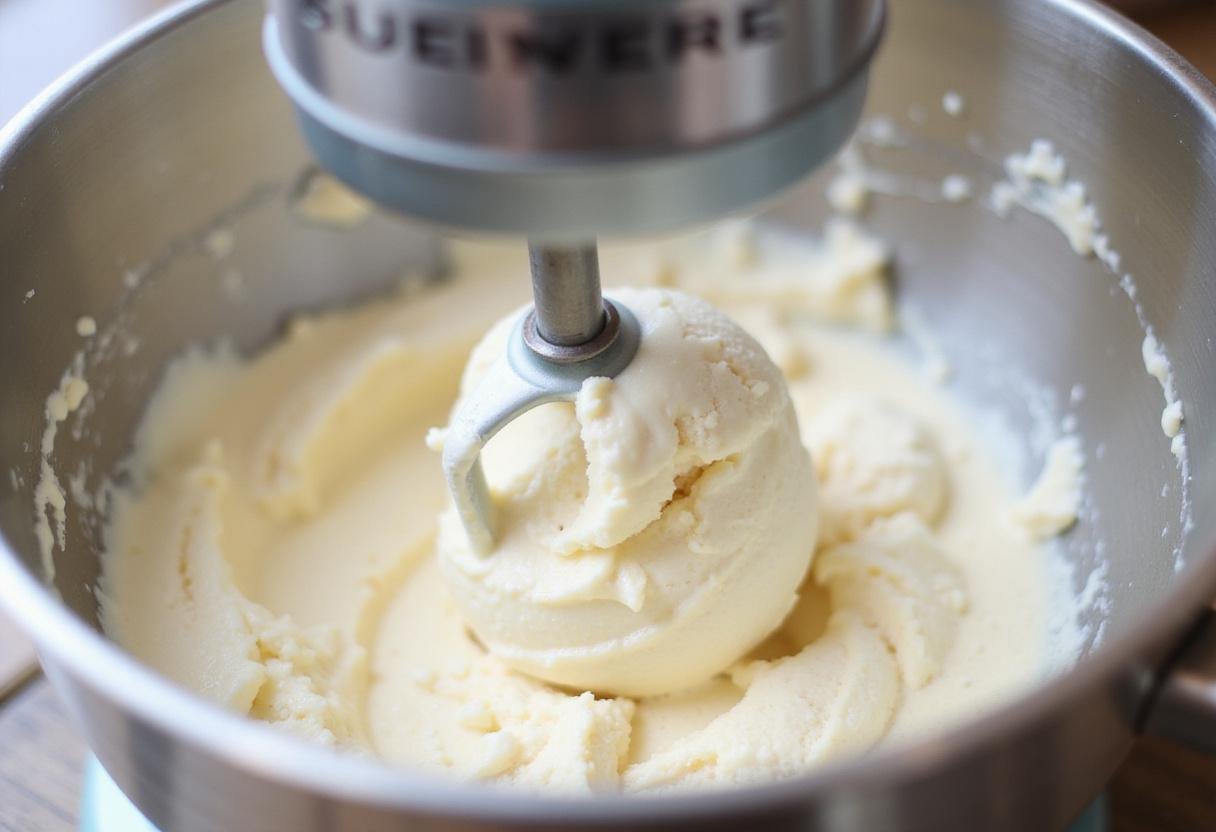
Step 2: Mix and Fluff the Base
Next, it’s time to mix your ice cream base. Using an electric mixer, blend the mixture on medium speed until it becomes fluffy and slightly thickened. This process incorporates air into the mixture, creating a light and airy texture that’s essential for your homemade quart of ice cream. Be careful not to overwhip the mixture, as this can result in a grainy texture. Looking for a simpler treat? These chocolate orbs are divine!
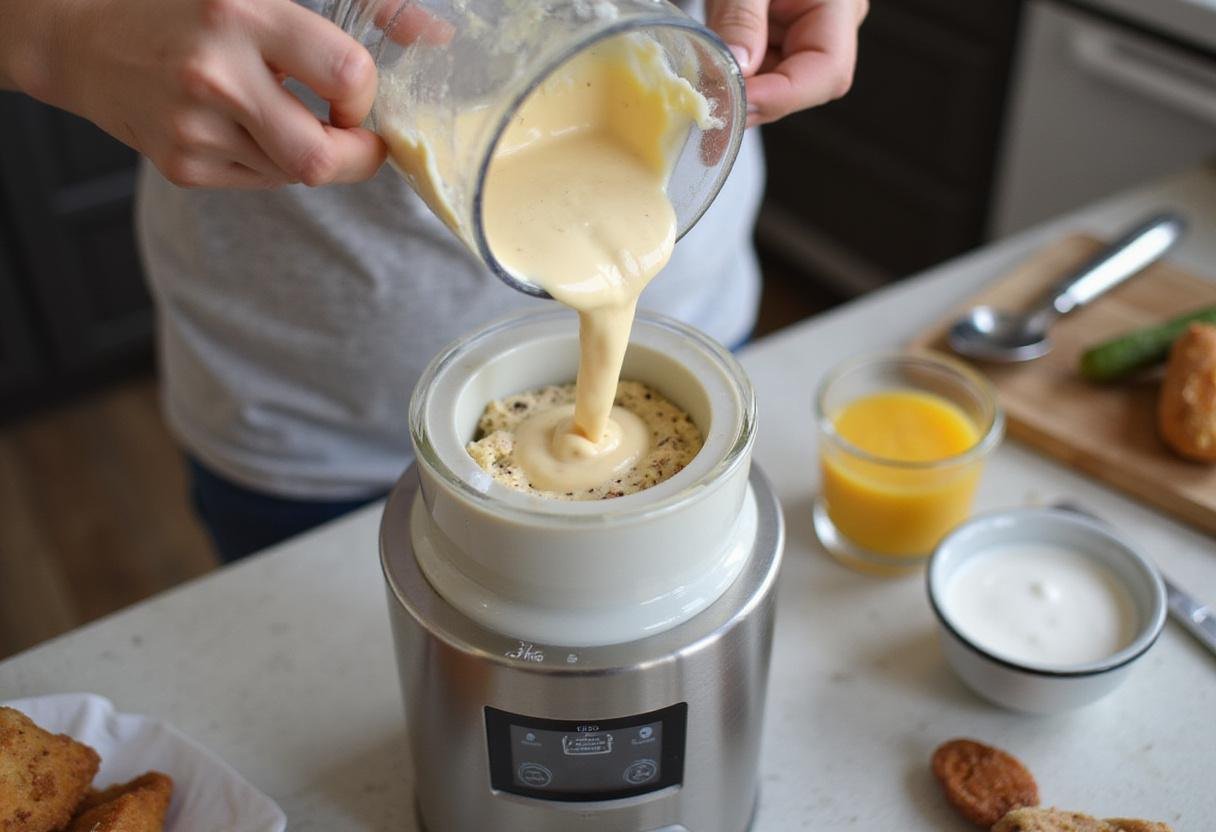
Step 3: Churn the Ice Cream
Now it’s time to churn your mixture! Pour the fluffy ice cream base into your ice cream maker. Follow the manufacturer’s instructions to churn the mixture until it reaches a soft-serve consistency. This step is critical for achieving the perfect texture in your homemade quart of ice cream. If you don’t have an ice cream maker, don’t worry; we’ll provide an alternative method in the FAQs. If you’re planning a party, why not add some puffy golden sopapillas to the menu?
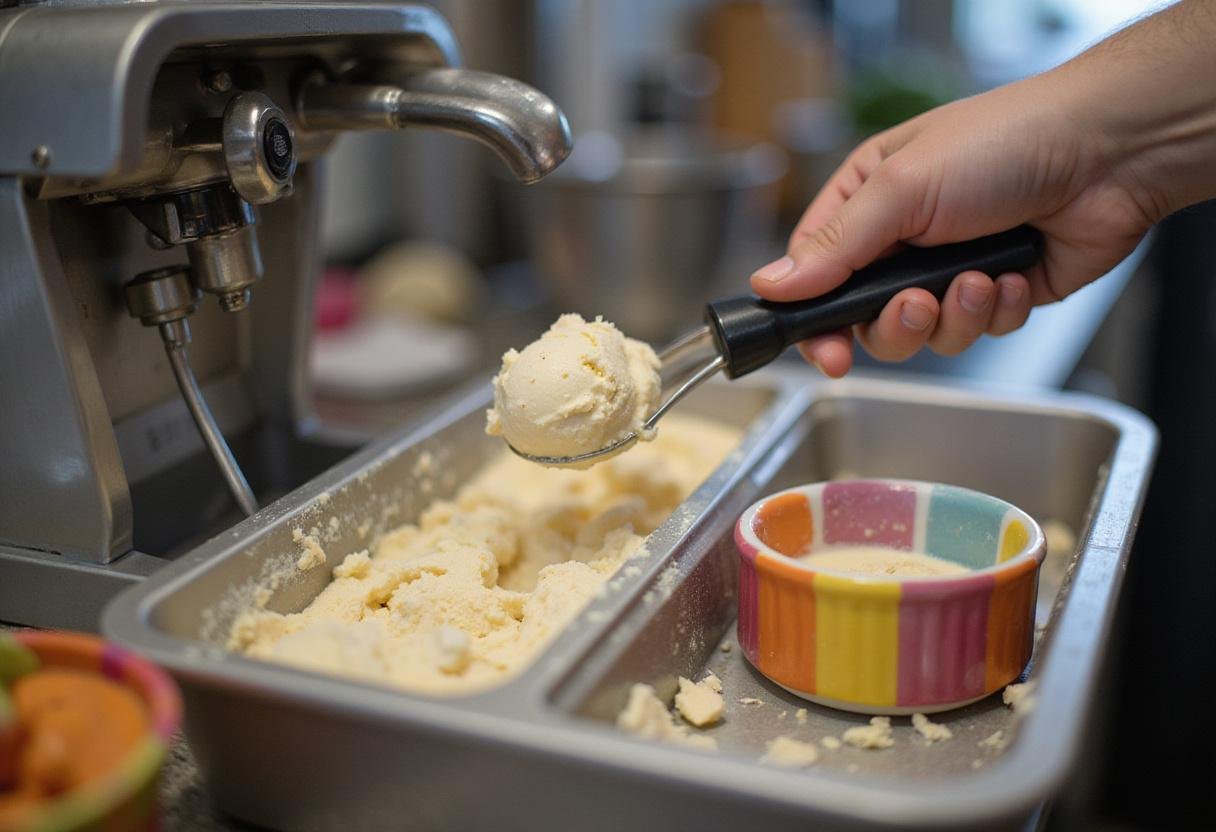
Step 4: Freeze and Enjoy
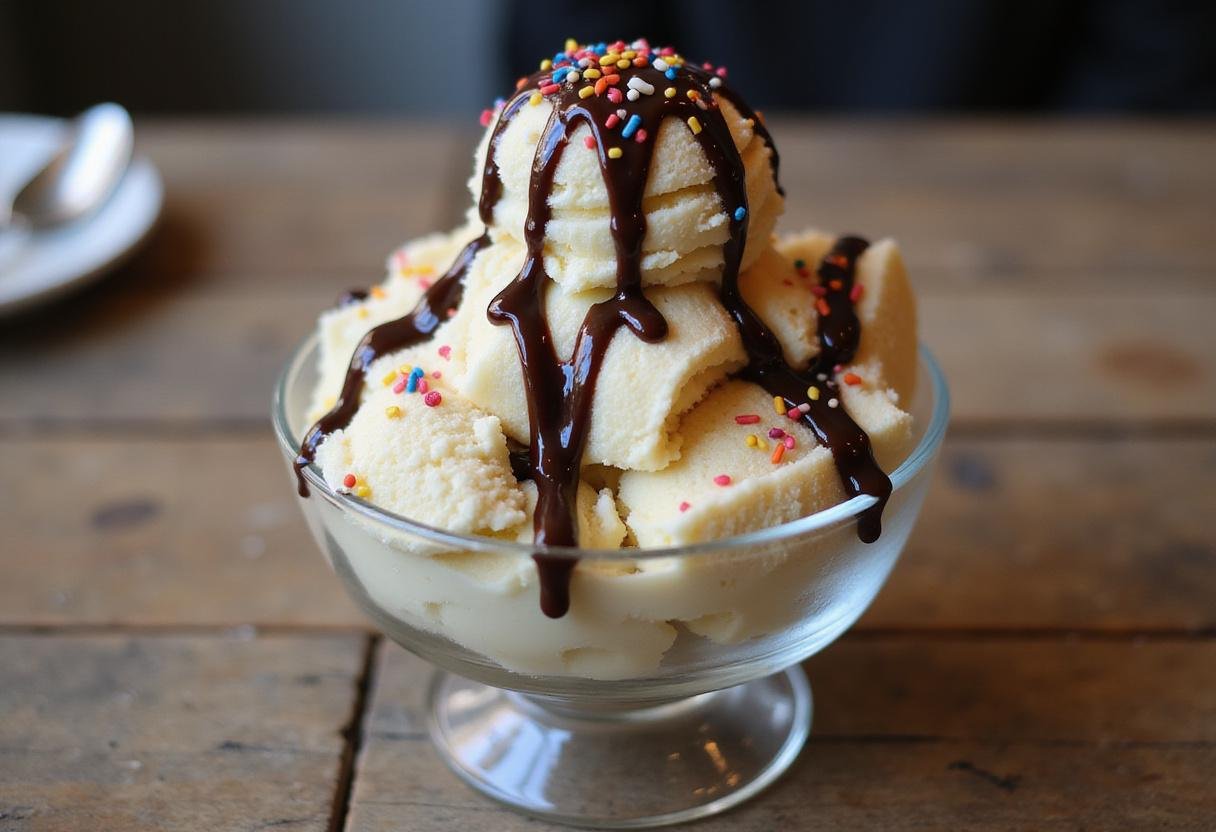
Once your ice cream has been churned to the perfect consistency, transfer it into an airtight container. Freeze for at least 4 hours or until firm. This allows the ice cream to fully set, resulting in a scoopable and delightful texture. When ready to serve, scoop out your delightful quart of ice cream into bowls or cones, and feel free to garnish with your favorite toppings! Consider adding fresh fruit, chocolate sauce, or whipped cream for an extra special treat.
4. Storage Tips
Your homemade quart of ice cream is best enjoyed fresh, but if you have leftovers, store them in an airtight container in the freezer. Ensure the container is properly sealed to prevent freezer burn and maintain the ice cream’s quality. For optimal taste and texture, it should be consumed within two weeks. However, it is usually so delicious that it disappears much faster! You can find more tips and tricks in our recipe section.
5. Serving Suggestions
Serve your quart of ice cream topped with chocolate syrup, sprinkles, or fresh fruit. These toppings can add extra flavor and texture to your treat. You can also use it to make scrumptious desserts like sundaes, milkshakes, or ice cream sandwiches. The possibilities are truly endless! Experiment with different combinations to find your perfect ice cream creation. If you want to buy the best ice cream that is already done, check here! For another simple snack, see our snack category.
6. Frequently Asked Questions (FAQs)
Here are some frequently asked questions to help you perfect your quart of ice cream making skills.
Can I customize my quart of ice cream with different flavors?
Absolutely! You can add cocoa powder for chocolate ice cream or fresh fruit puree for strawberry ice cream. Be creative! Consider using extracts, spices, or even coffee for unique flavor combinations.
How long does it take to make a quart of ice cream?
Making a quart of ice cream generally takes about 20-30 minutes of active preparation time, plus additional freezing time of at least 4 hours. This includes the time to prepare the base, churn the ice cream, and allow it to fully freeze.
Can I make this recipe without an ice cream maker?
Yes! You can also freeze the mixture in a container, stirring it every 30 minutes until it thickens to achieve a similar texture. This method requires more hands-on time but can still produce delicious results. Alternatively, you can use a blender to achieve a smoother consistency. Looking for a savory option? Check out these beef sausage links.
What can I add to my quart of ice cream to make it even better?
Consider adding a swirl of caramel, chopped nuts, cookie pieces, or brownie chunks for added texture and flavor. These mix-ins can elevate your quart of ice cream to a whole new level of deliciousness.
Is it okay to add alcohol to my homemade ice cream?
Yes, adding a small amount of alcohol (such as liqueur or rum) can enhance the flavor and prevent the ice cream from becoming too hard. However, be mindful of the quantity, as too much alcohol can affect the freezing process. For a different culinary adventure, explore Chicken Chesapeake!
9. Conclusion
Creating your homemade quart of ice cream is not only a fun activity but also allows you to indulge in a delicious treat customized to your liking. With this simple recipe and a few basic ingredients, you can impress family and friends with your ice cream-making skills. Experiment with different flavors and mix-ins to create your signature ice cream masterpiece. So grab your ice cream maker and start churning your way to frozen delight! And for another delicious dish, try our Reser’s potato salad, perfect for summer gatherings!
Print
Large Quart of Ice Cream
Indulge in a delicious quart of homemade ice cream, perfect for satisfying your dessert cravings any time of the year. This customizable treat is easy to make and full of creamy goodness!
- Total Time: 4 hours 30 minutes
- Yield: 1 quart 1x
Ingredients
- 2 cups heavy cream
- 1 cup whole milk
- 3/4 cup granulated sugar
- 1 tablespoon vanilla extract
- Pinch of salt
- Your choice of mix-ins (chocolate chips, fruit, nuts, etc.)
Instructions
- In a mixing bowl, combine the heavy cream, whole milk, granulated sugar, vanilla extract, and a pinch of salt. Whisk until smooth.
- Using an electric mixer, blend the mixture on medium speed until fluffy and slightly thickened.
- Pour the mixture into your ice cream maker and churn according to the manufacturer’s instructions until it reaches a soft-serve consistency.
- Transfer the ice cream to an airtight container and freeze for at least 4 hours or until firm. Serve with your favorite toppings.
Notes
- Your homemade ice cream is best enjoyed fresh, but can be stored in an airtight container in the freezer for up to two weeks.
- Customize flavors by adding cocoa powder or fresh fruit puree.
- If you don’t have an ice cream maker, freeze the mixture in a container, stirring every 30 minutes until it thickens.
- Prep Time: 10 minutes
- Cook Time: 20 minutes
- Category: Dessert
- Method: Churning
- Cuisine: American
- Diet: Vegetarian
Nutrition
- Serving Size: 1/2 cup
- Calories: 300 Kcal
- Sugar: 20g
- Sodium: 50mg
- Fat: 20g
- Saturated Fat: 12g
- Unsaturated Fat: 8g
- Trans Fat: 0g
- Carbohydrates: 28g
- Fiber: 0g
- Protein: 3g
- Cholesterol: 80mg