© Original recipe by The Recipe Nest ©
🍞🧄 Fluffy Garlic Rolls Perfect for Any Meal 🧄🍞
1. Introduction
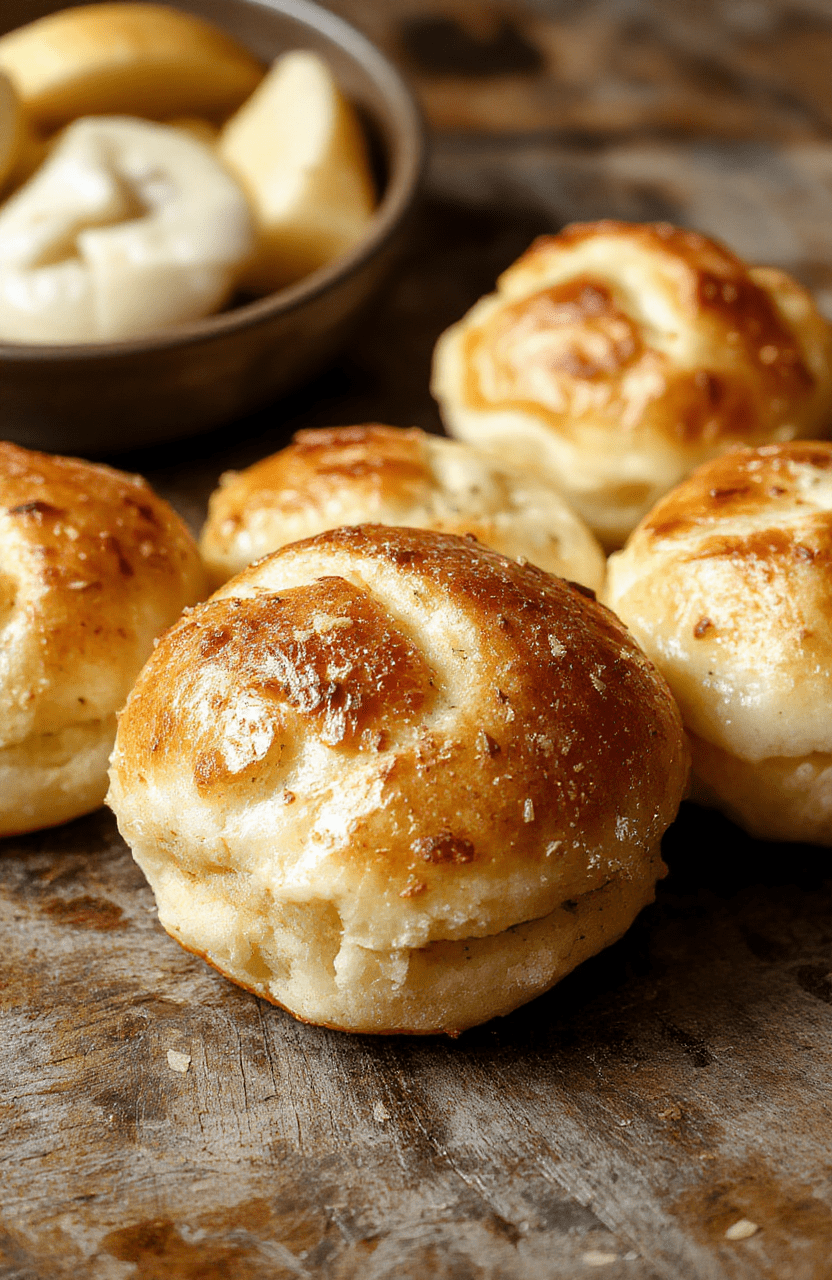
If you’re craving warm, melt-in-your-mouth garlic bread that complements any meal, you’re in the right place. These garlic rolls offer a divine combination of soft, fluffy interior and a crispy, aromatic garlic topping. Whether you’re serving a hearty dinner or a simple soup, these homemade garlic rolls elevate the experience with their tender crumb and fragrant garlic butter. Made from scratch, they’re a delightful way to impress family and friends — and they smell absolutely incredible while baking.
2. Why You’ll Love This Recipe
- Soft and Fluffy: The perfect texture that melts in your mouth.
- Quick & Easy: Simple steps that don’t require advanced baking skills.
- Versatile: Serve as garlic bread, dinner rolls, or even cheesy bread if you like.
- Warm & Aromatic: Filling your kitchen with irresistible garlic scent.
- Customizable: Add herbs, cheese, or spices for a personalized touch.
3. Ingredient Notes
For the best results, choose high-quality ingredients. Use fresh garlic to ensure a vibrant, pungent flavor that permeates every bite. Unsalted butter is ideal for controlling the salt level and adding richness. You can substitute bread flour with bread flour for a chewy, robust texture, or opt for bread-specific yeasts for a more traditionally risen roll.
For extra flavor, consider incorporating fresh herbs like parsley or rosemary into the garlic butter. If you want cheesy garlic rolls, sprinkle shredded cheese on top during the last few minutes of baking for a gooey, savory finish.
4. Kitchen Tools You Need
KitchenAid Artisan 5-Quart Stand Mixer in Scorched Orange — Perfect for kneading dough effortlessly, ensuring a smooth, elastic texture every time.
Compact 6-in-1 Digital Air Fryer by Amazon Basics — A handy tool for crisping up garlic rolls if you want a more crunchy exterior without turning on the oven.
5. How to Make Fluffy Garlic Rolls
Preparing the Dough
Start by mixing warm milk, sugar, and yeast in a bowl. Let it sit until it froths — this activates the yeast and ensures your rolls will be fluffy. Meanwhile, in your stand mixer, combine bread flour, salt, and melted butter. Once the yeast mixture is bubbly and fragrant, add it to the dry ingredients. Knead until the dough is soft, elastic, and slightly tacky. Cover and let it rise in a warm spot until doubled, about 1 to 1.5 hours — look for a puffy, airy texture.
Shaping and Filling
Once risen, punch down the dough and divide it into equal portions. Roll each piece into a ball and flatten slightly. Mix softened butter with finely minced garlic and freshly chopped herbs if using. Spread this garlic butter evenly over the dough balls, then fold or roll them for the classic roll shape. Place them closely together on a baking sheet lined with parchment.
Baking to Perfection
Bake in a preheated oven at 375°F (190°C) for about 15-20 minutes. Keep an eye on them — the tops should turn golden and slightly crispy. The aroma during baking is heavenly, with fragrant garlic filling the air. Remove from the oven and brush with more garlic butter for extra flavor. Serve warm for the best experience.
6. Expert Tips for Success
- Use fresh yeast: Old yeast can result in dense rolls. Proof it first to ensure it’s active.
- A warm environment for rising aids fermentation — a turned-off oven with a bowl of hot water nearby works well.
- Don’t overflour: Too much flour can make the rolls dense. Keep your dough slightly sticky but manageable.
- Precise baking time: Keep an eye on the color of the tops; overbaking can dry out the rolls.
7. Variations & Substitutions
If you’re dairy-free, substitute butter with olive oil or dairy-free margarine. For a cheesy twist, add shredded mozzarella or parmesan on top before baking. To make these rolls more herbaceous, incorporate chopped parsley, basil, or thyme into the garlic butter. Gluten-free flours can be used, but expect a slightly different texture — look for gluten-free bread flour blends for best results.
8. Storage & Reheating
Store leftovers in an airtight container at room temperature for up to two days. Reheat in a air fryer for crispy edges or warm in the oven until heated through. For longer storage, freeze the rolls after cooling completely, then reheat in the oven wrapped in foil for a fresh-baked feel.
9. FAQ
Can I make these garlic rolls ahead of time?
Absolutely! Prepare the dough, shape the rolls, and refrigerate overnight. Let them come to room temperature before baking the next day for fresh, fluffy rolls.
How do I get the perfect fluffy texture?
Ensure the yeast is active, let the dough rise until doubled, and avoid adding too much flour. Patience during the rising process is key to a light, airy crumb.
Can I add cheese to these garlic rolls?
Yes! For cheesy garlic rolls, sprinkle shredded cheese on top just before baking. Cheddar, mozzarella, or parmesan work beautifully and add a savory dimension.
What if I don’t have a stand mixer?
You can knead the dough by hand on a floured surface until smooth and elastic, about 8-10 minutes. It requires more effort but yields excellent results.
10. Conclusion
These fluffy garlic rolls are the ultimate addition to any meal — whether paired with a hearty stew, served alongside pasta, or enjoyed on their own. Their warm, aromatic profile and tender crumb make them an irresistible comfort food. Once you master the art of making these homemade garlic bread rolls, you’ll find yourself returning to this recipe time and again. Happy baking!
Print
Fluffy Garlic Rolls Perfect for Any Meal
Soft, buttery, and aromatic garlic rolls with a golden crust, ideal as a side for dinner or as a snack. Perfectly fluffy inside with a flavorful garlic herb topping.
- Total Time: 2 hours
- Yield: 12 rolls 1x
Ingredients
- 2 cups all-purpose flour
- 1 packet active dry yeast (2 1/4 teaspoons)
- 1 cup warm milk
- 1/4 cup sugar
- 1/4 cup unsalted butter, melted
- 1 teaspoon salt
- 3 cloves garlic, minced
- Fresh parsley, chopped
- Additional melted butter for brushing
Instructions
- In a bowl, combine warm milk, sugar, and yeast. Let sit until frothy, about 5 minutes.
- Add melted butter, salt, and half of the flour to the yeast mixture. Mix well.
- Gradually add remaining flour until a soft dough forms. Knead for about 5 minutes until smooth.
- Cover and let rise in a warm place until doubled, about 1 hour.
- Preheat oven to 375°F (190°C). Punch down the dough and divide into 12 equal pieces.
- Shape each piece into a ball and place on a greased baking sheet.
- Mix minced garlic with melted butter and brush over the rolls. Sprinkle with chopped parsley.
- Bake for 15-20 minutes until golden brown. Brush with additional melted butter if desired.
Notes
- You can add grated cheese on top before baking for extra flavor.
- Ensure the milk is warm, not hot, to activate the yeast properly.
- Prep Time: 15 minutes
- Cook Time: 20 minutes
- Method: baking
- Cuisine: American
- Diet: Vegetarian
Nutrition
- Serving Size: 1 roll
- Calories: 180 Kcal
- Sugar: 3g
- Sodium: 220mg
- Fat: 8g
- Saturated Fat: 5g
- Unsaturated Fat: 2g
- Trans Fat: 0g
- Carbohydrates: 25g
- Fiber: 1g
- Protein: 4g
- Cholesterol: 15mg