🌟 Crispy Oven-Toasted Ravioli Appetizer: The No-Fry Holiday Crowd-Pleaser That Takes 20 Minutes
1. Introduction
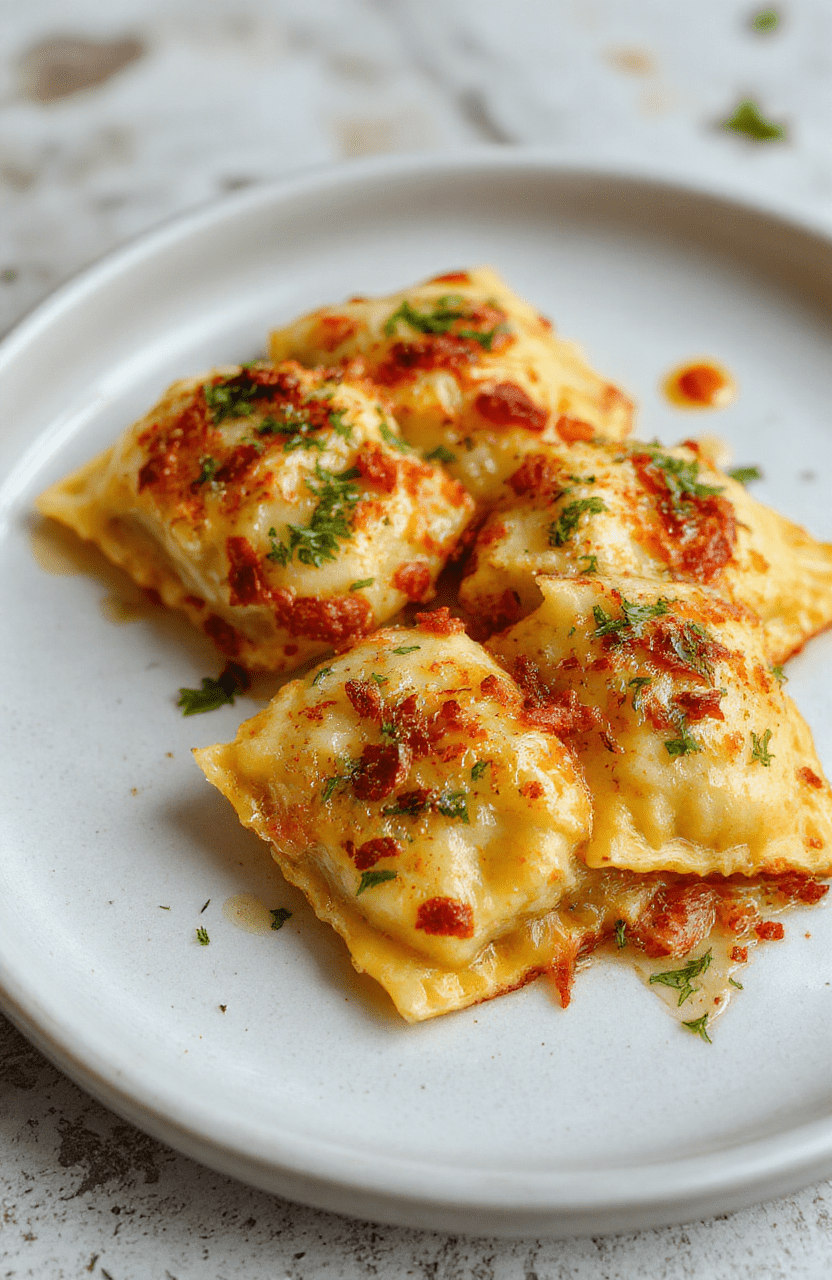
There’s something undeniably magical about the first bite of toasted ravioli—golden, shatteringly crisp on the outside, with a warm, cheesy or meaty center that oozes with comfort. Unlike traditional fried ravioli, this oven-baked ravioli version delivers the same satisfying crunch and rich flavor without the mess of hot oil, splatters, or the need for a deep fryer. perfect for game day, holiday parties, or even a quick weeknight snack when you’re craving Italian-inspired fun. In fact, this crispy ravioli appetizer has become a staple at our family gatherings—easy to scale up, endlessly customizable, and always cleared from the platter first.
2. Why You’ll Love This Recipe
- Zero Fryer Required — No messy oil, no special equipment (though we’ll get to some awesome optional add-ons!)
- Ready in Under 20 Minutes — Faster than ordering takeout and taste ten times better
- One-pan Cleanup — Just a rimmed baking sheet and a brush. Seriously.
- Versatile Filling Options — Use pre-stuffed cheese, meat, or spinach ravioli—or even make your own fresh pasta
- Great for Dietary Tweaks — Easily made gluten-free, vegetarian, or even dairy-free with smart swaps
3. Ingredient Notes
The secret to crispy oven-toasted ravioli lies in three key components: the ravioli itself, the coating, and the finishing touch.
Ravioli: Go for fresh or high-quality frozen ravioli. Fresh refrigerated pasta has thinner, more tender skins that crisp beautifully without turning tough. Look for brands like Trader Joe’s, market-bought ravioli with simple ingredients (flour, eggs, filling), or even try making your own with a pasta maker for show-stopping presentation.
Coating: We use a double step—first a light egg wash (or plant-based alternative like almond milk), then a seasoned breadcrumb blend. Panko is ideal for maximum crunch, but traditional breadcrumbs work in a pinch. We add garlic powder, onion powder, and a pinch of red pepper flakes for depth. Some purists swear by adding a little grated Parmesan to the crumbs for extra umami and browning.
Fat for Crispness: Melted butter gives the most luxurious crunch and flavor, but a neutral oil (like avocado or grapeseed) works if you’re avoiding dairy or want to keep it dairy-free. A light spray of oil *after* baking also helps finish the crunch.
4. Kitchen Tools You Need
While you can absolutely make this dish with just a baking sheet and brush, these tools will level up your oven-baked ravioli game:
- For even crispier results (without an oven): The Ninja Air Fryer Pro Crisp & Roast 4-in-1 delivers restaurant-level crunch in half the time—no preheating required! Just shake halfway through for perfectly golden ravioli.
- For a full-scale party batch: The Ninja 12-in-1 Smart Double Oven with FlexDoor & Air Fry can roast two full trays side-by-side with convection fan for uniform browning. No more flipping batches!
- For clean, quick prep: The Fullstar Ultimate Veggie Prep Master helps you chop garlic, herbs, or even zest lemon peel for your breadcrumb mix in seconds.
- For storage & reheating: Keep leftovers fresh (and crispy re-heatable) in JoyJolt Airtight Glass Food Storage Set—stackable, microwave-safe, and freezer-friendly.
5. How to Make Crispy Oven-Toasted Ravioli Appetizer
Phase 1: Prep & Preheat (5 minutes)
Preheat your oven to 425°F (220°C). Line a large rimmed baking sheet with parchment paper (for easy cleanup and to prevent sticking). If you’re using fresh refrigerated ravioli, pull it out of the fridge 10 minutes before baking—cold pasta holds its shape better and crisps more evenly.
Phase 2: coat for Maximum Crunch (5 minutes)
In a shallow bowl, whisk together 1 large egg (or 2 tbsp almond milk for dairy-free). Place 1½ cups panko breadcrumbs in a second bowl. Stir in 1 tsp garlic powder, ½ tsp onion powder, ¼ tsp red pepper flakes, and ¼ tsp salt. For extra richness, add 2 tbsp grated Parmesan.
Working with 2–3 ravioli at a time, dip them first in the egg wash—let excess drip off—then roll them thoroughly in the breadcrumb mixture. Place them on the baking sheet, seam-side down, with about ½ inch between each to allow airflow.
Phase 3: Bake to Golden Perfection (10–12 minutes)
Brush (or spray) the ravioli lightly with melted butter or oil—don’t skip this! It’s what creates that glossy, shatter-crisp crust.
Bake on the middle rack for 10 minutes, then carefully flip each ravioli using a thin spatula. Brush the second side with butter again. Return to the oven for 3–4 minutes more until deeply golden and crisp.
Visual cue: They’re done when the edges are a rich amber—not pale, not burnt. The coating should resist gentle poking and spring back slightly.
Phase 4: Serve with Confidence (1 minute)
Transfer to a platter and let rest for 2 minutes—this lets the crust set fully. Serve warm with marinara sauce for dipping, or get fancy and offer a spicy aioli (mayo + garlic + lemon + pinch of cayenne) or creamy herbed yogurt dip.
6. Expert Tips for Success
- No soggy ravioli: Never bake directly on a hot pan—use room-temperature parchment + room-temp ravioli. Cold ravioli on a cold sheet = steam = sogginess.
- Double-crunch trick: For extra-shattering crispness, chill the breaded ravioli on the sheet for 10 minutes before baking. This sets the coating and reduces moisture transfer.
- Frozen ravioli hack: Bake from frozen, but add 3–4 minutes to the first bake time. Thawing first makes them prone to bursting.
- Re-crisp any leftovers: Reheat in an air fryer at 375°F for 2–3 minutes—or in a 400°F oven on a rack (not a sheet) to avoid steam buildup.
7. Variations & Substitutions
Gluten-Free — Use gluten-free fresh ravioli (check labels) and swap panko for gluten-free panko or crushed gluten-free crackers. Ensure seasonings are GF-certified.
Vegetarian — Classic cheese ravioli is perfect. Try spinach & ricotta or mushroom & sage for an earthy twist. Add a pinch of nutmeg to the breadcrumb mix for warmth.
Vegan — Use dairy-free ravioli and swap egg wash for unsweetened almond milk or aquafaba (chickpea brine). Use vegan butter or olive oil for brushing.
Spicy Kick — Add ½ tsp cayenne or smoked paprika to the breadcrumb mix. Serve with a sriracha-lime mayo.
Italian-Inspired Garnish — Just before serving, sprinkle with chopped fresh basil, cracked black pepper, and a drizzle of good-quality olive oil.
8. Storage & Reheating
Refrigerator: Store cooled ravioli in an airtight container for up to 3 days. Separate layers with parchment to prevent sticking.
Freezer: Arrange uncooked, breaded ravioli on a tray, freeze solid, then transfer to a freezer bag. Keep for up to 1 month. Bake from frozen—add 4–5 minutes to the first bake time.
Reheating: Best in an air fryer at 375°F for 3–4 minutes. Oven: 400°F for 5–7 minutes on a rack (never a sheet pan—it traps steam). Avoid the microwave—it turns them rubbery!
9. FAQ
Q: Can I make these ahead of time?
Absolutely! Bread them up to 24 hours in advance and store covered in the fridge. Just bake when ready—no need to bring to room temp first.
Q: Why did my ravioli burst open?
Likely cause: too much steam buildup. Ensure ravioli aren’t overcrowded on the tray, and don’t skip the flipping step—it lets steam escape from both sides. Also, frozen ravioli should never be thawed before baking.
Q: Can I use frozen breaded ravioli from the grocery store?
Yes, but they’re often coated in oil already and may not crisp as well in the oven. You’ll likely need less butter/oil and may only need 8–10 minutes total bake time. Keep a close eye on them!
Q: What’s the best dipping sauce?
Classic marinara is timeless, but try our creamy roasted tomato dip (think alfredo + roasted red pepper) or a bright lemon-garlic olive oil for contrast.
10. Conclusion
This crispy oven-toasted ravioli appetizer proves that you don’t need deep-frying to get bold, satisfying flavor and texture—just a little strategy, the right tools, and confidence in your oven. It’s the kind of dish that wows guests, impresses picky eaters, and leaves time for actual conversation (not standing over a bubbling pot of oil!). Whether it’s for a last-minute snack or a centerpiece bite at your next party, this no-fry version delivers every time. So grab a sheet pan, preheat that oven, and get ready for a wave of golden, crispy joy.
Print
Crispy Oven-Toasted Ravioli Appetizer
A no-fry twist on the classic fried ravioli appetizer—baked to golden perfection in the oven for maximum crispiness with minimal effort.
- Total Time: 25 minutes
- Yield: 4 servings 1x
Ingredients
- 24 frozen cheese or Italian beef ravioli
- 2 tablespoons olive oil
- 1/2 teaspoon garlic powder
- 1/4 teaspoon salt
- 1/4 teaspoon black pepper
- Parsley, chopped (for garnish)
- Grated Parmesan cheese (for garnish)
- Marinara sauce (for dipping)
Instructions
- Preheat oven to 425°F (220°C) and line a baking sheet with parchment paper.
- In a small bowl, mix olive oil, garlic powder, salt, and pepper.
- Place frozen ravioli on the baking sheet in a single layer. Drizzle with oil mixture and gently toss to coat evenly.
- Bake for 15 minutes, flip ravioli, and bake 5–7 more minutes until golden and crisp.
- Serve warm with marinara sauce, garnished with parsley and Parmesan.
Notes
- Do not thaw ravioli before baking—using them frozen ensures optimal crispiness.
- For extra crunch, lightly spray with cooking oil halfway through baking.
- Baked ravioli are best served immediately; they soften upon sitting.
- Prep Time: 5 minutes
- Cook Time: 20 minutes
- Method: Baking
- Cuisine: Italian-American
- Diet: Contains Dairy, Gluten
Nutrition
- Serving Size: 6 ravioli
- Calories: 280 Kcal
- Sugar: 3 g
- Sodium: 420 mg
- Fat: 12 g
- Saturated Fat: 5 g
- Unsaturated Fat: 6 g
- Trans Fat: 0 g
- Carbohydrates: 33 g
- Fiber: 2 g
- Protein: 11 g
- Cholesterol: 35 mg