✨ Crispy Honey Butter Chicken with Garlic Green Beans — A Quick Weeknight Dinner That Actually Tastes Like Sunday Roast
1. Introduction
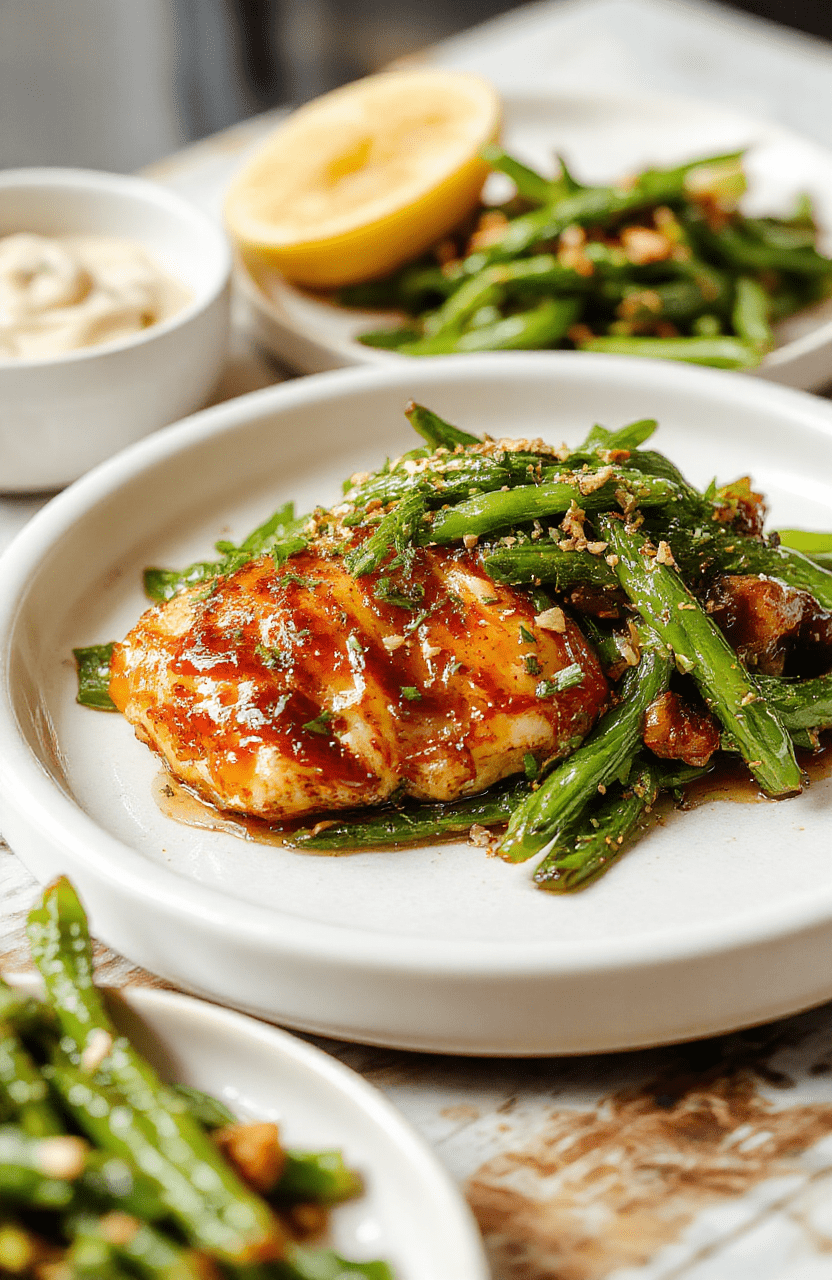
If you’re hunting for a crispy honey butter chicken dish that delivers restaurant-level texture and rich, caramelized flavor—without spending hours in the kitchen—you’ve just landed in the right place. This recipe marries tender chicken thighs with a luscious honey butter glaze that clings to every bite, paired with crisp-tender garlic green beans cooked in the same pan for zero cleanup and maximum flavor synergy.
I first perfected this dish as a last-minute weekend dinner after a long farmers’ market run—and it quickly became my family’s “whenever we want fancy but need speed” staple. The secret? A double-sear technique that locks in juiciness while creating a golden, crackling crust, then finishes in the oven for even cooking. Paired with garlicky green beans, it’s a complete, balanced meal in under 35 minutes.
2. Why You’ll Love This Recipe
- Ready in 30–35 minutes—perfect for busy weeknights or impromptu guests
- One-pan meal (with optional oven use only for final roast)
- Crispy, sticky-savory glaze that’s deeply flavorful and naturally glossy
- Meal-prep friendly—reheats beautifully and freezes well
- Kid-approved, even by picky eaters who usually shy away from green beans
3. Ingredient Notes
Great cooking lives in the details—and here’s where each ingredient earns its spot:
- Chicken thighs (bone-in, skin-on): Dark meat stands up to high heat without drying out, and the skin is essential for that signature crisp. I always buy free-range, organic when possible for richer flavor.
- Unsalted butter + raw honey: Butter provides fat for carryover crispness and depth, while raw honey adds floral complexity (regular honey can caramelize too quickly and burn). Maple syrup works in a pinch, but won’t caramelize quite as beautifully.
- Garlic & ginger paste (freshly minced garlic also fine): Ginger cuts richness and adds brightness; if用 garlic paste, go easy—it’s more concentrated than fresh.
- Green beans (haricots verts if you can find them): Thinner beans cook faster and stay tender-crisp. Waxy varieties like King or Blue Lake hold color better after blanching.
- Arrowroot or cornstarch (for glaze finish): Creates a glossy, sticky sauce that clings without gumminess. Potato starch is a great gluten-free alternative.
4. Kitchen Tools You Need
You don’t need a full professional kitchen—but having the right foundation makes all the difference in achieving consistent crispiness and even browning:
For serious crisp control, my go-to is the Ninja Air Fryer Pro Crisp & Roast 4-in-1—it circulates heat so evenly that extra oil isn’t required, and the dual baskets let me batch-cook extra chicken for later. If you’re upgrading your whole setup, the T-fal 14-Piece Hard Anodized Nonstick Cookware Set includes a heavy-bottomed stainless clad skillet that browns like a dream and lasts decades.
For the garlic green beans (and honestly, *everything*), I swear by my Deluxe 33-Piece Silicone Utensil Set—soft heads won’t scratch nonstick, and the long handles stay cool on hot stovetops. And if you love having fresh meals ready Monday to Sunday, the JoyJolt Airtight Glass Food Storage Set keeps leftovers fresh and visible in your fridge.
5. How to Make Crispy Honey Butter Chicken with Garlic Green Beans
Why this method works: We start dry, heat high, and let the fat render before glazing. This avoids steaming the skin and ensures that coveted crunch—not just on day one, but through reheating.
Phase 1: Prep & Pat Dry (5 minutes)
Rinse chicken thighs under cold water, then pat *aggressively* dry with paper towels—moisture is the enemy of crisp. Season liberally with salt and black pepper. Let sit at room temperature for 10 minutes while you prep the other ingredients.
For the glaze: Whisk together 3 tbsp melted butter, 2 tbsp honey, 1 tbsp soy sauce (or Coconut Aminos for GF), 1 tsp grated ginger, and 1 minced garlic clove. Set aside.
Phase 2: Sear Skin-First (10 minutes)
Heat 1 tbsp neutral oil (avocado or grapeseed) in a heavy ovenproof skillet over medium-high heat until shimmering. Place chicken skin-side down—do not move it. Let it sizzle undisturbed for 6–7 minutes, until deeply golden and releasing easily from the pan. If it sticks, it’s not ready yet.
Flip and sear the second side for 3 minutes. Transfer the skillet to the preheated oven (400°F / 200°C) and roast 12 minutes, or until internal temp hits 165°F.
Phase 3: Glaze & Broil (3 minutes)
Remove chicken from oven. Brush generously with the honey butter glaze. Return to oven—set to broil on high—for 2–3 minutes, watching closely. You want a sticky, glossy, slightly bubbly crust—not char.
Phase 4: Garlic Green Beans (While Chicken Rests)
While chicken rests, heat 1 tbsp olive oil in a separate small pan over medium-high. Add 3 cups trimmed green beans and sauté 4 minutes until vibrant green and tender-crisp. Add 2 minced garlic cloves and a pinch of red pepper flakes; stir 30 seconds more. Finish with a splash of lemon juice and flaky salt.
6. Expert Tips for Success
- Don’t skip the rest! Letting chicken rest 5–7 minutes after glazing lets juices redistribute—skip this and you’ll lose moisture.
- Use room-temperature chicken: Cold meat drops pan temp, halting the sear. Take it out 10 minutes before cooking.
- Don’t crowd the pan: If your skillet’s too small, use two. Crowding = steamed skin, not crispy.
- Reserve 1 tbsp pan drippings to sauté garlic—I pour it over the green beans for bonus flavor.
- Double the glaze, double the fun: Extra glaze doubles as a dipping sauce. Keep it warm in a small ramekin.
7. Variations & Substitutions
- Gluten-free: Swap soy sauce for tamari or coconut aminos. Ensure honey is certified GF (some brands add maltodextrin).
- Sugar-free & keto: Replace honey with monk fruit blend or allulose—reduce broil time to 1–2 minutes to prevent browning.
- Spicy kick: Add ½ tsp crushed red pepper flakes or 1 tsp gochugaru to the glaze.
- Sheet pan version: Roast green beans alongside chicken (toss in 1 tbsp oil, salt, pepper). Add chicken back during last 3 minutes to glaze and crispen.
8. Storage & Reheating
Fridge: Store chicken and beans separately in airtight containers for up to 4 days.
Reheating for MAX Crisp: Skip the microwave! Place chicken on a parchment-lined baking sheet in a 375°F oven for 10–12 minutes. For beans: reheat gently in a skillet with 1 tsp water to revive texture.
Freezer: Freeze chicken (glazed or unglazed) for up to 3 months. Thaw overnight in fridge before reheating—do not re-freeze once cooked.
9. FAQ
Q: Can I use chicken breasts instead of thighs?
Yes—but they’re leaner and dry out faster. Sear only 4 minutes per side and bake 8–10 minutes max. I still encourage skin-on breasts (or butterfly them for even cooking).
Q: My glaze turned grainy—what happened?
Honey can crystallize when heated too fast or cooled quickly. Gently warm the glaze in a saucepan over low heat and stir in ½ tsp warm water to dissolve crystals.
Q: How do I make this dairy-free?
Use refined coconut oil ( flavor-neutral) or ghee instead of butter. All other ingredients are naturally dairy-free.
Q: Can I make this ahead for meal prep?
Absolutely! Cook everything, cool, and store chilled. Reheat as directed—extra crispy beans are optional (they soften slightly after resting).
10. Conclusion
This crispy honey butter chicken dish proves that “quick weeknight chicken dinner” and “restaurant-grade indulgence” aren’t mutually exclusive. With minimal prep and smart timing, you get glossy, sticky, savory-sweet chicken that tastes like it came from your favorite Asian fusion spot—and tender garlic green beans that make even kale fans take note.
Pair it with steamed jasmine rice or cauliflower mash for the full experience. And if you loved this one-pan wonder, skip over to my Sweet & Spicy Honey Pepper Chicken or the fan-favorite Easy Buffalo Chicken Sliders for game-day crowds.
Let me know in the comments how your version turned out—or tag me on Instagram with #DeliciousDailyDinner. Happy cooking!
Print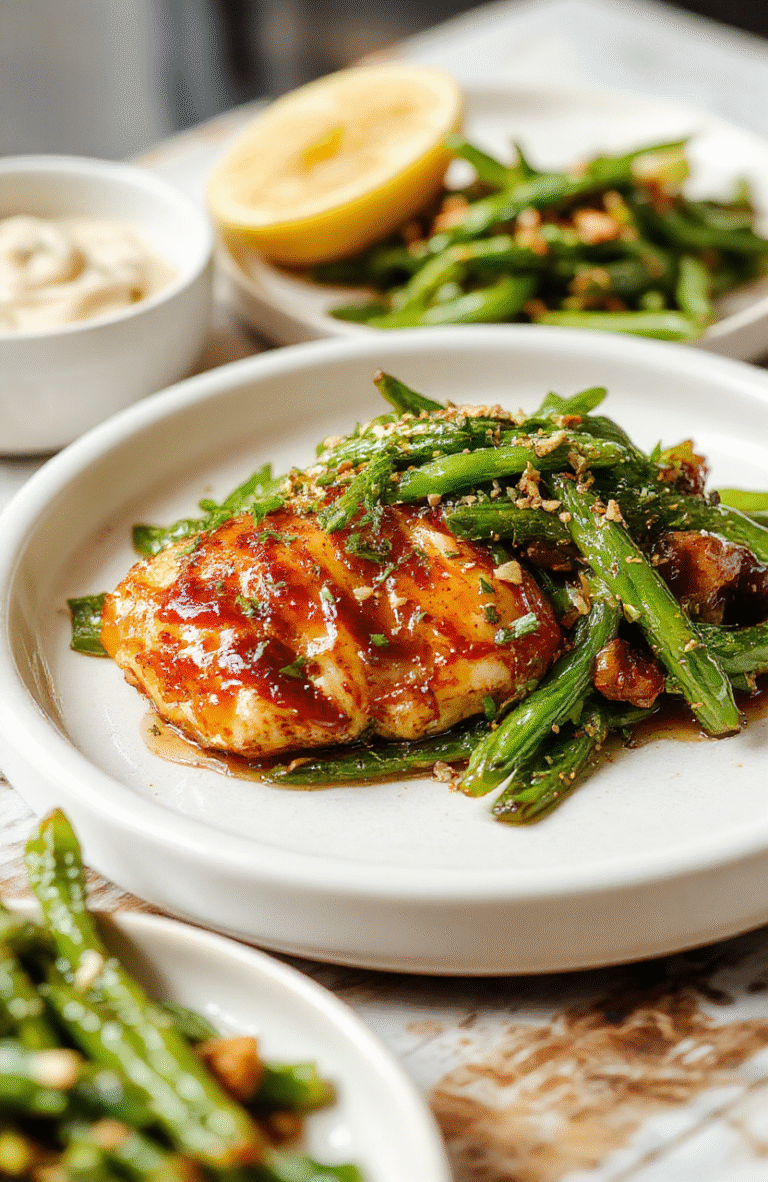
Crispy Honey Butter Chicken with Garlic Green Beans
Crispy honey butter chicken with garlic green beans — a quick, sweet & savory 30-minute weeknight dinner with sticky glaze and fresh veggies!
- Total Time: 25 minutes
- Yield: 4 servings 1x
Ingredients
- 1 lb boneless, skinless chicken breasts, cut into 1-inch pieces
- 2 tbsp cornstarch
- 1 tbsp all-purpose flour
- 1/2 tsp salt
- 1/4 tsp black pepper
- 2 tbsp olive oil
- 3 tbsp honey
- 2 tbsp unsalted butter, melted
- 2 tbsp soy sauce
- 1 tbsp rice vinegar
- 2 garlic cloves, minced
- 1/4 tsp red pepper flakes
- 1 cup green beans, trimmed
- Sesame seeds & sliced green onions for garnish
Instructions
- Toss chicken pieces with cornstarch, flour, salt, and pepper.
- Heat olive oil in a large skillet over medium-high heat. Cook chicken until golden and crispy (3–4 min per side). Remove and set aside.
- In the same skillet, whisk together honey, butter, soy sauce, rice vinegar, garlic, and red pepper flakes. Simmer 1 minute.
- Add green beans and sauté 3–4 minutes until tender-crisp.
- Return chicken to skillet, toss to coat in sauce. Garnish and serve immediately.
Notes
- For extra crispiness, double-bread the chicken by dipping in egg before coating with cornstarch.
- Serve over rice or noodles for a heartier meal.
- Use tamari for gluten-free option.
- Prep Time: 10 minutes
- Cook Time: 15 minutes
- Method: Stovetop
- Cuisine: American-Asian Fusion
Nutrition
- Serving Size: 1/4 recipe
- Calories: 345 Kcal
- Sugar: 18g
- Sodium: 520mg
- Fat: 12g
- Saturated Fat: 5g
- Unsaturated Fat: 6g
- Trans Fat: 0g
- Carbohydrates: 32g
- Fiber: 3g
- Protein: 28g
- Cholesterol: 75mg