
Caramel Cone Ice Cream Swirl: A Creamy and Indulgent Treat 🍦🍬✨
1. Introduction to the Irresistible Caramel Cone Ice Cream
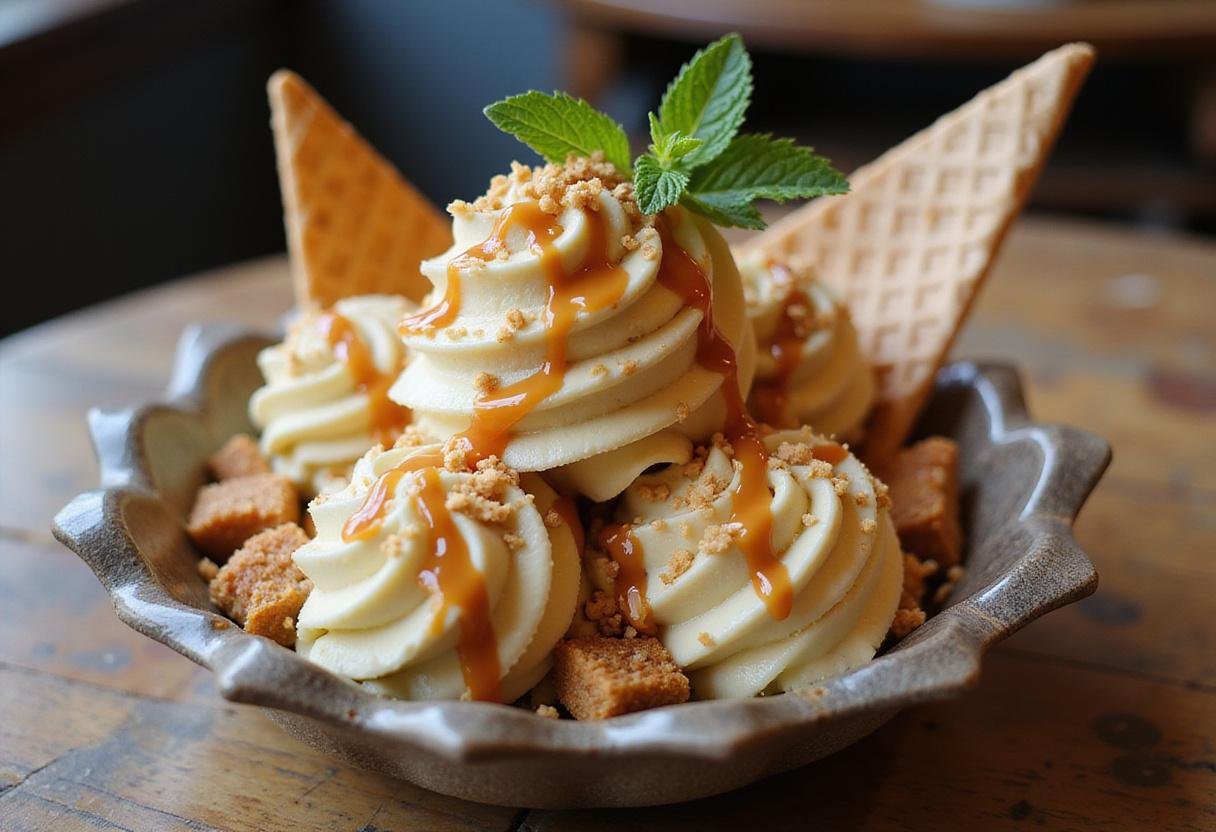
Summer is the perfect time to enjoy a cool and delightful dessert, and what better way to indulge than with our homemade caramel cone ice cream? This scrumptious recipe combines velvety ice cream with rich caramel, creating a swirl of flavors that will tantalize your taste buds. It’s easy to make and perfect for sharing with family and friends. Get ready to scoop up happiness with this creamy concoction that captures the essence of summer joy! If you’re looking for another dreamy dessert, check out this dreamy frozen yogurt paradise!
Imagine the creamy texture, the sweet caramel, and the satisfying crunch of a cone – all in one delicious bite. This caramel cone ice cream recipe brings that dream to life in your own kitchen. Plus, it’s a fun activity to do with kids! For another tasty treat, why not try these cinnamon apple chips?
2. Ingredients for Perfect Caramel Cone Ice Cream
To create this delectable caramel cone ice cream, you’ll need a few simple ingredients. Quality is key here, as it will directly impact the flavor and texture of your final product.
- 1 cup granulated sugar
- 6 tablespoons unsalted butter
- 1 cup heavy cream
- 1 teaspoon vanilla extract
- 2 cups half-and-half
- 1 pinch salt
- Waffle cones for serving
- Extra caramel sauce for drizzling – consider a high-quality brand from Haagen Dazs for an extra special touch
Before you start, ensure all your ingredients are measured and ready to go! Looking for a healthier snack? Check out these baked parmesan zucchini chips!
3. Step-by-Step Instructions to Make the Best Caramel Cone Ice Cream
Follow these detailed steps to ensure your caramel cone ice cream turns out perfectly every time. Let’s get started!
Step 1: Make the Caramel for Ultimate Flavor
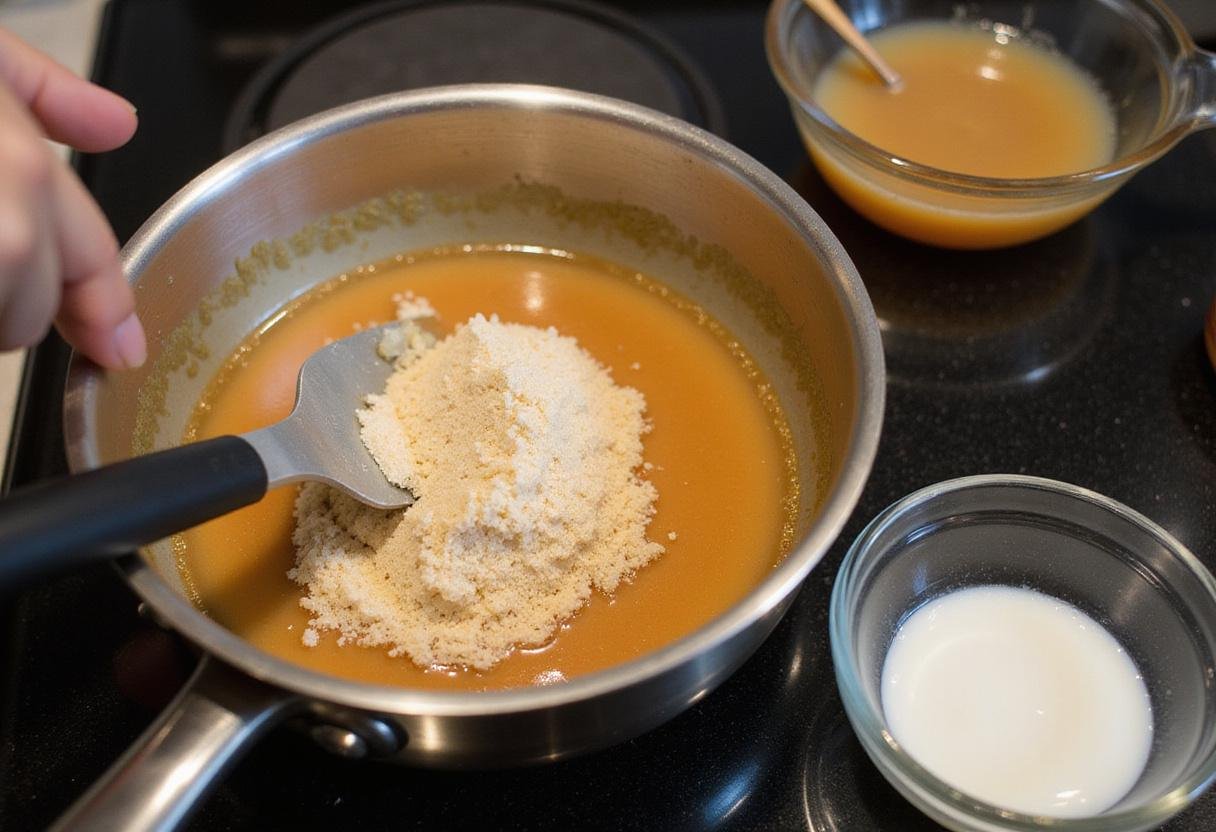
In a medium saucepan over medium heat, add the granulated sugar. Stir constantly until it melts and turns a golden brown color. This will create the deliciously rich caramel base for our caramel cone ice cream. Once your sugar is fully melted, add the unsalted butter and stir until fully combined. Patience is key here – don’t rush the caramelization process! If you are looking for more snack ideas, take a look at our snack category.
Step 2: Combine the Caramel with Cream for a Smooth Base
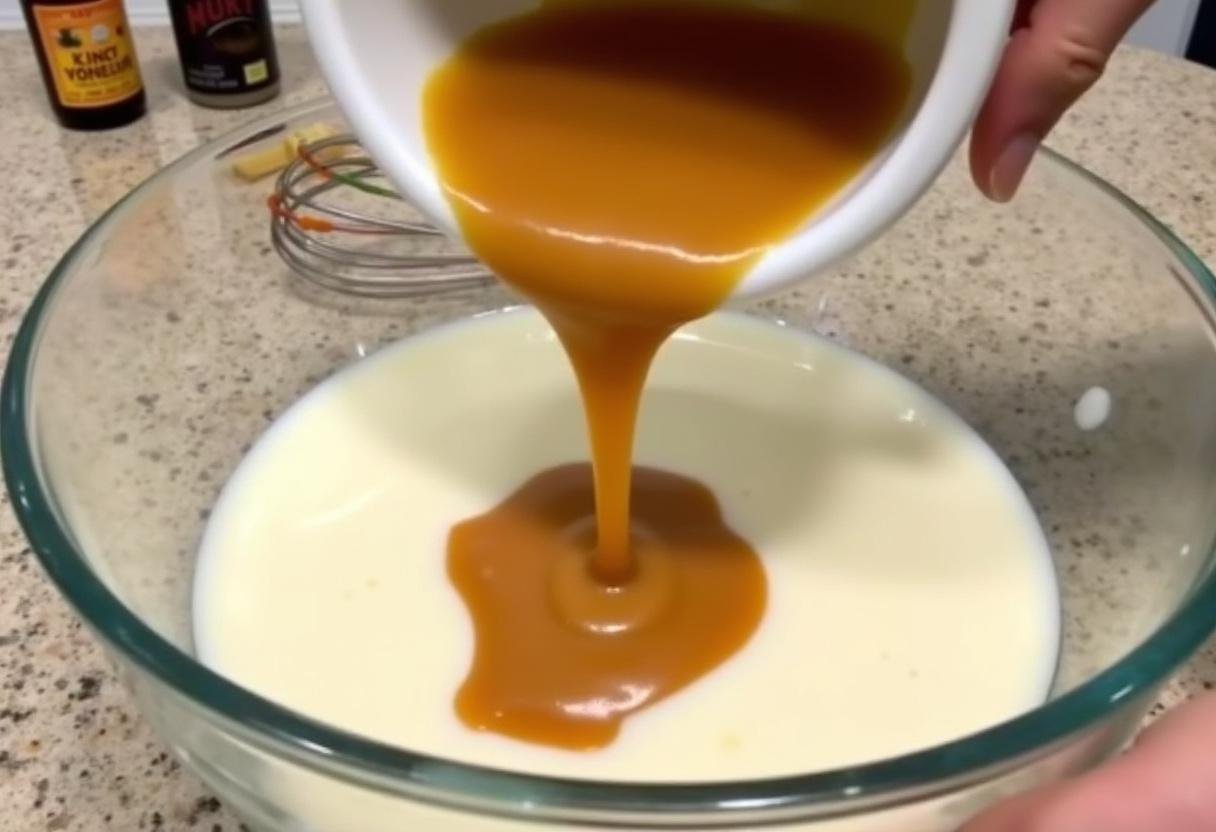
Slowly whisk in the heavy cream and bring the mixture to a simmer. Stir in the vanilla extract and a pinch of salt to balance the sweetness. Remove the caramel mixture from the heat and allow it to cool slightly, creating a perfect blend for your caramel cone ice cream. Make sure the cream is at room temperature to prevent the caramel from seizing up. For another summer classic, consider our zesty crispy potato salad!
Step 3: Churn the Ice Cream for a Creamy Texture Sensation
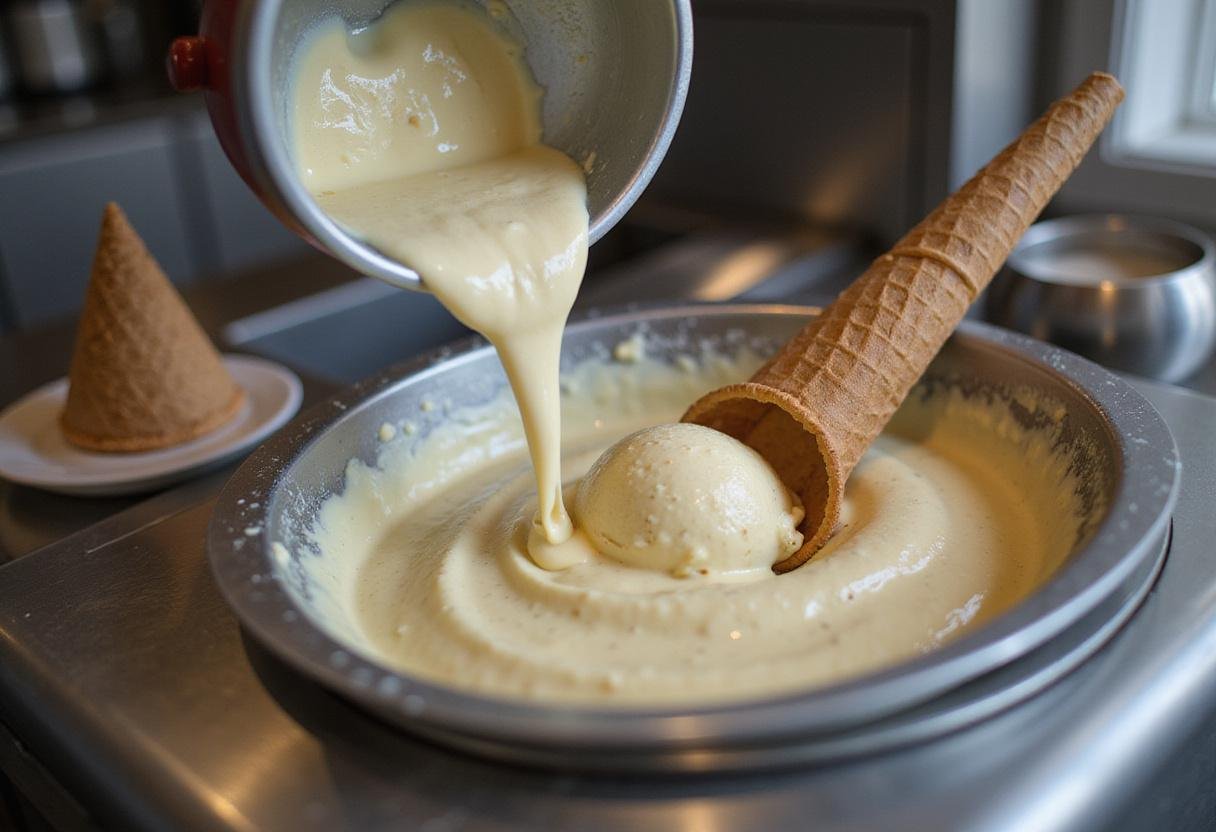
In a large bowl, combine the cooled caramel mixture with the half-and-half. Pour this mixture into an ice cream maker and churn according to the manufacturer’s instructions. This step is crucial for achieving the deliciously creamy texture that makes this caramel cone ice cream a standout dessert. Don’t over-churn, as it can result in a grainy texture. While you wait, how about prepping these grilled vegetable quesadillas?
Step 4: Serve and Enjoy Your Delicious Caramel Cone Ice Cream!
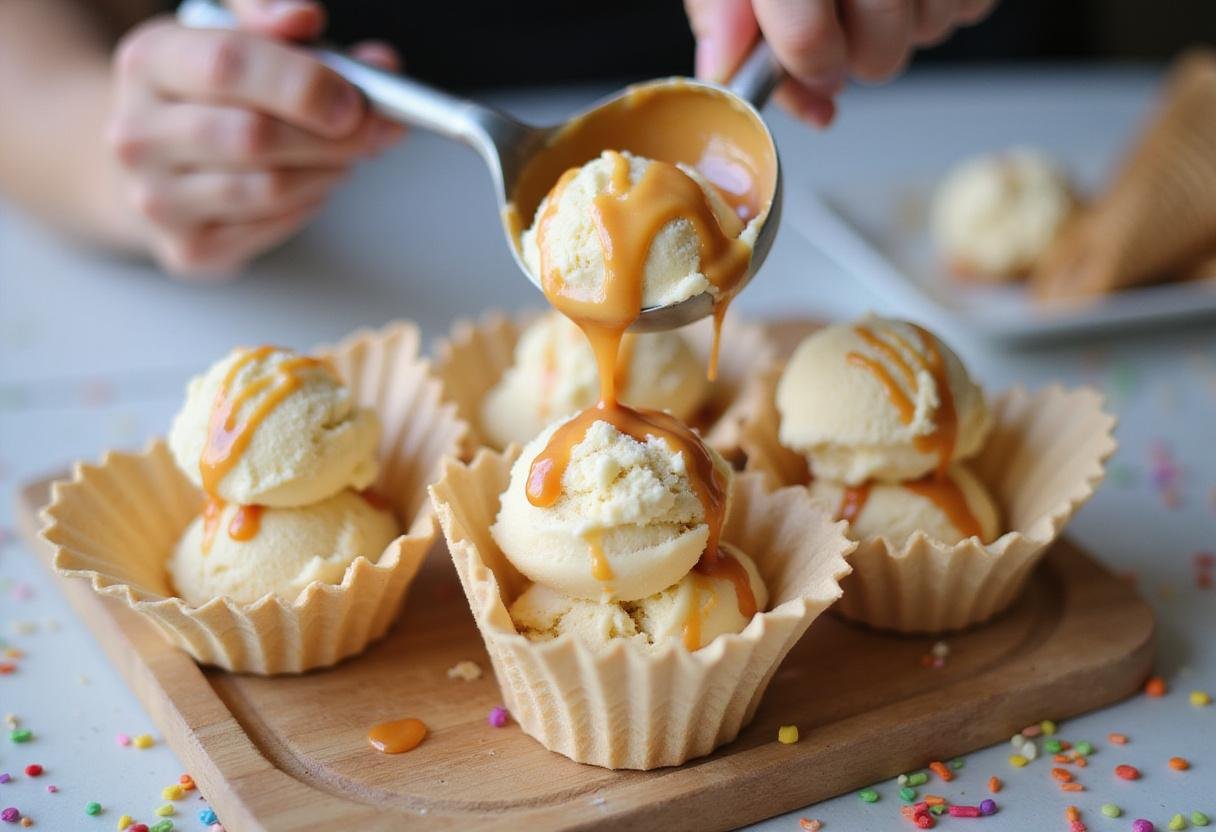
Once churned to a soft-serve consistency, transfer the caramel cone ice cream to an airtight container and freeze until firm, about 4 hours. When ready to serve, scoop the ice cream into waffle cones and drizzle with extra caramel sauce for that perfect finishing touch. Enjoy the delightful creaminess and the satisfying crunch! For a spicy contrast, savor your ice cream after some spicy grilled shrimp tacos!
4. Storage Tips for Keeping Your Caramel Cone Ice Cream Fresh
Proper storage is essential to maintain the quality of your homemade ice cream.
To keep your caramel cone ice cream fresh, store it in an airtight container in the freezer. It can last for up to 2 weeks. To maintain the best texture, allow the ice cream to sit at room temperature for a few minutes before scooping. This prevents it from becoming too hard to scoop. You might also like this rich double chocolate indulgence!
5. Serving Suggestions to Elevate Your Ice Cream Experience
There are endless ways to enjoy this creamy treat. Get creative with your toppings and pairings!
This scrumptious caramel cone ice cream pairs beautifully with a wide range of toppings. Consider adding crushed nuts, chocolate sprinkles, or fresh fruit to take your dessert to the next level. It can also be served alongside warm brownies or as a sundae with whipped cream on top. For a lighter meal, try this grilled halloumi salad!
6. FAQs About Making Caramel Cone Ice Cream
Here are some frequently asked questions to help you perfect your ice cream-making skills.
What makes this ice cream recipe unique?
This caramel cone ice cream recipe stands out due to its homemade caramel base, which provides a rich flavor that store-bought varieties often lack. The fresh, homemade caramel truly elevates the flavor profile.
Can I use a different type of cone?
Absolutely! While waffle cones are traditional, feel free to use sugar cones or even chocolate-dipped cones for a unique twist on your caramel cone ice cream. Get creative and experiment with different cone types!
How can I make this recipe dairy-free?
You can substitute the heavy cream and half-and-half with coconut cream and non-dairy milk alternatives to create a scrumptious dairy-free caramel cone ice cream. Ensure the coconut cream is full-fat for the best texture. You could also enjoy this after some herb lemon grilled chicken!
7. Nutrition Information for This Delicious Treat
Knowing the nutritional content can help you enjoy this dessert responsibly.
This caramel cone ice cream is not only delicious but also relatively easy to calculate nutrition. Each serving contains approximately 250 calories, with about 15 grams of fat and 28 grams of sugar, so enjoy in moderation! Keep in mind that these are estimates and can vary based on specific ingredients used.
8. Variations to Customize Your Caramel Cone Ice Cream
Get creative and add your own personal touch to this recipe!
Experiment with flavors by incorporating chocolate chips, different nuts, or cookie pieces into your caramel cone ice cream recipe. You can also create a swirl by mixing in various sauces like chocolate or fudge. Consider adding a pinch of sea salt to the caramel for a salted caramel version. The possibilities are endless!
9. Conclusion: Enjoy Your Homemade Caramel Cone Ice Cream
You’ve now got all the knowledge needed to create the perfect caramel cone ice cream. Time to get scooping!
Homemade caramel cone ice cream is a simple yet indulgent treat that everyone will love. With this recipe, you can create a delightful dessert that elevates any gathering or family dinner. Enjoy this delicious recipe and embrace the joy of summer all year round!
Print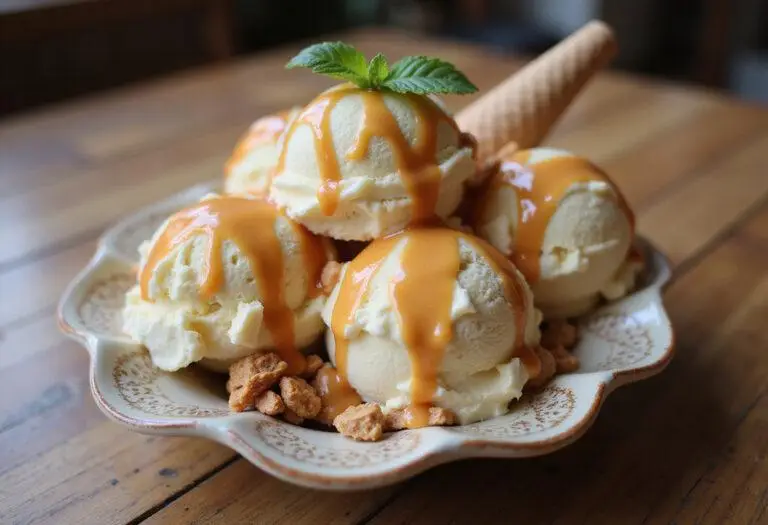
Caramel Cone Ice Cream Swirl
Indulge in the creamy delight of Caramel Cone Ice Cream Swirl, a perfect summer treat that combines rich caramel with velvety ice cream, served in crispy waffle cones. This homemade dessert is easy to make and a guaranteed hit for gatherings and family celebrations!
- Total Time: 4 hours 30 minutes
- Yield: 4 servings 1x
Ingredients
- 1 cup granulated sugar
- 6 tablespoons unsalted butter
- 1 cup heavy cream
- 1 teaspoon vanilla extract
- 2 cups half-and-half
- 1 pinch salt
- Waffle cones for serving
- Extra caramel sauce for drizzling
Instructions
- In a medium saucepan over medium heat, melt the granulated sugar, stirring continuously until it turns golden brown.
- Add unsalted butter to the melted sugar and stir until fully combined.
- Whisk in the heavy cream and bring the mixture to a simmer, then stir in vanilla extract and a pinch of salt.
- Remove from heat and allow to cool slightly before combining with half-and-half.
- Pour the mixture into an ice cream maker and churn according to the manufacturer’s instructions.
- Transfer the churned ice cream to an airtight container and freeze for about 4 hours until firm.
- Serve the ice cream in waffle cones, drizzled with extra caramel sauce.
Notes
- For the best flavor, use high-quality vanilla extract.
- Experiment with different types of cones such as sugar or chocolate-dipped for a unique twist.
- This ice cream can be stored for up to 2 weeks in the freezer.
- Prep Time: 20 minutes
- Cook Time: 10 minutes
- Category: Dessert
- Method: Churned
- Cuisine: American
- Diet: Vegetarian
Nutrition
- Serving Size: 1 cone
- Calories: 250 Kcal
- Sugar: 28g
- Sodium: 50mg
- Fat: 15g
- Saturated Fat: 9g
- Unsaturated Fat: 6g
- Trans Fat: 0g
- Carbohydrates: 30g
- Fiber: 0g
- Protein: 3g
- Cholesterol: 40mg