Bread 647: The Ultimate Artisan Bread Recipe 🍞✨🥖
1. Introduction: Discover the Delight of Homemade Bread 647
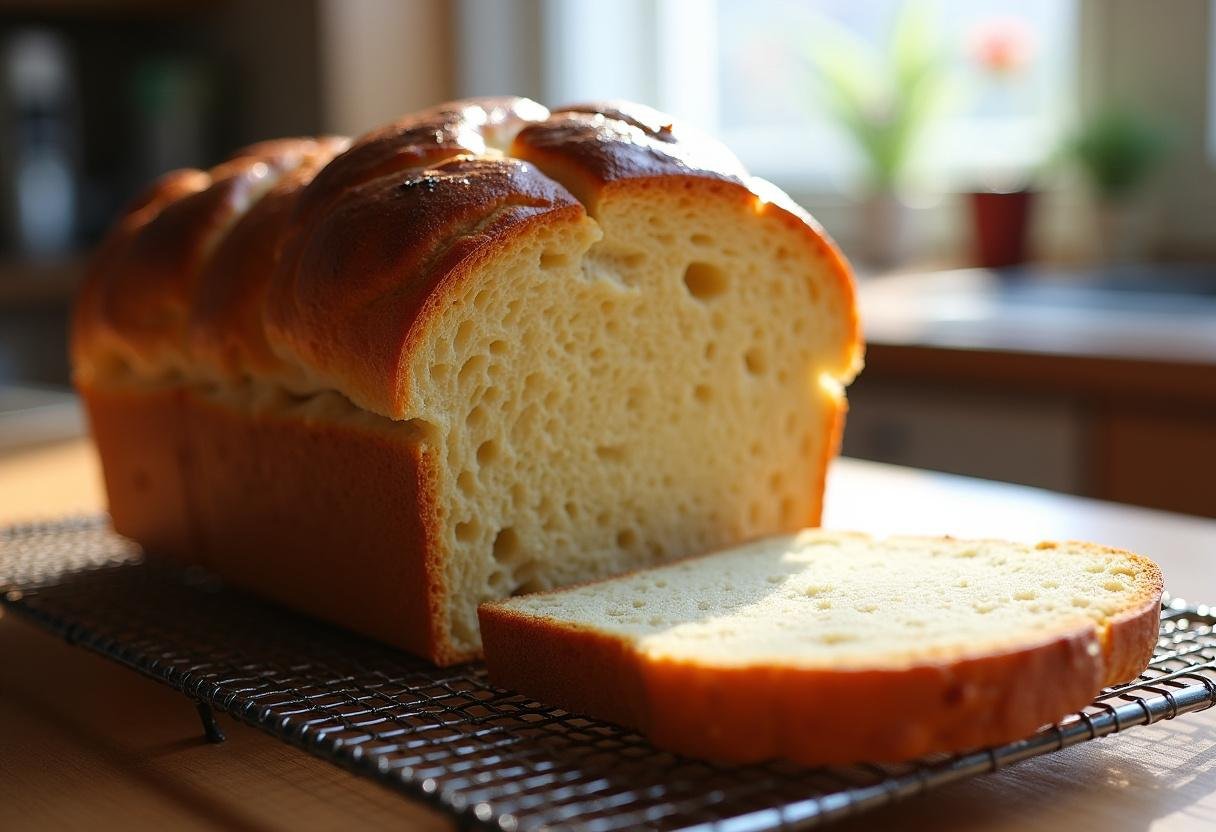
Welcome to the world of homemade delights! If you’re looking for a bread that’s both easy to make and incredibly satisfying, this recipe for Bread 647 is exactly what you need. This artisan-style bread, offering a delightful alternative to store-bought loaves, is perfect for both novice and experienced bakers. It boasts a wonderfully crispy crust and a soft, airy interior that will elevate any meal. Imagine the aroma of freshly baked bread filling your home – a simple pleasure that makes every bite special. Whether you’re enjoying it fresh out of the oven, using it for sandwiches (perhaps alongside our Giant Dinosaur Beef Ribs!), or serving it as a side with soup, this bread recipe is sure to impress. Let’s dive into the process of creating your own Bread 647, filled with love and delightful flavors. Consider pairing this wonderful bread with our breakfast recipes!
2. Ingredients: What You’ll Need for Perfect Bread 647
To create this beautiful loaf of bread, here’s a list of the essential ingredients. Using high-quality ingredients will make this homemade bread taste even better! Don’t forget to check out our other bread recipes for more baking inspiration!
- 4 cups all-purpose flour
- 2 teaspoons instant yeast
- 1 tablespoon salt
- 1 ½ cups warm water
- 1 tablespoon olive oil (optional)
3. Step-by-Step Instructions: Making Your Own Bread 647
Step 1: Mixing the Ingredients for Your Artisan Bread
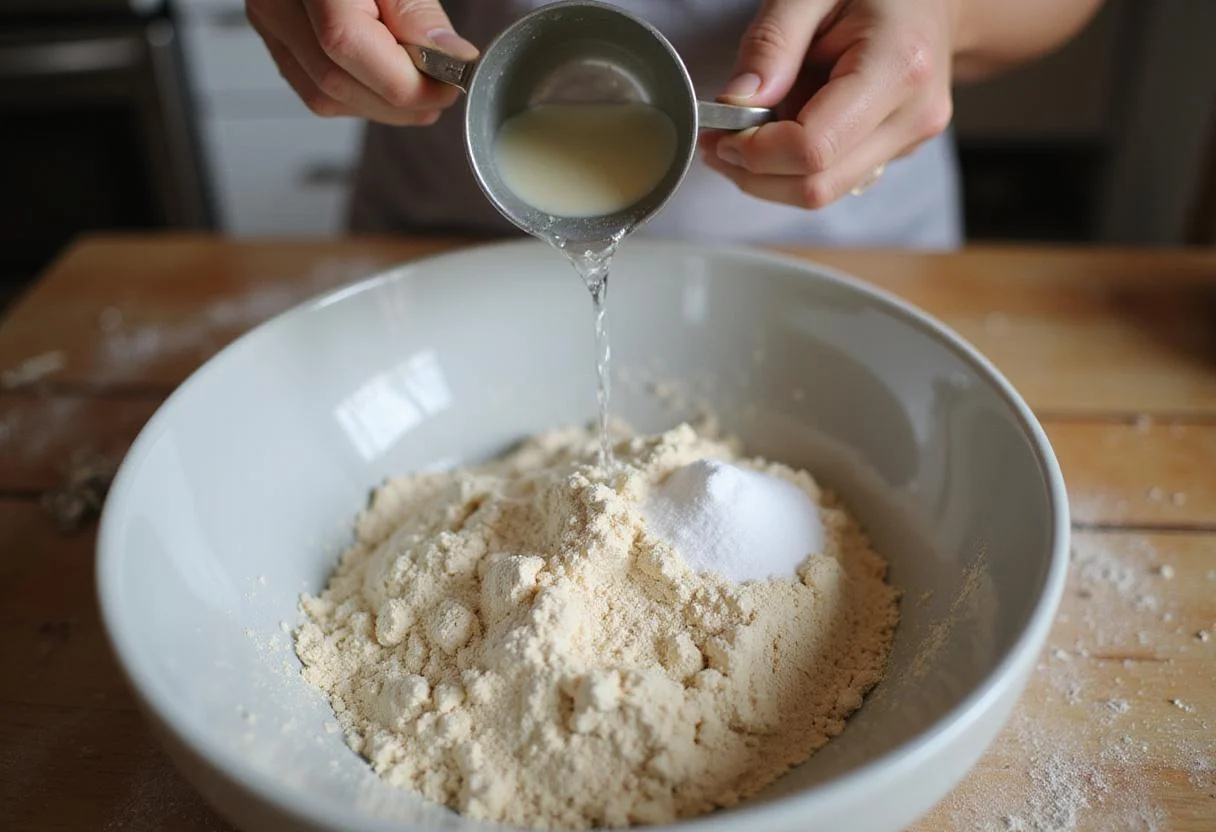
Start by combining the flour, instant yeast, and salt in a large mixing bowl. Make sure to mix them well to ensure an even distribution of the ingredients. A proper mix ensures the yeast activates evenly, leading to a better rise and a more consistent texture in your Bread 647.
Step 2: Kneading the Dough: The Key to a Perfect Bread 647 Loaf
Next, pour in the warm water and, if desired, the olive oil. Mix until combined and then transfer the mixture onto a floured surface. Knead the dough for about 10 minutes until it is smooth and elastic. Kneading develops the gluten, which gives the bread its structure and chewiness. Don’t skimp on the kneading – it’s a crucial step! If you’re interested in another chewy and delicious bread, check out our recipe for Miche Bread Loaf.

Step 3: Dough Rising: Patience is a Virtue with Bread 647
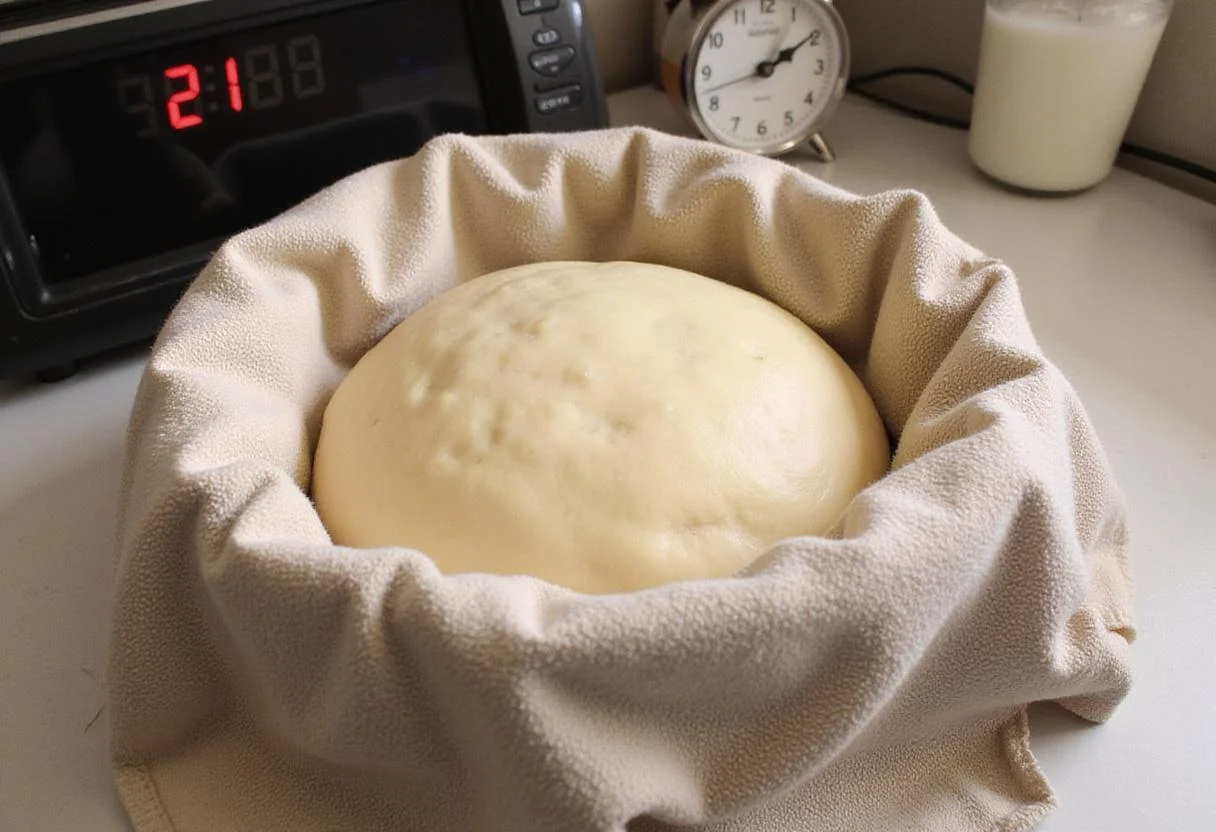
Once kneaded, place the dough into a lightly oiled bowl. Cover it with a clean kitchen towel and let it rise in a warm area for about 1 to 2 hours or until it doubles in size. This rising period allows the yeast to work its magic, creating air pockets that give the bread its light and airy texture. A warm environment helps speed up the process. While you wait, maybe you’d crave something sweet? Check out our Sweet Glazed Apple Fritters.
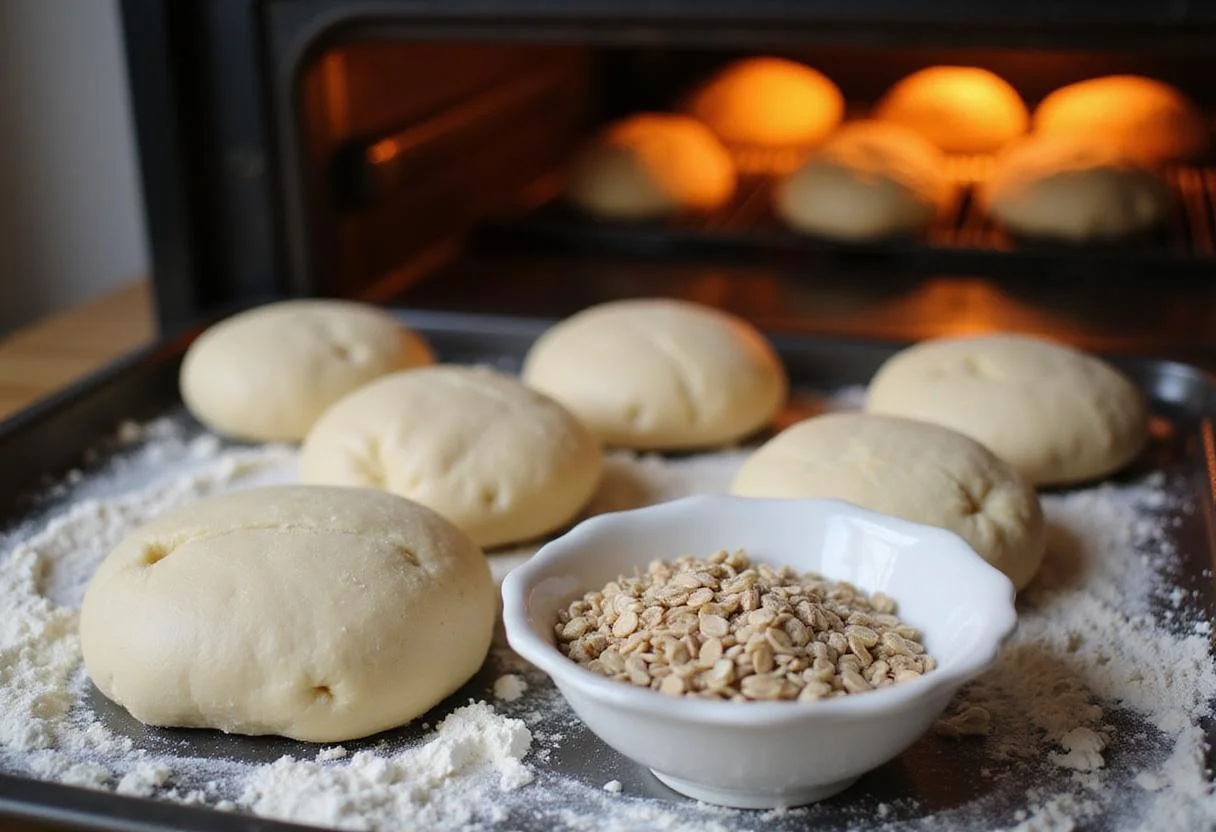
Step 4: Shaping the Loaf: Getting Ready to Bake Your Bread 647
After the dough has risen, gently punch it down to release the air. Shape the dough into a loaf and place it on a baking sheet lined with parchment paper. Let it rest for another 30 minutes before baking. This second rest, or proofing, allows the dough to relax and rise slightly again, ensuring a beautifully shaped loaf of homemade bread. If you’re in the mood for something quicker, our Nutritious Hawaiian Roll Delights might be a better fit! Also be sure to check out what Schmidt Old Tyme is saying about their 647 bread here.
4. Baking the Bread: Achieving Golden Perfection with Bread 647
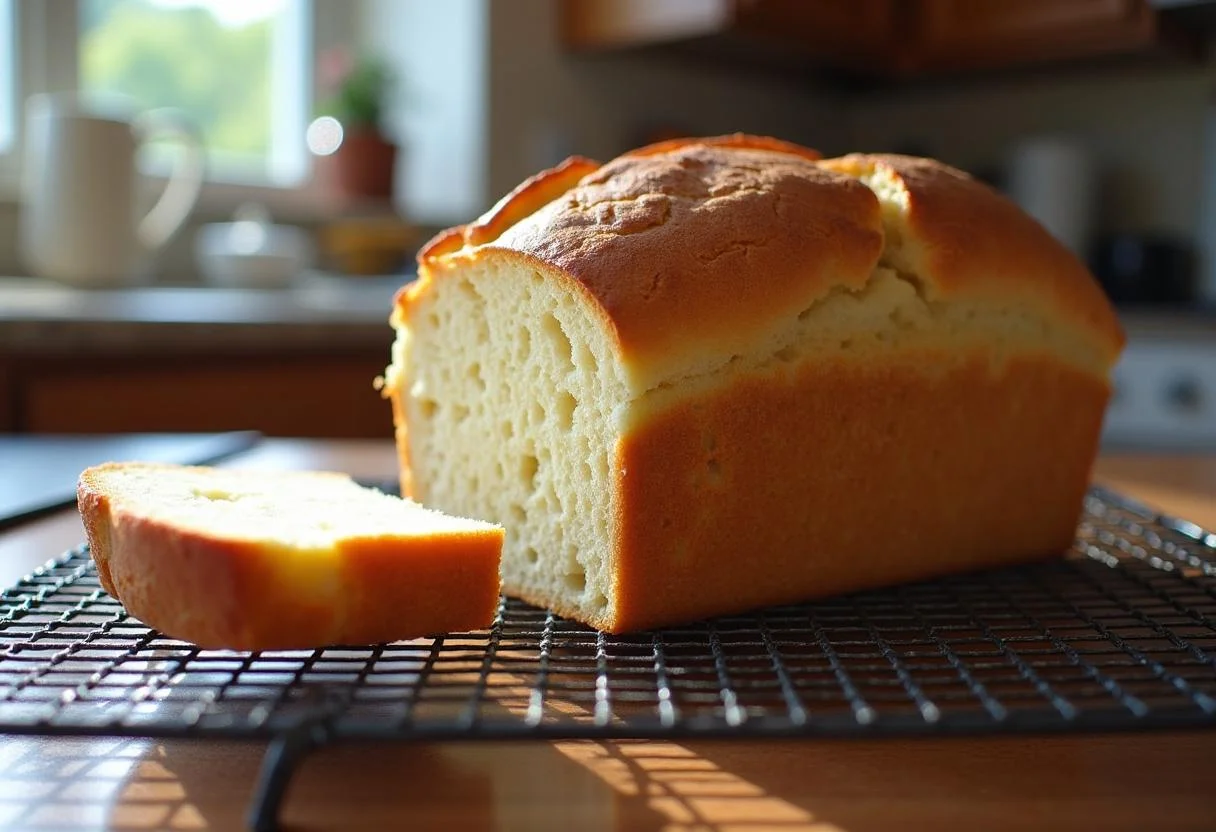
Preheat your oven to 450°F (230°C). Bake the dough for 25-30 minutes or until the bread is golden brown and sounds hollow when tapped on the bottom. The hollow sound indicates that the bread is fully cooked inside. Allow it to cool on a rack before slicing. This cooling period prevents the bread from becoming gummy when sliced. If you are feeling pizza why not try our recipe on Mountain Mike’s Supreme Pizza?
5. Storage Tips: Keeping Your Bread 647 Fresh
To maintain the freshness and flavor of your freshly baked Bread 647, store it in an airtight container at room temperature for up to three days. For longer storage, consider freezing sliced portions. Wrap them tightly in plastic wrap or foil to prevent freezer burn. This ensures you always have delicious bread on hand, ready to enjoy whenever you crave it.
6. Serving Suggestions: Enjoying Your Homemade Bread 647
This versatile bread pairs exquisitely with a variety of toppings. Enjoy it with homemade jams, butter, cream cheese, or use it as a base for sandwiches. A slice of Bread 647 alongside a hearty soup or salad is a classic option you won’t want to miss! Try cutting it into cubes for croutons or using it in bread pudding for a sweet treat. The possibilities are endless. Consider serving a warm slice of Bread 647 with our Perfect Ice Cream Cups!
7. Frequently Asked Questions About Bread 647
Q: Can I use whole wheat flour instead of all-purpose flour for my artisan bread?
A: Yes, you can substitute whole wheat flour, but the texture and rise may differ slightly. You may need to adjust the water content as whole wheat flour absorbs more liquid. Whole wheat flour will also give the bread a nuttier flavor and a denser texture.
Q: Why did my homemade bread not rise properly?
A: Common reasons for poor rising include expired yeast, incorrect water temperature, or drafts. Always check the freshness of your yeast and keep the dough in a warm, draft-free area. The ideal water temperature should be lukewarm, around 105-115°F (40-46°C).
Q: How can I get a crustier bread when baking Bread 647?
A: For a crustier bread, try adding a pan of water to your preheating oven or misting the dough with water before baking. This adds steam and creates a beautiful crust. You can also try baking the bread at a slightly higher temperature for the first few minutes.
8. Additional Tips for Baking the Best Bread 647
For enhanced flavor, consider adding herbs or seeds into the dough during the mixing stage. Rosemary, thyme, sesame seeds, or poppy seeds can add a delightful twist to your bread. Experimenting with different toppings or additions can also make each loaf uniquely yours! Brush the loaf with melted butter or olive oil before baking for an extra-crispy crust.
9. Conclusion: The Joy of Baking Bread 647
Crafting your own Bread 647 is not just a cooking task but a delightful experience that brings warmth and joy to your kitchen. The simple act of kneading the dough, watching it rise, and smelling the aroma as it bakes is incredibly therapeutic. With its perfect combination of a crispy crust and soft inside, this bread is bound to become a household favorite. Enjoy baking and savoring this delicious creation, and share it with those you love! And what about serving the bread with some Sweet Potato Cracker Snack?
Print
Bread 647
Discover the art of homemade baking with Bread 647, an artisan-style bread featuring a crispy crust and a soft interior that elevates meals and satisfies cravings. Perfect for sandwiches or enjoyed fresh, this recipe is simple and fulfilling for bakers of all levels.
- Total Time: 2 hours 50 minutes
- Yield: 1 loaf 1x
Ingredients
- 4 cups all-purpose flour
- 2 teaspoons instant yeast
- 1 tablespoon salt
- 1 ½ cups warm water
- 1 tablespoon olive oil (optional)
Instructions
- In a large mixing bowl, combine the flour, instant yeast, and salt. Mix well.
- Pour in warm water and olive oil (if using). Mix until combined, then knead on a floured surface for about 10 minutes until smooth and elastic.
- Place the kneaded dough into a lightly oiled bowl, cover with a kitchen towel, and let it rise in a warm area for 1 to 2 hours, or until it doubles in size.
- After rising, gently punch down the dough, shape it into a loaf, and place it on a parchment-lined baking sheet. Let it rest for another 30 minutes.
- Preheat oven to 450°F (230°C) and bake the dough for 25-30 minutes until golden brown and hollow-sounding when tapped. Cool on a rack before slicing.
Notes
- Store bread in an airtight container at room temperature for up to three days.
- For long-term storage, freeze sliced portions wrapped tightly to avoid freezer burn.
- Enhance flavor by adding herbs or seeds to the dough during mixing.
- Prep Time: 20 minutes
- Cook Time: 30 minutes
- Category: Breads
- Method: Baking
- Cuisine: Artisan
- Diet: Vegetarian
Nutrition
- Serving Size: 1 slice
- Calories: 150 Kcal
- Sugar: 0g
- Sodium: 200mg
- Fat: 2g
- Saturated Fat: 0.5g
- Unsaturated Fat: 1.5g
- Trans Fat: 0g
- Carbohydrates: 30g
- Fiber: 1g
- Protein: 4g
- Cholesterol: 0mg
1 thought on “Bread 647”