Homemade Coffee Ice Cream: Creamy, Dreamy, Caffeine-Infused Delight! 🍦☕✨
1. Introduction
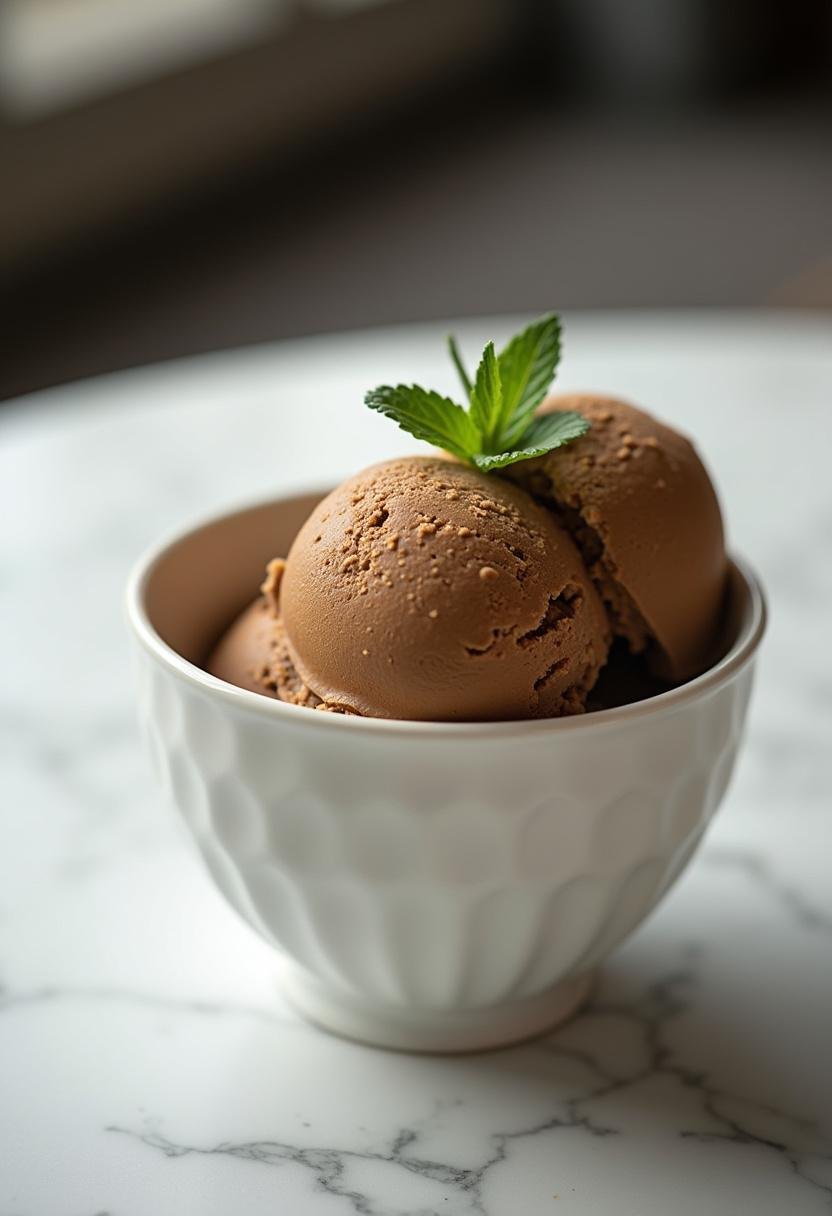
Indulge in the rich and invigorating flavor of homemade coffee ice cream! There’s nothing quite like the taste of a perfectly crafted frozen treat, and this recipe allows you to bring the aromatic essence of your favorite brew into a creamy, frozen dessert. Forget those generic, store-bought versions; crafting your own coffee ice cream at home gives you the power to control every single ingredient and achieve that elusive perfect balance of robust coffee flavor and just the right amount of sweetness. Whether you’re a dedicated coffee aficionado always on the lookout for new ways to enjoy your favorite bean, or you simply love a refreshing and delightful treat on a warm day, this easy coffee ice cream recipe is destined to become a cherished staple in your kitchen. Let’s embark together on this delightful culinary journey and create a homemade coffee gelato that will not only tantalize your taste buds but also leave you and anyone you share it with craving more. Imagine enjoying this on a hot summer day, providing a cool and caffeinated escape, or savoring it on a cozy night in, offering a comforting and sophisticated dessert that is sure to impress your friends and family alike. This recipe is incredibly versatile and will easily become a go-to dessert.
2. Ingredients Needed
Before you start, make sure you have all of your ingredients measured and ready to go. Good preparation ensures smooth sailing!
- 2 cups heavy cream
- 1 cup whole milk
- ¾ cup granulated sugar
- ½ cup freshly brewed strong coffee, cooled – The quality of your coffee directly impacts the taste of your ice cream, so choose wisely! For those who prefer a richer, more intense flavor, consider using espresso. You can find excellent coffee beans at JoyFoodSunshine.
- 1 teaspoon vanilla extract
- Pinch of salt
3. Equipment Required
Having the right tools will make the process easier and more enjoyable.
- Medium saucepan
- Whisk
- Ice cream maker
- Airtight container for freezing
4. Step-by-Step Instructions
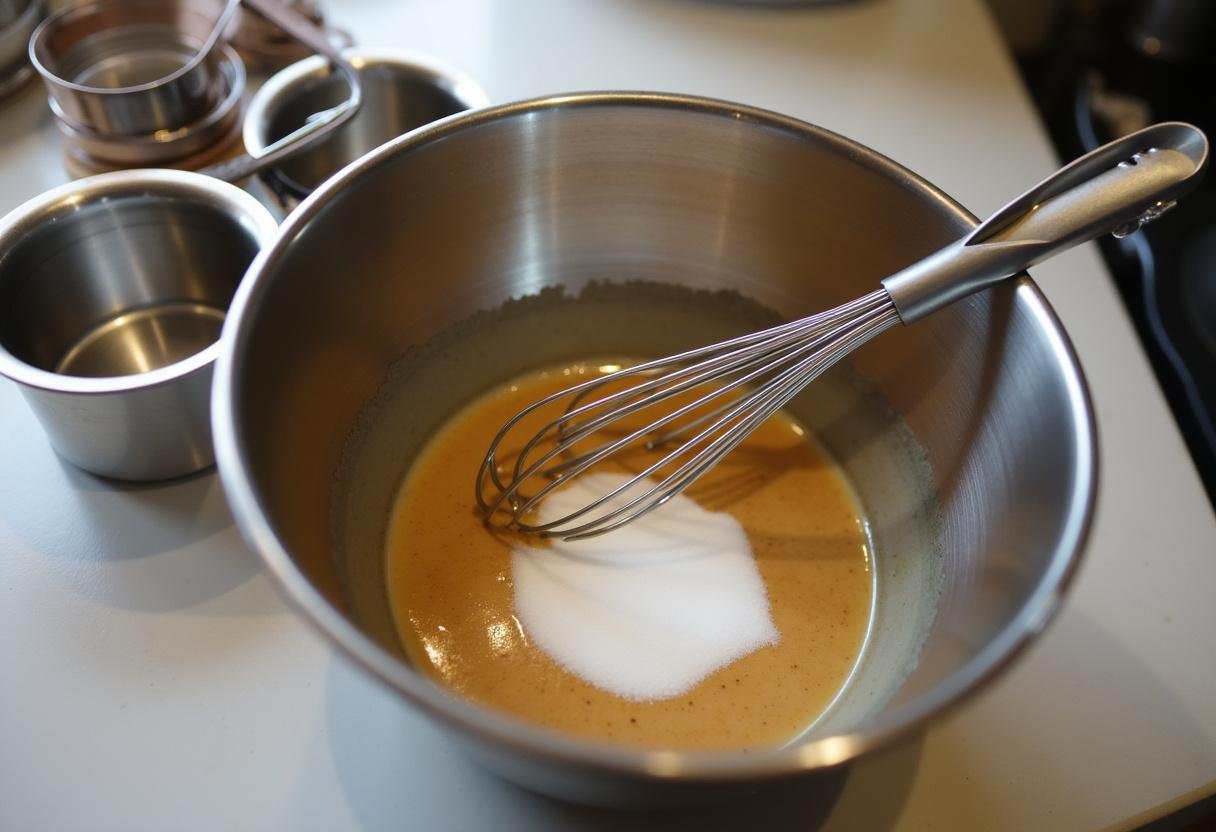
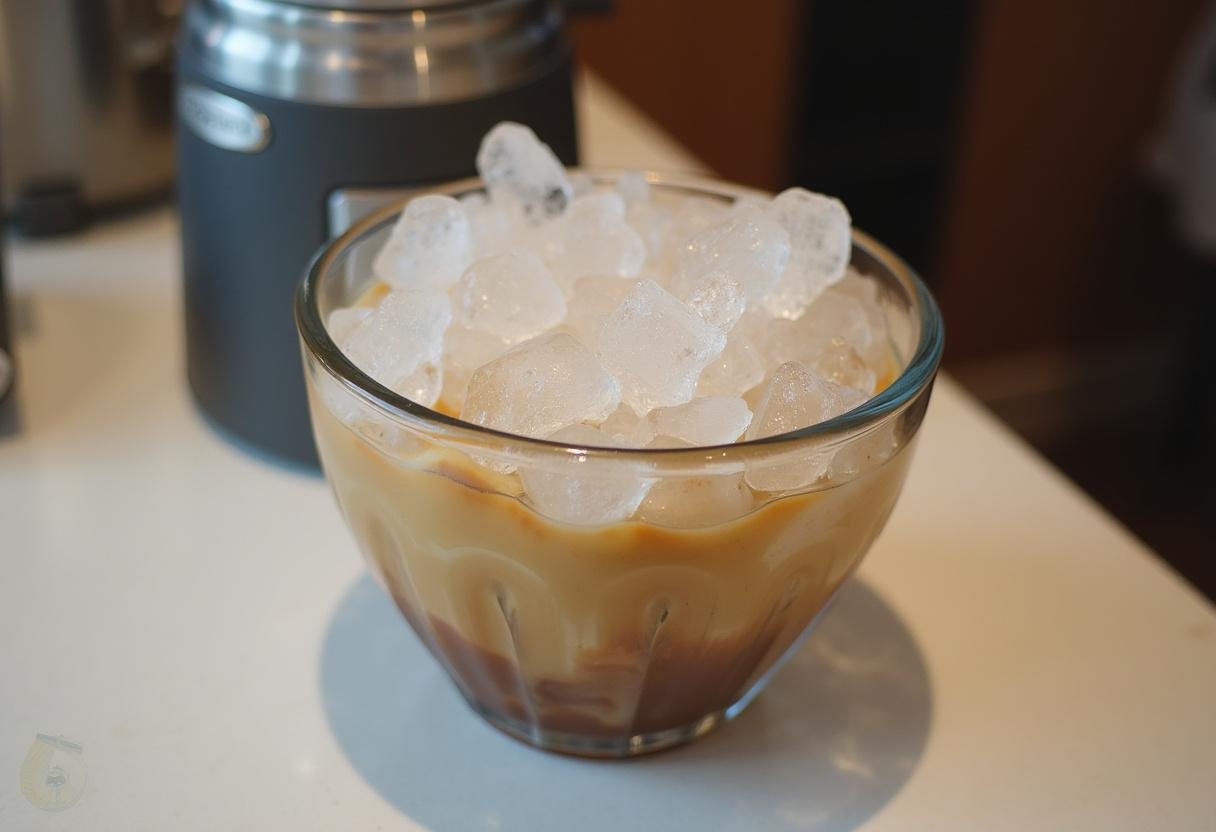
1. Prepare the Coffee Mixture
In a medium saucepan, carefully combine the heavy cream, whole milk, granulated sugar, cooled strong coffee, vanilla extract, and just a pinch of salt. Now, whisk everything together with enthusiasm until the sugar is fully dissolved, ensuring that the mixture is beautifully and uniformly combined. Ensuring the sugar dissolves completely will prevent any graininess and give your homemade coffee ice cream that perfect, smooth-as-silk texture you’re aiming for.
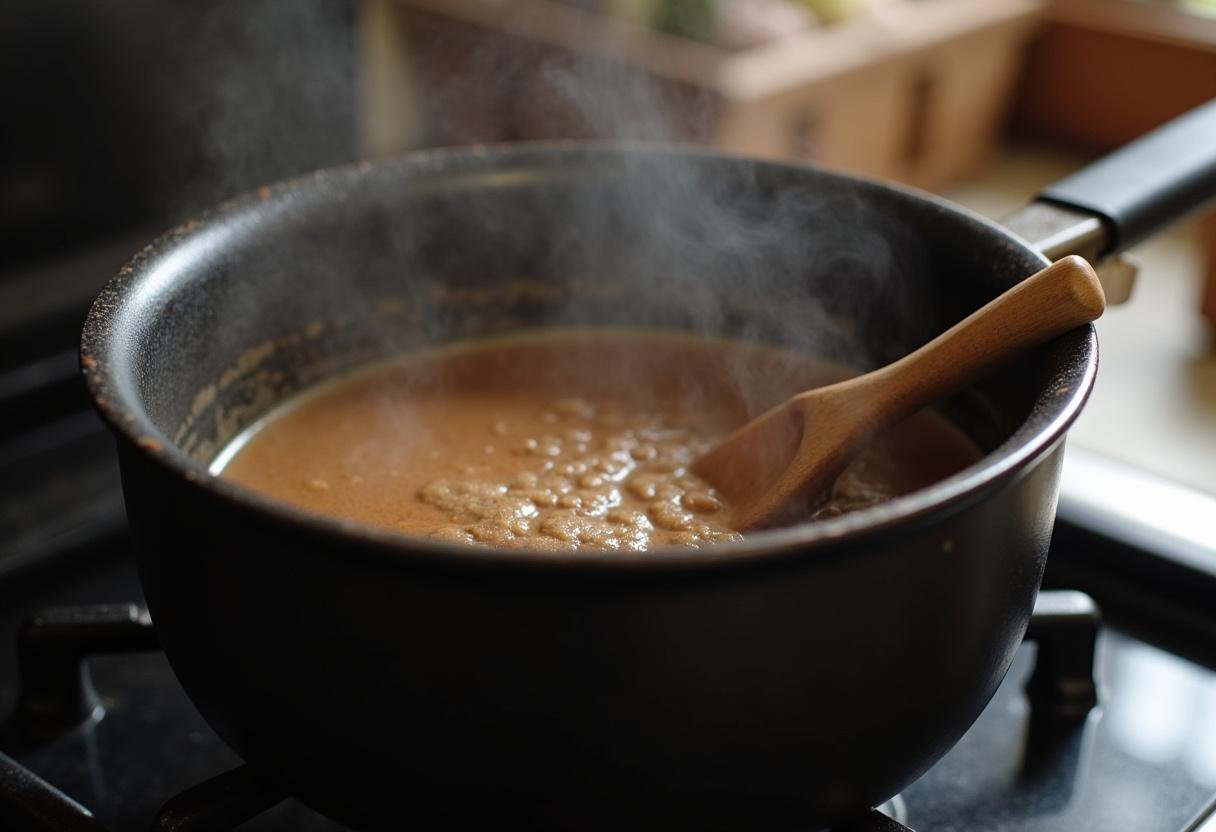
2. Heat and Cool the Mixture
Place the saucepan over medium heat and cook, stirring occasionally with care, until the mixture is heated through. It’s crucial that you do not allow the mixture to boil, as this can affect the final texture. Remove it promptly from the heat source and allow it to cool slightly at room temperature. Once it’s cooled a bit, cover the mixture securely and refrigerate for at least 4 hours, though preferably overnight. This extended chilling process is absolutely crucial for achieving the ideal, velvety consistency that defines exceptional coffee ice cream at home.
3. Churn in the Ice Cream Maker
Once the coffee mixture is thoroughly chilled – patience is key here! – gently pour it into your ice cream maker, prepared according to the manufacturer’s instructions. Follow those instructions meticulously to churn the ice cream. This usually takes approximately 20-25 minutes, but it may vary, so keep a close eye on it. You’re looking for a soft-serve consistency. The churning process is vital because it introduces air delicately into the mixture, which is what creates that delightful light and airy texture that is characteristic of truly great easy coffee ice cream.
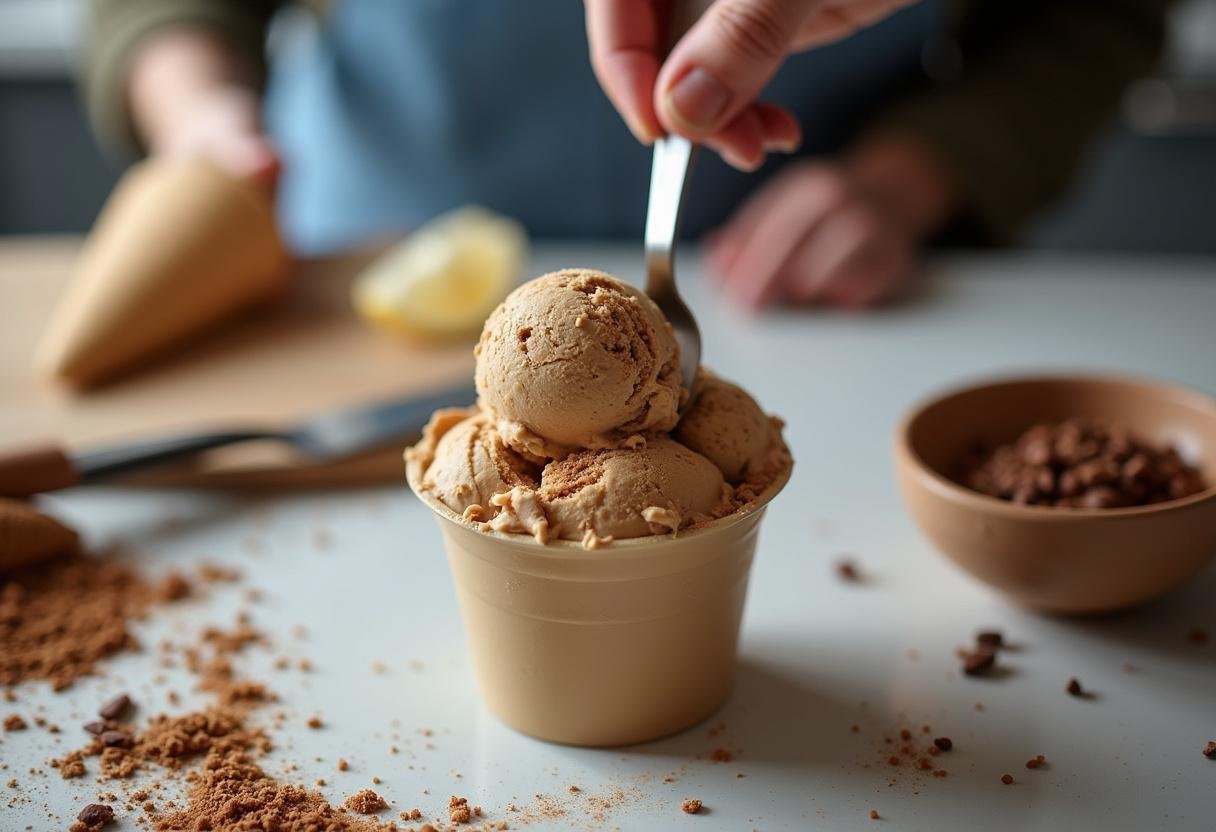
4. Freeze to Perfection
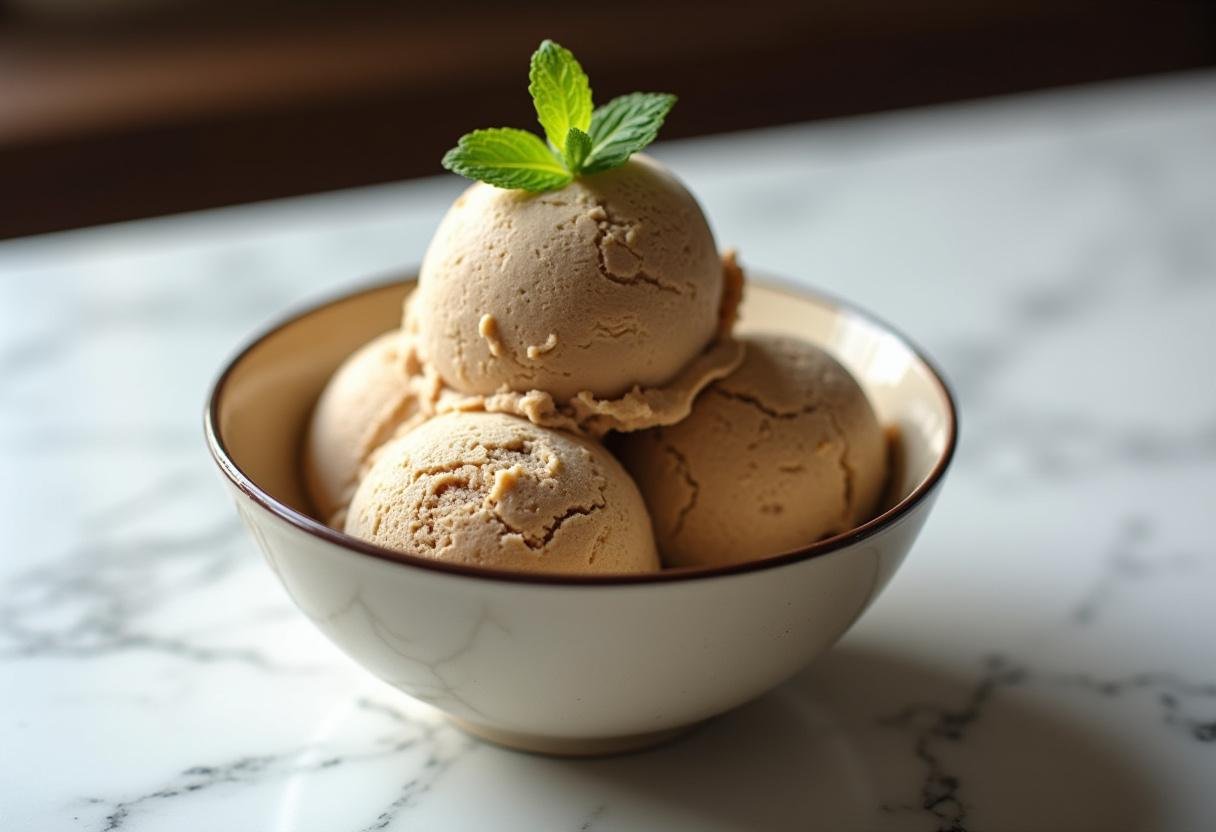
Carefully transfer the freshly churned ice cream into a pre-prepared airtight container. To prevent any pesky ice crystals from forming on the surface (we want smooth perfection!), gently press a piece of plastic wrap directly onto the surface of the ice cream before sealing the container. Freeze for a minimum of 2-3 hours, or even longer, to allow the ice cream to harden fully to a perfectly scoopable consistency. Finally, the moment has arrived! You now have delicious homemade coffee gelato that’s ready to be enjoyed! It’s that simple!
5. Tips for the Best Coffee Ice Cream
Here’s a few extra tips that might help!
- Use high-quality coffee for the best flavor.
- Make sure your coffee mixture is thoroughly chilled before churning.
- Don’t over-churn the ice cream, as it can become grainy.
- For a smoother texture, consider adding a tablespoon of vodka to the mixture before churning.
6. Variations and Add-Ins
Get creative and personalize your ice cream!
- Add chocolate chips or chunks for a mocha flavor.
- Swirl in caramel sauce for a sweet and salty twist.
- Include chopped nuts for added texture.
- Experiment with different coffee flavors, such as espresso or flavored syrups.
7. Serving Suggestions
Homemade coffee ice cream is a true delight, but here are some suggestions to take the experience to the next level:
- Brownies or cookies – a warm, decadent pairing.
- Affogato (poured over hot espresso) – a classic Italian treat.
- Waffles or pancakes – an unexpected but delicious breakfast indulgence.
8. Health Benefits
While ice cream is typically seen as an occasional treat, homemade coffee ice cream offers a distinct advantage: you have complete control over the ingredients! This means you can significantly reduce the amount of artificial additives and excessive sugars that are often found in store-bought versions. Plus, let’s not forget that coffee naturally contains antioxidants, providing a small but welcome health boost with each delicious bite. Of course, it’s still ice cream, so enjoy your easy coffee ice cream responsibly and in moderation as part of a well-balanced and varied diet.
9. Conclusion
Creating homemade coffee gelato is a highly rewarding experience that culminates in a truly delicious and customizable treat. With this homemade coffee ice cream recipe , you are equipped to enjoy a creamy, intensely flavored, caffeine-infused dessert that is undeniably far superior to anything you could buy at the store. So, gather your ingredients, carefully follow the straightforward steps outlined above, and prepare yourself to indulge in the rich and invigorating flavor of your very own homemade coffee ice cream. Enjoy the process and, above all else, enjoy the final result!
Print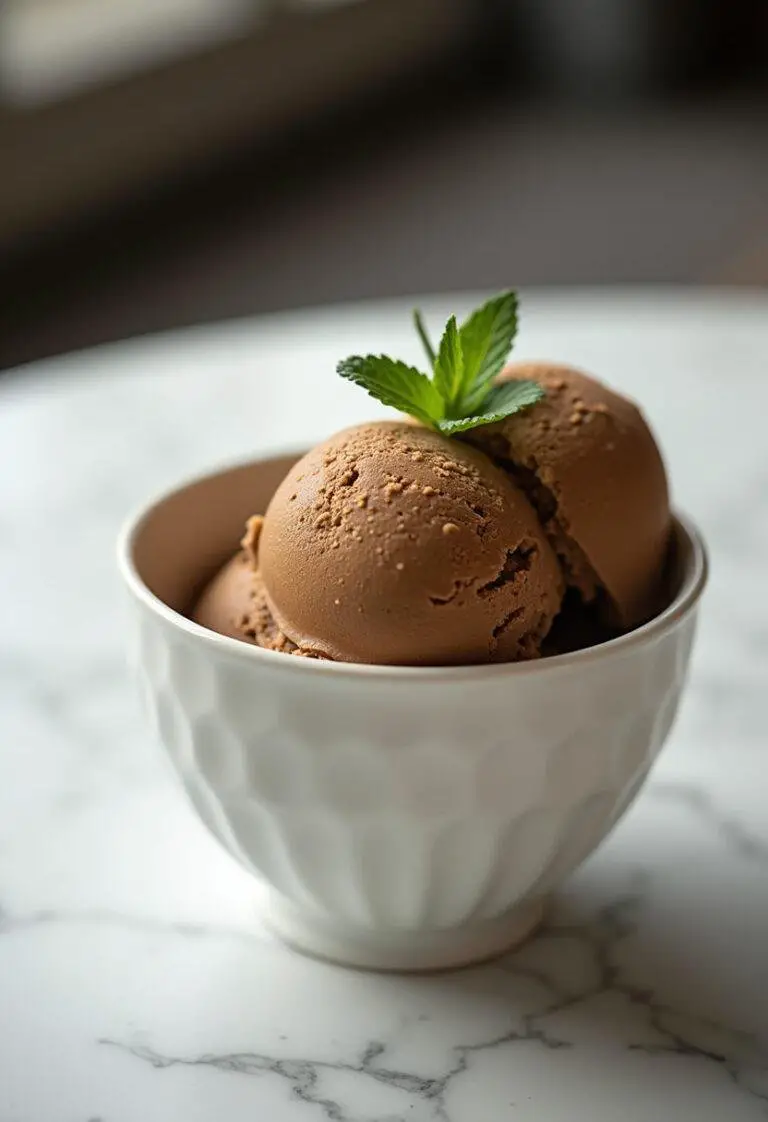
Homemade Coffee Ice Cream
Indulge in the rich and invigorating flavor of homemade coffee ice cream! This creamy, frozen dessert brings the essence of your favorite brew into a delightful treat.
- Total Time: 4 hours 25 minutes
- Yield: 4 servings 1x
Ingredients
- 2 cups heavy cream
- 1 cup whole milk
- ¾ cup granulated sugar
- ½ cup freshly brewed strong coffee, cooled
- 1 teaspoon vanilla extract
- Pinch of salt
Instructions
- In a medium saucepan, combine heavy cream, whole milk, sugar, cooled coffee, vanilla extract, and salt. Whisk until the sugar dissolves.
- Heat the mixture over medium heat until heated through (do not boil). Cool slightly, then cover and refrigerate for at least 4 hours.
- Pour the chilled mixture into the ice cream maker and churn according to manufacturer’s instructions (about 20-25 minutes).
- Transfer the churned ice cream into an airtight container, cover with plastic wrap, and freeze for 2-3 hours until scoopable.
Notes
- Use high-quality coffee for the best flavor.
- Make sure the coffee mixture is thoroughly chilled before churning.
- Don’t over-churn to avoid a grainy texture.
- Add a tablespoon of vodka for a smoother texture if desired.
- Prep Time: 15 minutes
- Cook Time: 10 minutes
- Category: Dessert
- Method: Churned
- Cuisine: American
- Diet: Vegetarian
Nutrition
- Serving Size: 1/2 cup
- Calories: 250 Kcal
- Sugar: 22g
- Sodium: 50mg
- Fat: 16g
- Saturated Fat: 10g
- Unsaturated Fat: 3g
- Trans Fat: 0g
- Carbohydrates: 24g
- Fiber: 0g
- Protein: 4g
- Cholesterol: 60mg
1 thought on “Homemade Coffee Ice Cream”