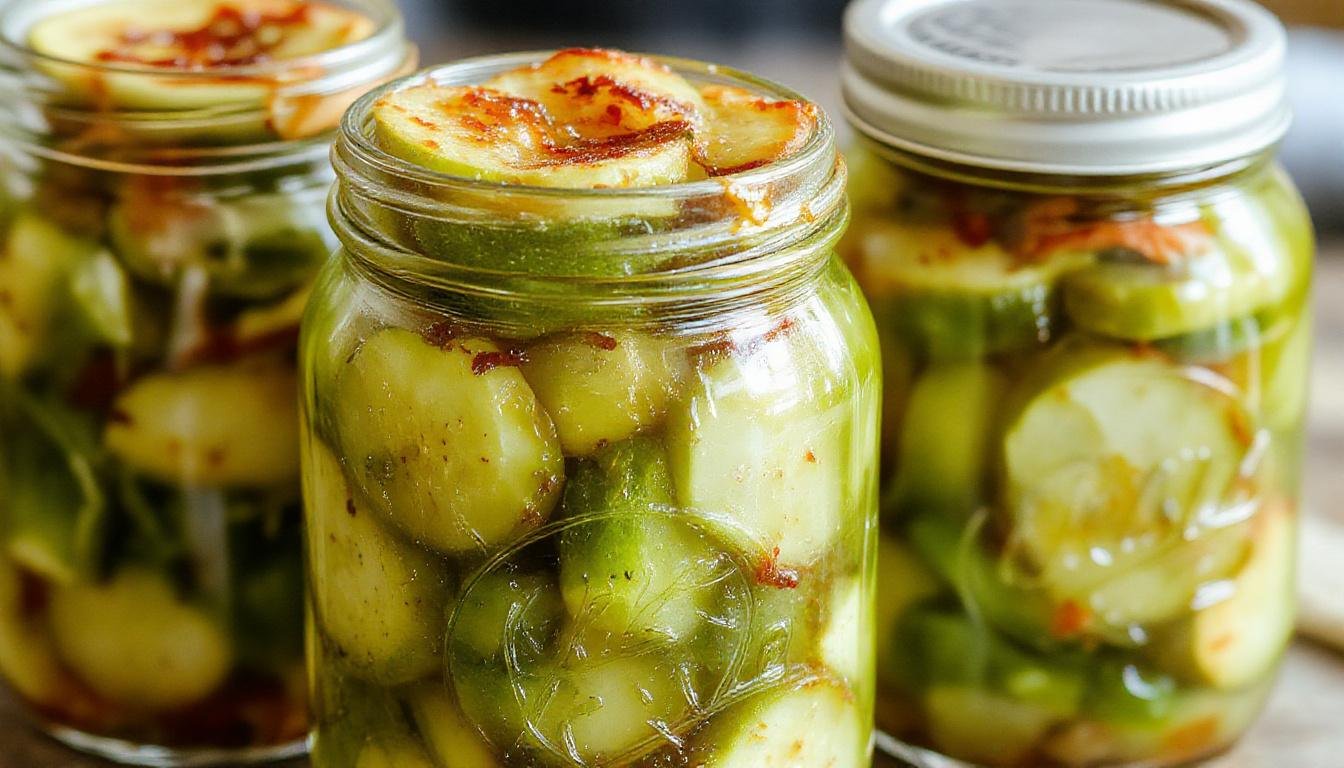
Crispy Homemade Dill Pickles: Easy Canning Recipe! 🥒✨
1. Introduction
Welcome to your ultimate guide on how to make canning dill pickles at home! Nothing beats the crisp, tangy flavor of homemade dill pickles, and with this crispy pickles recipe, you’ll be able to enjoy fresh, crunchy pickles anytime. Whether you’re a seasoned canner or trying it for the first time, this step-by-step process will help you create delicious, preservative-free homemade dill pickles that are perfect for snacking, sandwiches, or gifting.
2. Ingredients for Canning Dill Pickles
- 6-8 fresh cucumbers (preferably pickling variety)
- 4 cups water
- 2 cups distilled white vinegar
- 3 tablespoons salt (non-iodized)
- 4 cloves garlic, peeled
- 2 tablespoons dill seed or fresh dill
- 1 teaspoon red pepper flakes (optional for a spicy kick)
- Horseradish root (optional, for added flavor)
- Jars and lids for canning
For more ideas on fruit preservation, check out our roasted peach BBQ chicken recipe for delicious flavor combinations.
3. Step-by-Step Instructions for Making Crispy Homemade Dill Pickles
Preparing the Cucumbers
Start by washing your cucumbers thoroughly. For crispier pickles, you can trim the blossom ends, as these contain enzymes that might soften the pickles. Slice or leave whole based on your preference.
Creating the Brine
In a pot, combine water, vinegar, and salt. Bring the mixture to a boil, stirring until the salt dissolves completely. Let the brine cool slightly while you prepare the jars.
Assembling the Jars
Place garlic cloves, dill, and optional spices into the sterilized jars. Pack the cucumbers tightly but without crushing. Pour the warm brine over to cover the pickles entirely.
Sealing and Canning
Wipe the rims of the jars clean before sealing with the lids. Process the jars in a boiling water bath for about 10 minutes to ensure proper preservation. For foolproof results, consider using a Ninja SLUSHi Pro RapidChill Drink Maker to quickly cool your jars if needed.
4. Storage Tips for Your Homemade Dill Pickles
Store your canning dill pickles in a cool, dark place like a pantry or cellar. Once opened, keep them refrigerated and consume within a month for optimal crunch and flavor. Proper sterilization and sealing will extend shelf life significantly.
5. Serving Suggestions for Crispy Pickles
Crispy homemade dill pickles are perfect as a snack, on sandwiches, or as a side for grilled meats. Use them to add zest to your salads or even incorporate them into cocktails for a unique twist.
Looking for meal inspiration? Try pairing your pickles with our low-carb Philly cheesesteak bowls for a delicious dinner.
6. Frequently Asked Questions (FAQs)
Can I substitute apple cider vinegar for white vinegar?
Yes, apple cider vinegar can add a slightly sweet, tangy flavor. Just ensure it’s distilled and unfiltered for best results.
How long do canning dill pickles last?
Properly sealed and stored pickles can last up to a year in a cool, dark pantry. Once opened, refrigerate and consume within 4-6 weeks.
Can I make these pickles without canning?
Yes, you can store them in the refrigerator for up to 2 weeks, but for longer shelf life, traditional canning is recommended.
What makes homemade dill pickles crispy?
Using fresh cucumbers, adding a bit of non-iodized salt, and keeping the pickles sealed tightly helps retain their crispness. Some enthusiasts also add a grape leaf or horseradish root for extra crunch.
7. Kitchen Tools That You Might Need for This Recipe
- Fullstar Ultimate Veggie Prep Master — Make prepping your cucumbers quick and easy with this versatile vegetable chopper.
- CAROTE Premium 16pc Nonstick Cookware Set — Perfect for boiling the brine and sterilizing jars effortlessly.
- Ninja SLUSHi Pro RapidChill Drink Maker — Cool your jars quickly after processing to prevent cracking.
Each of these tools will elevate your canning experience, making the process smoother and more enjoyable.
8. Conclusion
Making crisp homemade dill pickles through this easy canning recipe is a rewarding way to preserve summer’s bounty. With fresh ingredients and proper technique, you’ll enjoy tasty, crunchy pickles whenever you desire. Don’t forget to experiment with spices and herbs to personalize your dill pickles. Happy canning!
Print
Crispy Homemade Dill Pickles: Easy Canning Recipe!
Discover how to make crispy homemade dill pickles with this easy canning recipe. Perfect for preserving fresh cucumbers, these crunchy, tangy pickles are ideal for snacking, sandwiches, and gifting. Crafted with fresh ingredients and simple steps, enjoy homemade dill pickles year-round.
- Total Time: 30 minutes + cooling and processing time
- Yield: 4–6 pints 1x
Ingredients
- 6–8 fresh cucumbers (preferably pickling variety)
- 4 cups water
- 2 cups distilled white vinegar
- 3 tablespoons salt (non-iodized)
- 4 cloves garlic, peeled
- 2 tablespoons dill seed or fresh dill
- 1 teaspoon red pepper flakes (optional for a spicy kick)
- Horseradish root (optional, for added flavor)
- Jars and lids for canning
Instructions
- Start by washing your cucumbers thoroughly. For crispier pickles, trim the blossom ends to prevent softening. Slice or leave whole based on your preference.
- Combine water, vinegar, and salt in a pot. Bring to a boil, stirring until salt dissolves. Let the brine cool slightly.
- Place garlic, dill, and optional spices into sterilized jars. Pack cucumbers tightly without crushing.
- Pour warm brine over cucumbers, covering them completely.
- Seal the jars with lids. Process in a boiling water bath for about 10 minutes for proper preservation.
Notes
- Use fresh cucumbers and non-iodized salt for best crispness.
- Add grape leaves or horseradish root for extra crunch.
- Store in a cool, dark place; refrigerate after opening.
- Consume within a month for optimal flavor and texture.
- Prep Time: 20 minutes
- Cook Time: 10 minutes
- Category: Appetizer, Snack, Canning
- Method: Canning, Pickling
- Cuisine: American
- Diet: Vegan, Vegetarian
Nutrition
- Serving Size: 1 pickle or 2 tablespoons
- Calories: 5 Kcal
- Sugar: 0g
- Sodium: 150mg
- Fat: 0g
- Saturated Fat: 0g
- Unsaturated Fat: 0g
- Trans Fat: 0g
- Carbohydrates: 1g
- Fiber: 0.3g
- Protein: 0g
- Cholesterol: 0mg