Mika’s Exquisite Sushi: A Culinary Masterpiece from the Heart of Japan 🍣✨🌊
1. Introduction: Discover the Art of Exquisite Mika Sushi
Welcome to the world of culinary delight with Mika’s Exquisite Sushi, where each roll tells a story of flavor, craftsmanship, and tradition. This sensational Mika sushi recipe encapsulates the essence of Japanese cuisine, blending fresh ingredients with meticulous preparation to create a truly exquisite culinary experience. We aim to help you master making Mika sushi. Whether you’re a sushi lover eager to delve deeper or a novice taking your first steps, this comprehensive guide will walk you through every step to create your very own Mika sushi masterpiece. Preparing this Mika sushi is as simple as following directions, so let’s begin!

2. Ingredients: Gathering the Essentials for Authentic Mika Sushi
To craft authentic Mika sushi, you’ll need a selection of high-quality ingredients. Freshness is key, so choose your fish and vegetables carefully. Here’s what you’ll need:
- 2 cups sushi rice – the foundation of any great Mika sushi
- 2 1/2 cups water – for perfectly cooked rice. For another recipe option that involves rice, check out this nutritious Hawaiian roll delights recipe!
- 1/2 cup rice vinegar – to season the rice
- 2 tablespoons sugar – balances the acidity of the vinegar
- 1 teaspoon salt – enhances the overall flavor
- Nori sheets (seaweed) – the wrapper that holds it all together
- Fresh fish (like salmon and tuna) – opt for sushi-grade for safety
- Vegetables (like cucumber, avocado, and carrots) – add color, texture, and nutrients
- Soy sauce (for serving) – the classic accompaniment
- Wasabi & pickled ginger (optional) – for an extra kick and palate cleanse
3. Step-by-Step Instructions: Mastering the Art of Preparing Mika Sushi
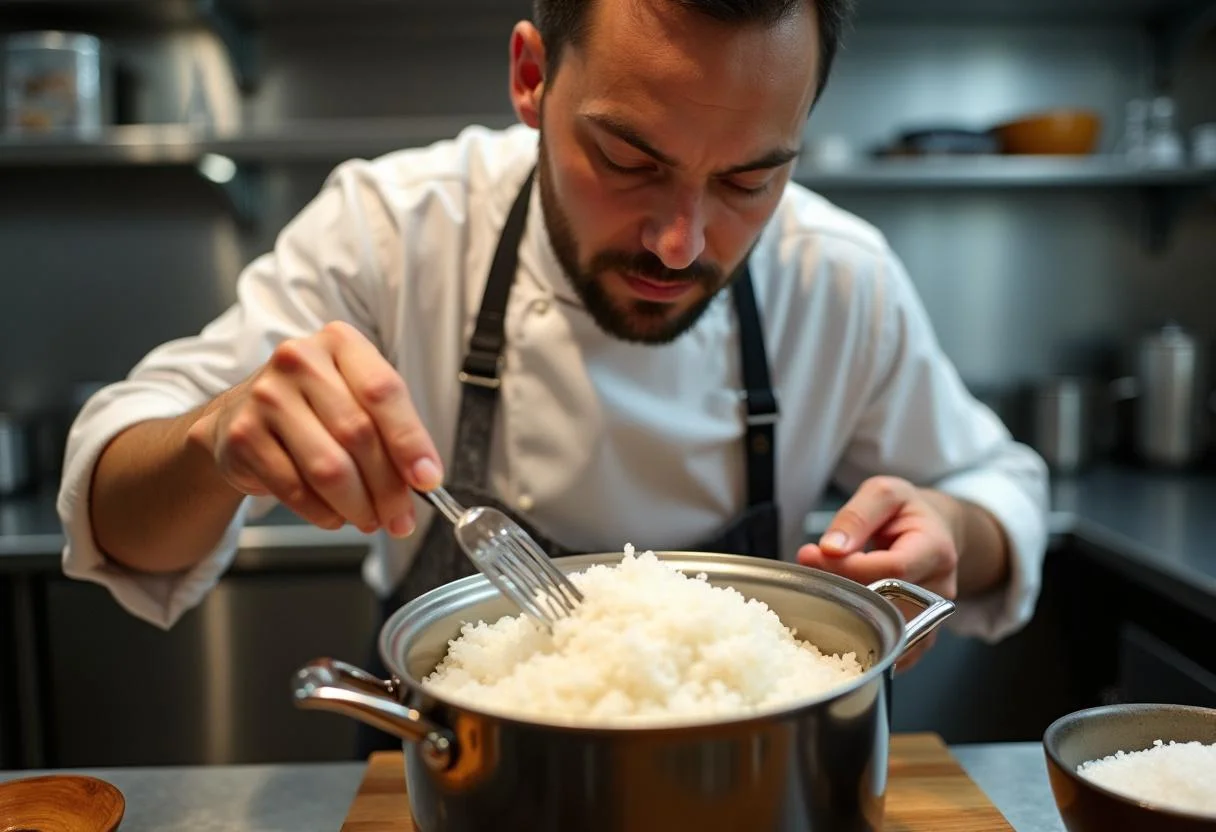
Step 1: Preparing the Sushi Rice – The Base for Perfect Mika Sushi
Begin by measuring 2 cups of sushi rice and rinse it under cold water until the water runs clear. This step is crucial for removing excess starch and achieving the perfect fluffy yet sticky texture essential for great Mika sushi. Once rinsed, combine the rice with 2 1/2 cups of water in a rice cooker and cook according to the manufacturer’s instructions. Looking for another awesome recipe? Explore this sweet potato cracker snack.
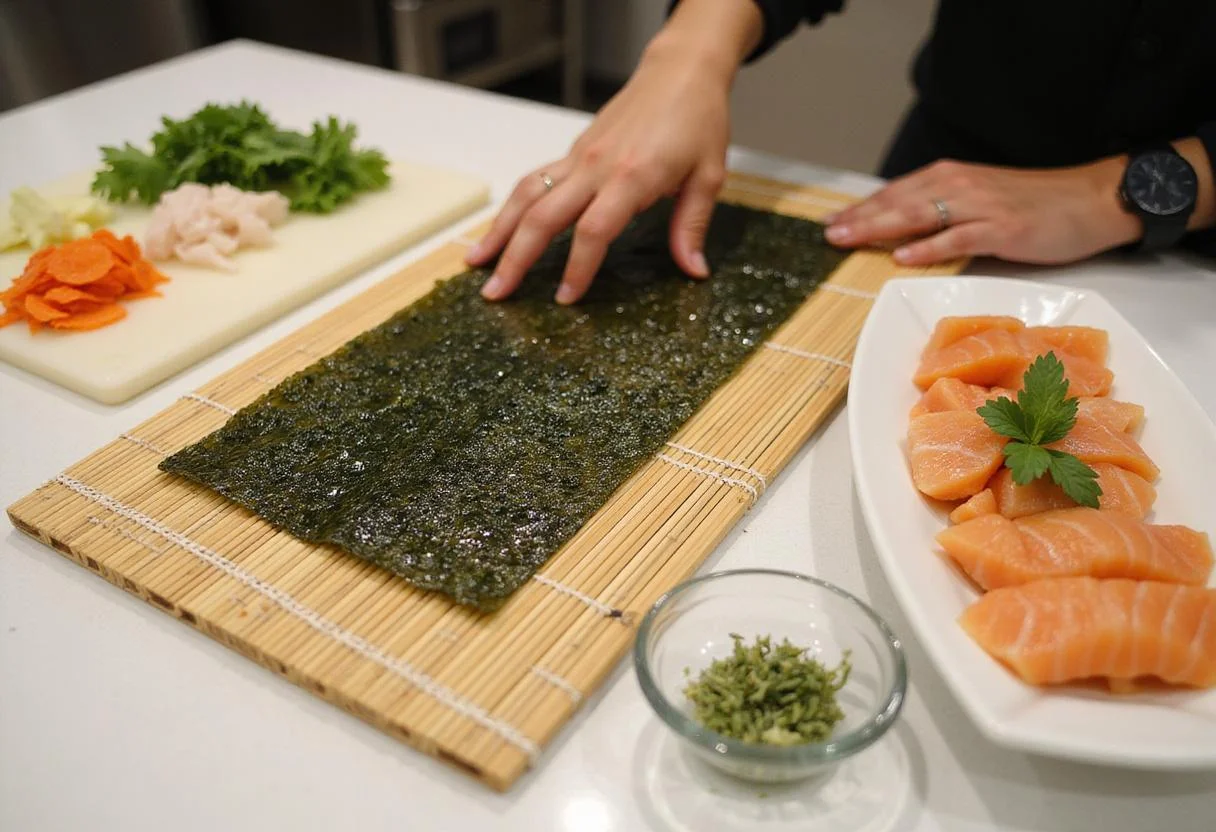
Step 2: Preparing the Ingredients – Slicing and Dicing for Exquisite Mika Sushi
While the rice is cooking, prepare the other ingredients. This involves carefully slicing your fresh fish and vegetables into thin strips, ensuring each piece is uniform for the best presentation and taste in your Mika sushi. For a balanced flavor and presentation, use an assortment of colors and textures. Thinking of broadening your cuisine choices? Have a look at this lunch recipes! Lay out your nori sheets and have them ready for rolling, ensuring your workspace is organized for a smooth Mika sushi rolling process.
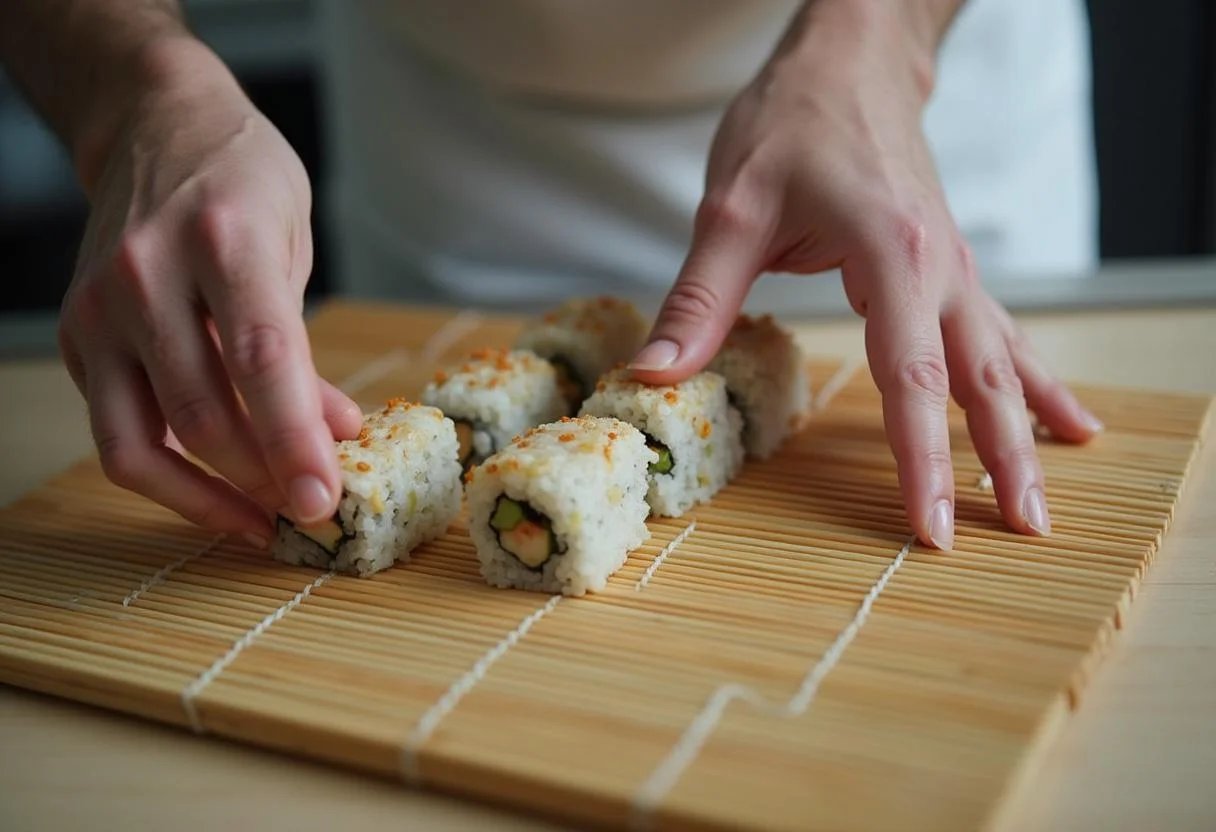
Step 3: Rolling the Sushi – Crafting the Perfect Mika Sushi Roll
Once your rice is cooked and has cooled slightly, it’s time to roll! This is where the magic happens in creating Mika sushi. Place a nori sheet on a bamboo mat, and spread a thin layer of rice over it, leaving the top edge free. Add your fish and vegetable fillings in a line across the rice. Using the bamboo mat, carefully roll the sushi away from you, applying gentle pressure to maintain a tight, even roll. This technique ensures that each slice of Mika sushi holds its shape and delivers a consistent taste. Explore these recipes for further inspiration!
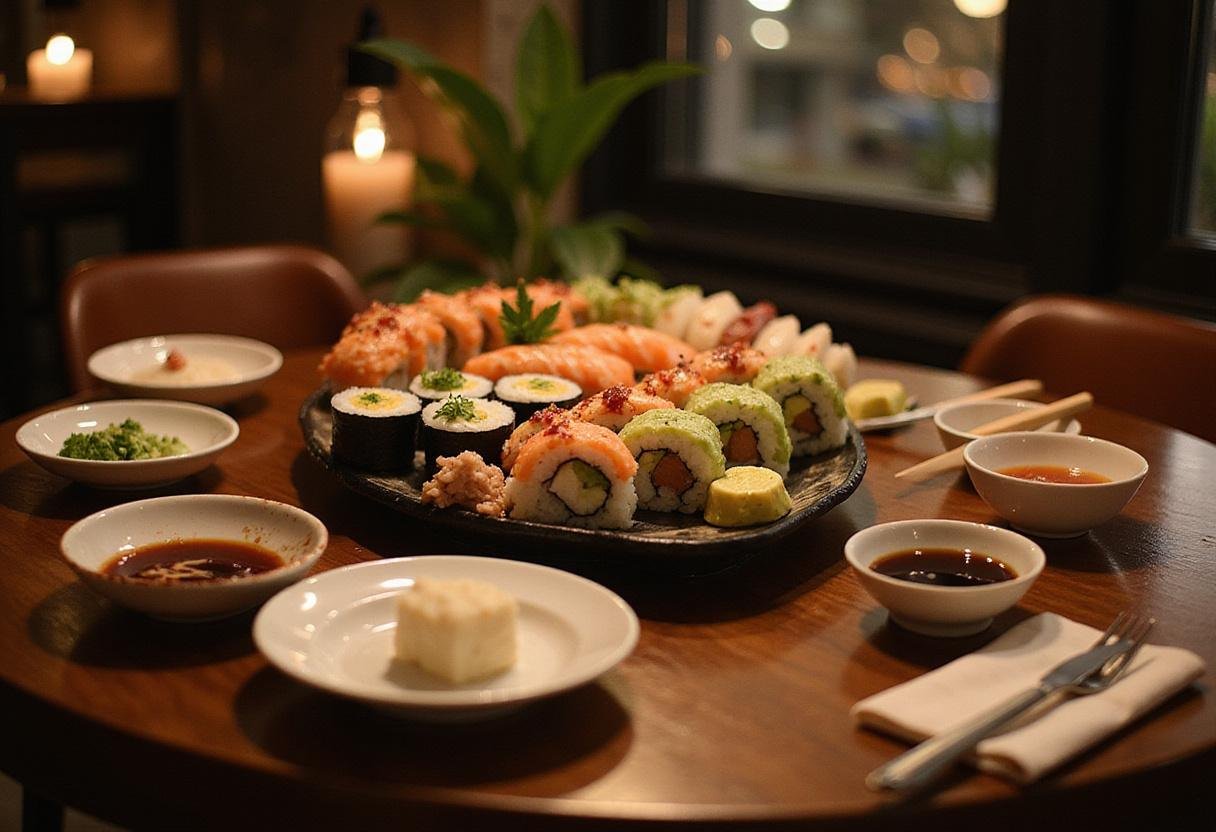
Step 4: Presenting Your Sushi – Showcasing Your Exquisite Mika Sushi Creation
After rolling, use a sharp knife (moistened to prevent sticking) to slice the sushi into bite-sized pieces, about ¾ inch thick. Arrange the sushi beautifully on a platter. Consider garnishing with wasabi, pickled ginger, and maybe a sprinkle of sesame seeds for an elegant touch. A visually appealing presentation enhances the dining experience, making your Mika sushi even more enjoyable. Your Mika sushi is now ready to delight the senses!
4. Storage Tips: Preserving the Freshness of Your Mika Sushi
For any leftover sushi, it’s best to consume it fresh to enjoy the optimal flavor and texture. However, if you need to store it, keep the sushi wrapped tightly in plastic wrap and refrigerate immediately to maintain its quality. Consume within 24 hours for the best flavor and texture. Do not freeze sushi, as it can significantly compromise the integrity of the dish, affecting both taste and texture. For another awesome meal, consider this mountain mikes supreme pizza.
5. Serving Suggestions: Enhancing the Experience of Your Mika Sushi
Serve your Mika sushi with soy sauce for dipping, allowing guests to customize the saltiness to their preference. Pair it with a refreshing cucumber salad or miso soup for a complete and balanced Japanese meal. Consider offering extra toppings like spicy mayo or eel sauce to elevate the flavors further, catering to different taste preferences and adding a personal touch. Craving something else? Explore these dinner recipes!
6. Frequently Asked Questions (FAQs) About Mika Sushi
What is Mika sushi?
Mika sushi refers to the exquisite sushi made using the techniques and recipes perfected and shared by Mika, emphasizing the use of fresh, high-quality ingredients and traditional rolling methods. It represents a commitment to authentic Japanese flavors and meticulous preparation.
How do I make sushi rice sticky for perfect Mika sushi?
To achieve sticky sushi rice, essential for perfect Mika sushi, make sure to use short-grain sushi rice. Rinse it thoroughly before cooking to remove excess starch. The addition of a mixture of rice vinegar, sugar, and salt after cooking is crucial for achieving the right stickiness and flavor profile. This combination not only enhances the taste but also helps the rice bind together effectively when rolling your Mika sushi.
Can I use other fillings for my Mika sushi?
Absolutely! The beauty of making Mika sushi is that it’s incredibly versatile. Feel free to experiment with various fillings such as cooked shrimp, crab, smoked salmon, or a wide array of vegetables for a vegetarian option. Popular choices include avocado, cucumber, bell peppers, and even pickled radish. The key is to balance the flavors and textures to create a harmonious and delicious roll.
Is sushi healthy, and how does Mika sushi contribute to a balanced diet?
Sushi can indeed be a healthy meal option, especially when prepared with fresh vegetables and lean sources of protein like fish. It’s rich in omega-3 fatty acids, vitamins, and minerals, contributing to cardiovascular health and overall well-being. Mika sushi, with its emphasis on fresh ingredients and balanced fillings, can be a nutritious and satisfying part of a balanced diet. If you love sushi, you might appreciate this bc st. ignace pizza!
How does the quality of ingredients affect the taste of Mika sushi?The quality of ingredients profoundly impacts the taste of Mika sushi. Using fresh, high-quality fish ensures a clean and vibrant flavor, while ripe, flavorful vegetables add a delightful crunch and sweetness. The quality of the sushi rice, nori, and even the soy sauce can significantly enhance the overall experience of enjoying Mika sushi. Sourcing the best ingredients possible elevates the dish from simple sushi to an exquisite culinary delight. More about Mika sushi can be found externally, on websites such as Mika Sushi.
For an even zestier food experience, check out this zesty tangy chili lime treat!
9. Conclusion: Embrace the Art of Making Exquisite Mika Sushi
Creating Mika’s Exquisite Sushi is not just about making a meal; it’s about embracing the art of sushi making and enjoying the process of transforming simple ingredients into a culinary masterpiece. With fresh components, precise techniques, and a little bit of practice, you can easily impress your friends and family with your newfound sushi skills. Dive into the world of vibrant flavors and delightful textures, and let each bite of your homemade Mika sushi transport you to the heart of Japan. Enjoy!
Print
Mika’s Exquisite Sushi
Mika’s Exquisite Sushi is a culinary masterpiece that brings the essence of Japanese cuisine to your home. Perfect for sushi lovers and beginners alike, this recipe will guide you through crafting delicious sushi rolls with fresh ingredients and traditional techniques.
- Total Time: 50 minutes
- Yield: 4 servings 1x
Ingredients
- 2 cups sushi rice
- 2 1/2 cups water
- 1/2 cup rice vinegar
- 2 tablespoons sugar
- 1 teaspoon salt
- Nori sheets (seaweed)
- Fresh fish (like salmon and tuna)
- Vegetables (like cucumber, avocado, and carrots)
- Soy sauce (for serving)
- Wasabi & pickled ginger (optional)
Instructions
- Prepare sushi rice by rinsing 2 cups under cold water until clear, then cook with 2 1/2 cups water according to the rice cooker instructions.
- Slice fresh fish and vegetables into thin strips while the rice cooks.
- Spread a thin layer of cooled rice on a nori sheet, add fish and vegetables, then roll tightly using a bamboo mat.
- Slice the rolled sushi into bite-sized pieces and arrange them on a platter.
Notes
- Wrap any leftover sushi tightly in plastic wrap and refrigerate; consume within 24 hours.
- Serve with soy sauce, and consider pairing with cucumber salad or miso soup.
- Sushi rice must be rinsed well and seasoned with vinegar, sugar, and salt for stickiness.
- Prep Time: 30 minutes
- Cook Time: 20 minutes
- Category: Main Course
- Method: Rolling
- Cuisine: Japanese
- Diet: Gluten-free options available
Nutrition
- Serving Size: 1 roll (8 pieces)
- Calories: 300 Kcal
- Sugar: 2g
- Sodium: 150mg
- Fat: 5g
- Saturated Fat: 1g
- Unsaturated Fat: 4g
- Trans Fat: 0g
- Carbohydrates: 52g
- Fiber: 2g
- Protein: 10g
- Cholesterol: 30mg