
Caramel Cone Ice Cream Swirl: A Sweet Summer Treat 🍦🍬✨
1. Introduction
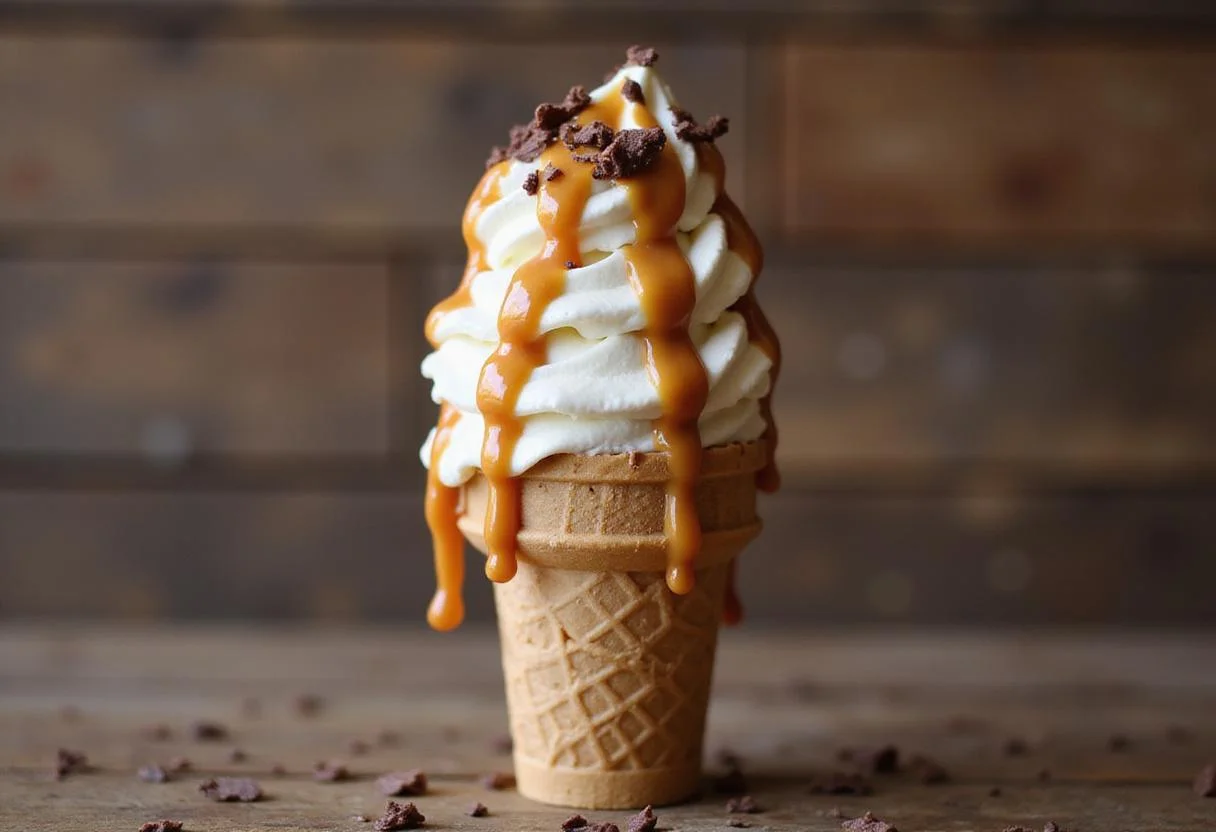
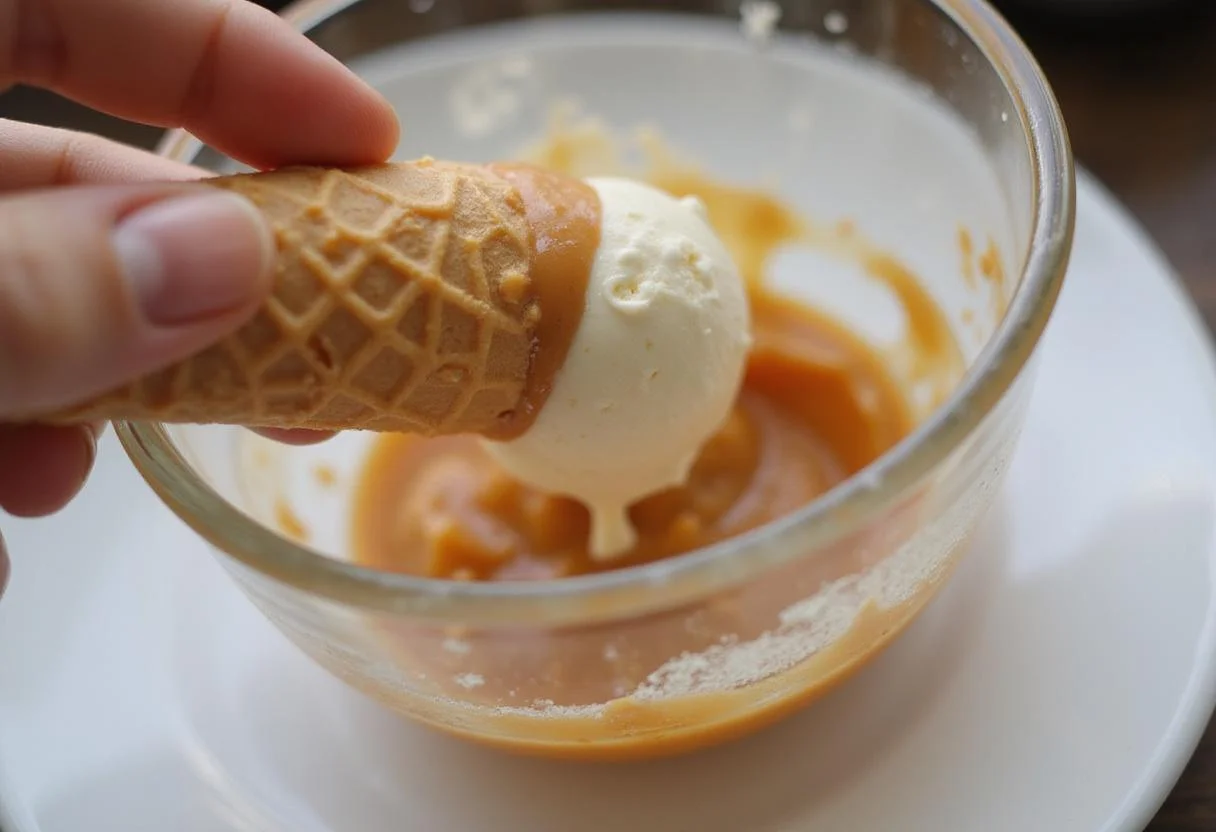
Indulging in a scoop of homemade caramel cone ice cream is one of life’s simplest pleasures, especially during those hot summer days! This caramel cone ice cream recipe artfully combines the rich sweetness of caramel with the delightful creaminess of ice cream, all nested in a crispy cone. A perfect blend of textures and flavors makes this frozen dessert an irresistible delicacy. Whether you’re hosting a summer gathering, cooling down after snacking on some sweet potato cracker snack, or simply treating yourself, this dessert is sure to impress. If you want to bake some goodies check this moist zucchini bread recipe, it’s very delicious! Let’s dive into how to create this heavenly treat!
2. Ingredient List
To create this delectable caramel cone ice cream, you’ll need the following ingredients. Ensuring you have fresh, high-quality components will elevate the final product to new heights of flavor. This recipe balances ease of preparation with exceptional taste.
- 1 cup sugar
- 1/4 cup water
- 2 cups heavy cream
- 1 cup sweetened condensed milk
- 1 teaspoon vanilla extract
- 1/2 cup caramel sauce
- Ice cream cones
3. Step-by-Step Instructions
Step 1: Prepare the Caramel Sauce
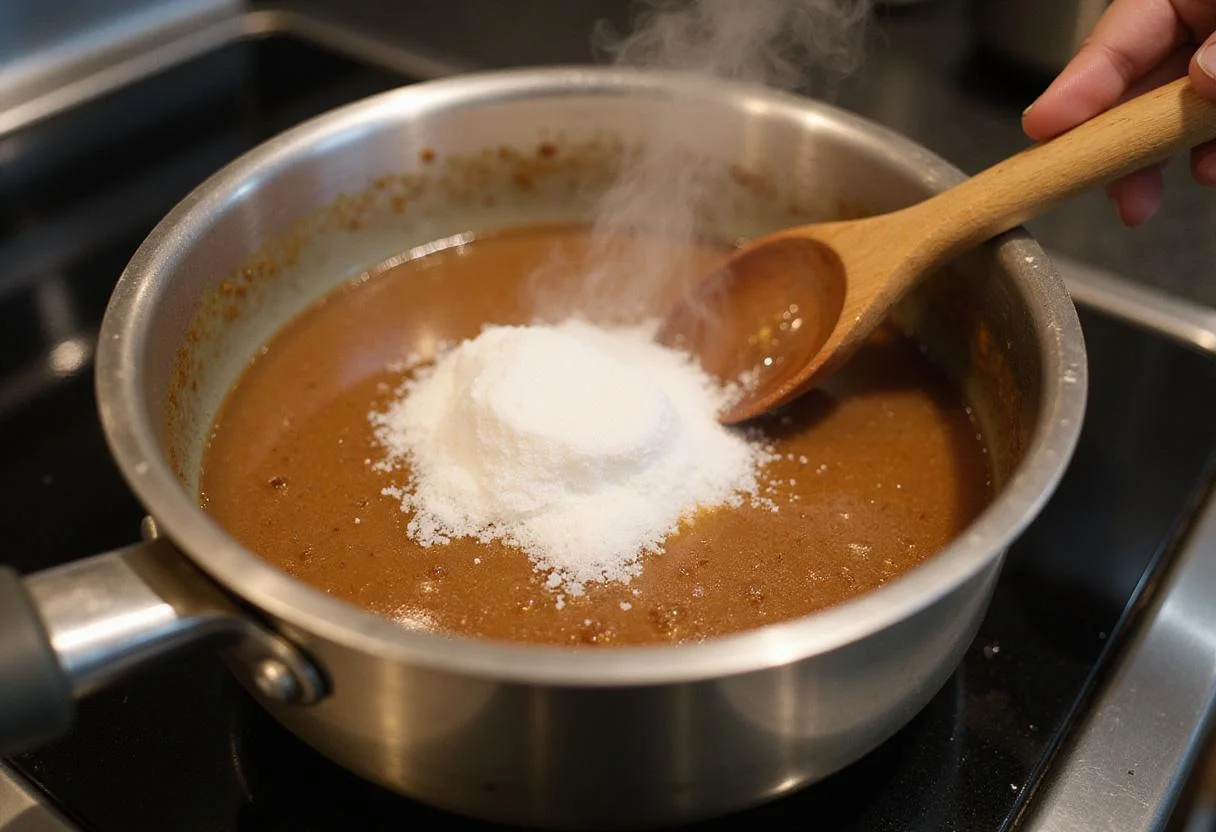
In a medium saucepan, combine 1 cup of sugar and 1/4 cup of water. Heat the mixture over medium heat while stirring until the sugar dissolves. Once dissolved, stop stirring and allow it to boil until it reaches a golden caramel color. Remove it from heat and let it cool. This process is crucial for achieving the perfect caramel consistency that makes our caramel cone ice cream outstanding! This homemade caramel will be swirled into the ice cream, creating the perfect caramel cone ice cream experience! If you like sweets, you should definitely bake these sweet glazed apple fritters.
Step 2: Whip the Heavy Cream
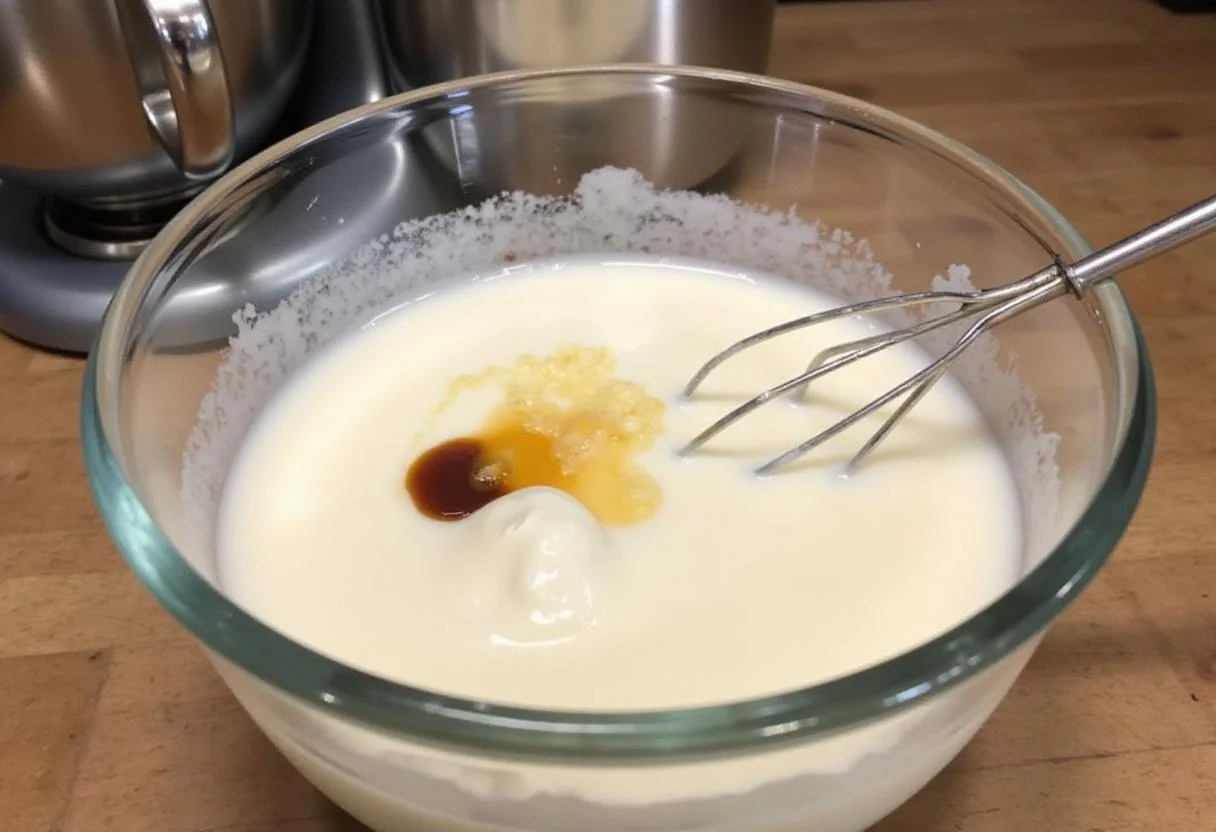
In a large mixing bowl, whip 2 cups of heavy cream using an electric mixer until soft peaks form. Ensure the cream is cold for optimal results. It is important to not overwhip the cream, or it will be unusable. This will be the fluffy base of your caramel cone ice cream. The whipped cream adds a lightness that perfectly complements the rich caramel flavor, turning a simple dessert into the best snack.
Step 3: Combine Ingredients
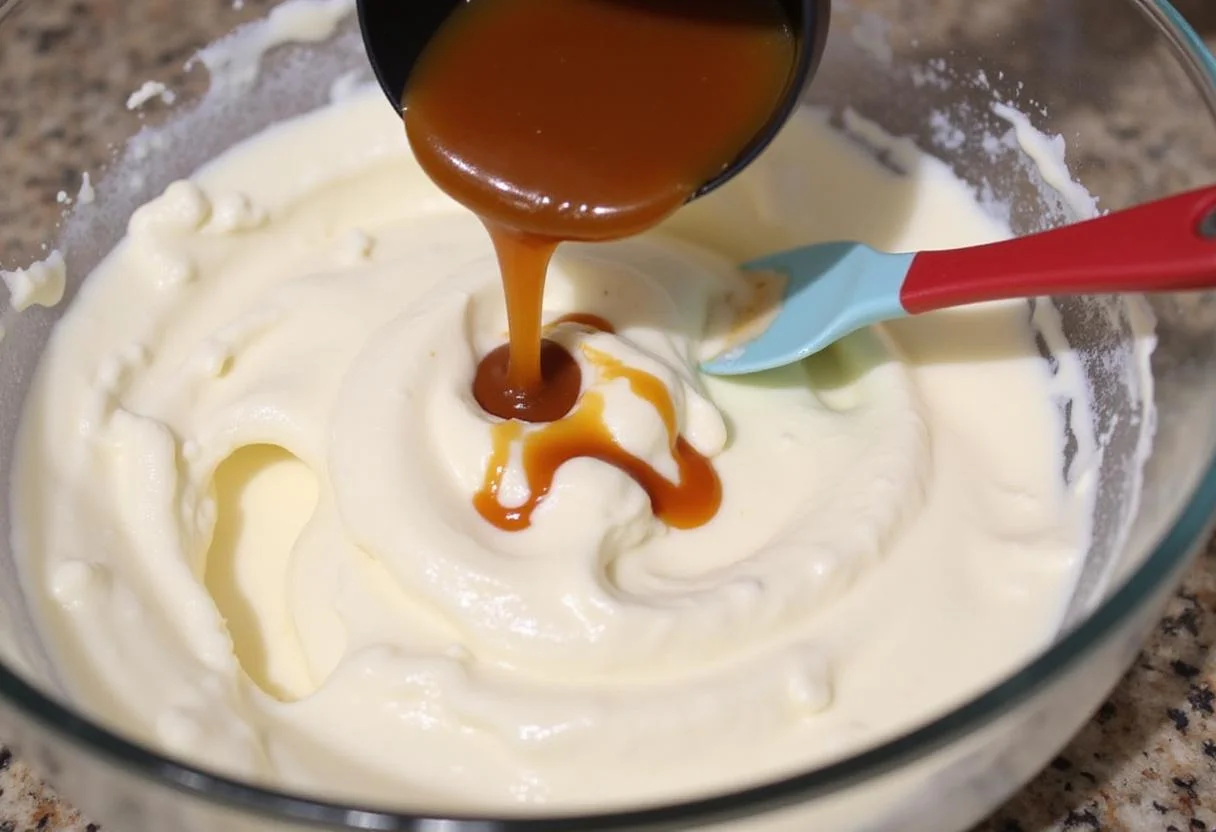
Gently fold in the sweetened condensed milk and 1 teaspoon of vanilla extract into the whipped cream. Then, add in half of the cooled caramel sauce, swirling it throughout the mixture. Swirling is key to creating those beautiful caramel ribbons. Be careful not to overmix; you want those beautiful caramel ribbons to remain visible in your caramel cone ice cream. Achieve the best flavor by using pure vanilla extract.
Step 4: Freeze and Serve
Transfer the mixture to an airtight container and freeze for at least 4 hours or until firm. This step is essential to allow the caramel cone ice cream to set properly. For a quicker freeze, use a metal container. Once ready, fill your ice cream cones generously with the caramel cone ice cream. Drizzle extra caramel sauce on top for added indulgence! If you want to take a break from sweet and bake, try this bc st ignace pizza.
4. Storage Tips
Proper storage ensures your homemade caramel cone ice cream remains as delicious as the first day. The caramel cone ice cream can be stored in an airtight container in the freezer for up to 2 weeks. Although it’s best enjoyed fresh, you’ll still have a delicious treat waiting for you in the freezer! Make sure to flatten the top before placing the lid to prevent freezer burn.
5. Serving Suggestions
Serve this delightful caramel cone ice cream at parties, barbecues, or special occasions. It’s not just a dessert; it’s an experience! This homemade caramel cone ice cream also pairs well with a simple breakfast. Pair with fresh fruit or crumbled cookies for a contrasting texture. This dessert is always a hit among kids and adults alike! For an enhanced experience, warm the caramel sauce slightly before drizzling.
6. FAQs
Q1: Can I use store-bought caramel sauce?
A: Absolutely! Store-bought caramel sauce can save you time and is just as delicious. Just make sure to choose a high-quality brand. If you are short on time, this is a great shortcut.
Q2: Is there a dairy-free version of this recipe?
A: Yes! You can substitute heavy cream with coconut cream and sweetened condensed milk with a dairy-free alternative to make it dairy-free. This ensures everyone can enjoy the wonderful caramel cone ice cream experience!
Q3: How do I make the caramel sauce less sweet?
A: Reduce the amount of sugar used in the caramel sauce or consider adding a pinch of salt to balance the sweetness. You can also add a tablespoon of lemon juice to cut through the sweetness.
7. Conclusion
Homemade caramel cone ice cream not only satisfies your sweet tooth but also brings a sense of joy and nostalgia. This recipe will give you the best ice cream. With a few simple steps, you’ve mastered a delightful treat that’s perfect for any occasion. So gather your loved ones, scoop into these heavenly cones, and enjoy the summer delights of your homemade ice cream creation! If you’re looking for a quick snack, check out these perfect ice cream cups!
8. Share Your Creation
Did you try this caramel cone ice cream recipe? Share your pictures and experience with us! We love hearing from fellow food enthusiasts! Also, if you’re looking for something zesty and tangy, you might enjoy this chili lime treat!
Print
Caramel Cone Ice Cream Swirl
Caramel Cone Ice Cream Swirl is a delightful homemade dessert that combines the rich sweetness of caramel with creamy ice cream, nestled in a crispy cone. Perfect for summer gatherings or a simple treat at home.
- Total Time: 4 hours 30 minutes
- Yield: Approximately 6 servings 1x
Ingredients
- 1 cup sugar
- 1/4 cup water
- 2 cups heavy cream
- 1 cup sweetened condensed milk
- 1 teaspoon vanilla extract
- 1/2 cup caramel sauce
- Ice cream cones
Instructions
- In a medium saucepan, combine sugar and water, stirring until dissolved. Boil until golden caramel color, then cool.
- In a large mixing bowl, whip heavy cream until soft peaks form.
- Gently fold sweetened condensed milk and vanilla extract into the whipped cream, then swirl in half of the cooled caramel sauce.
- Transfer to an airtight container and freeze for at least 4 hours. Fill ice cream cones and drizzle extra caramel on top before serving.
Notes
- Store in an airtight container in the freezer for up to 2 weeks.
- Best enjoyed fresh but retains delicious flavor after freezing.
- Pair with fresh fruit or cookies for added texture.
- Prep Time: 15 minutes
- Cook Time: 15 minutes
- Category: Dessert
- Method: No-bake
- Cuisine: American
- Diet: Vegetarian
Nutrition
- Serving Size: 1 cone
- Calories: 250 Kcal
- Sugar: 20g
- Sodium: 50mg
- Fat: 15g
- Saturated Fat: 10g
- Unsaturated Fat: 3g
- Trans Fat: 0g
- Carbohydrates: 30g
- Fiber: 0g
- Protein: 3g
- Cholesterol: 30mg