
Sticky Japonica Rice Grains: A Delightfully Chewy Experience 🍚✨
1. Introduction: Mastering the Art of Sticky Japonica Rice
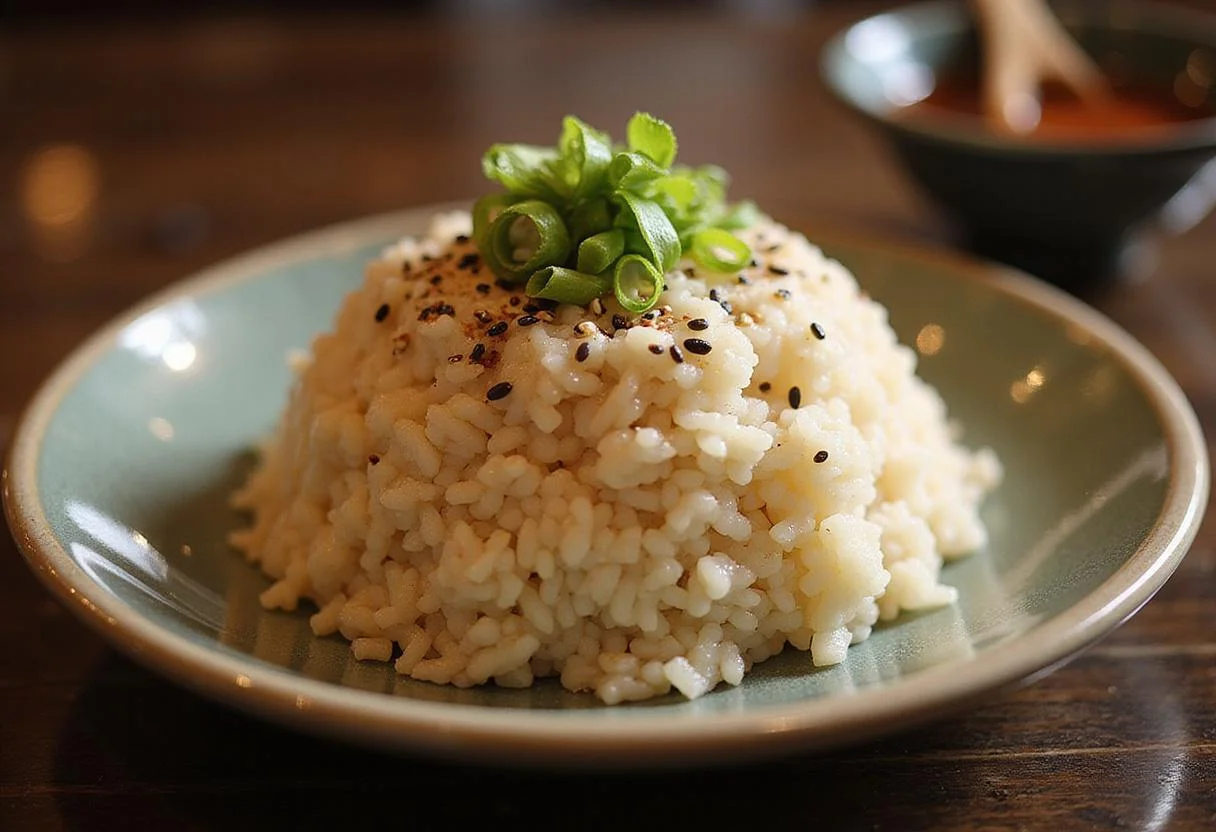
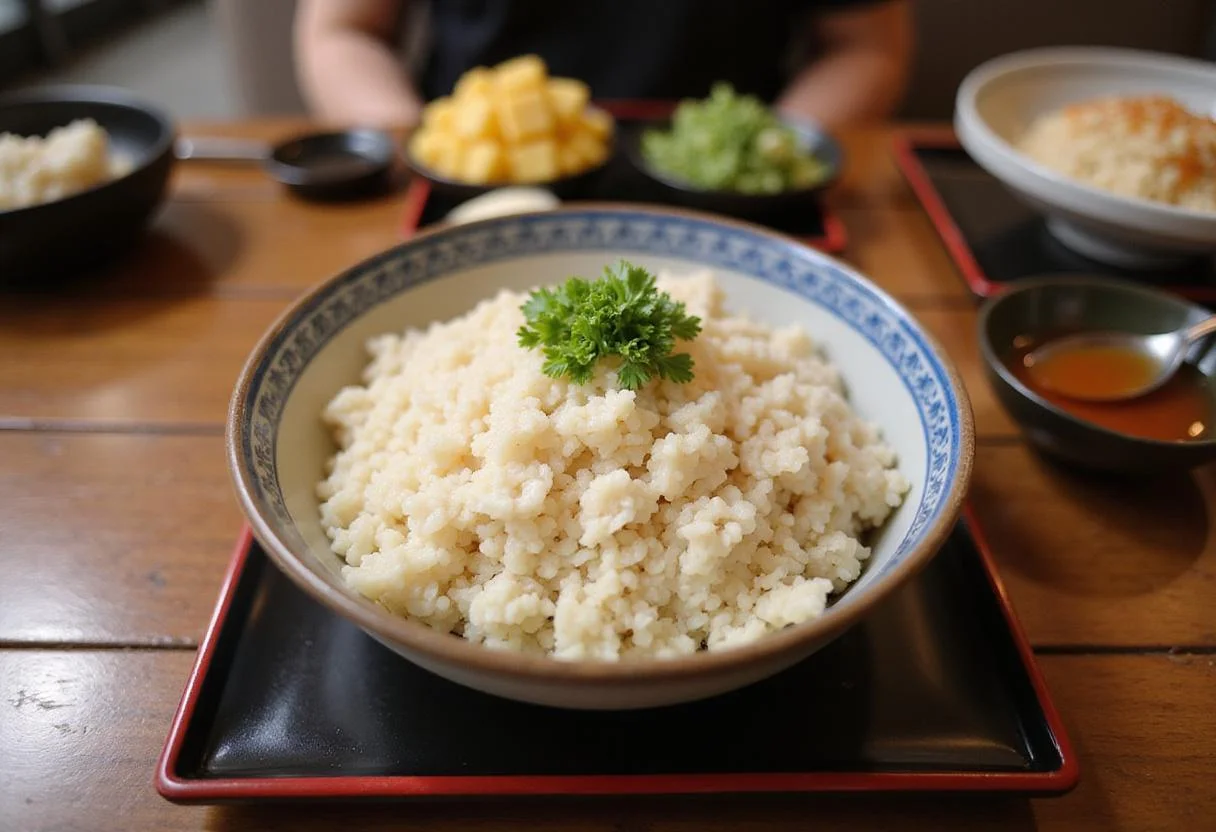
Welcome to the world of japonica rice, where every grain promises a delightful chewy texture and a flavor that pairs beautifully with countless dishes. This comprehensive recipe will guide you through making perfectly sticky japonica rice grains, a foundational element of Japanese cuisine that’s perfect for everything from sushi to comforting side dishes. The process is surprisingly simple, and the results are extraordinarily satisfying. If you’re looking beyond rice, why not explore some equally satisfying options? Our moist delicious zucchini bread offers a different kind of comfort. Let’s dive into the rich, fulfilling experience of creating perfectly sticky japonica rice!
2. Ingredients for Perfect Japonica Rice
To create the perfect sticky japonica rice, you’ll need just a few simple ingredients. The quality of your japonica rice matters, so choose a reputable brand for the best results.
- 1 cup japonica rice
- 1 ¼ cups water
- Pinch of salt (optional)
3. Cooking Instructions: Step-by-Step Guide to Sticky Japonica Rice
Step 1: Rinsing the Japonica Rice
Start by measuring 1 cup of japonica rice. It’s crucial to rinse the rice thoroughly under cold water to remove excess starch. This step ensures the rice cooks evenly and achieves that signature sticky texture we’re after. Rinsing also helps in achieving a more defined grain structure. For another delightful snack, consider trying our sweet potato cracker snack while the rice cooks.
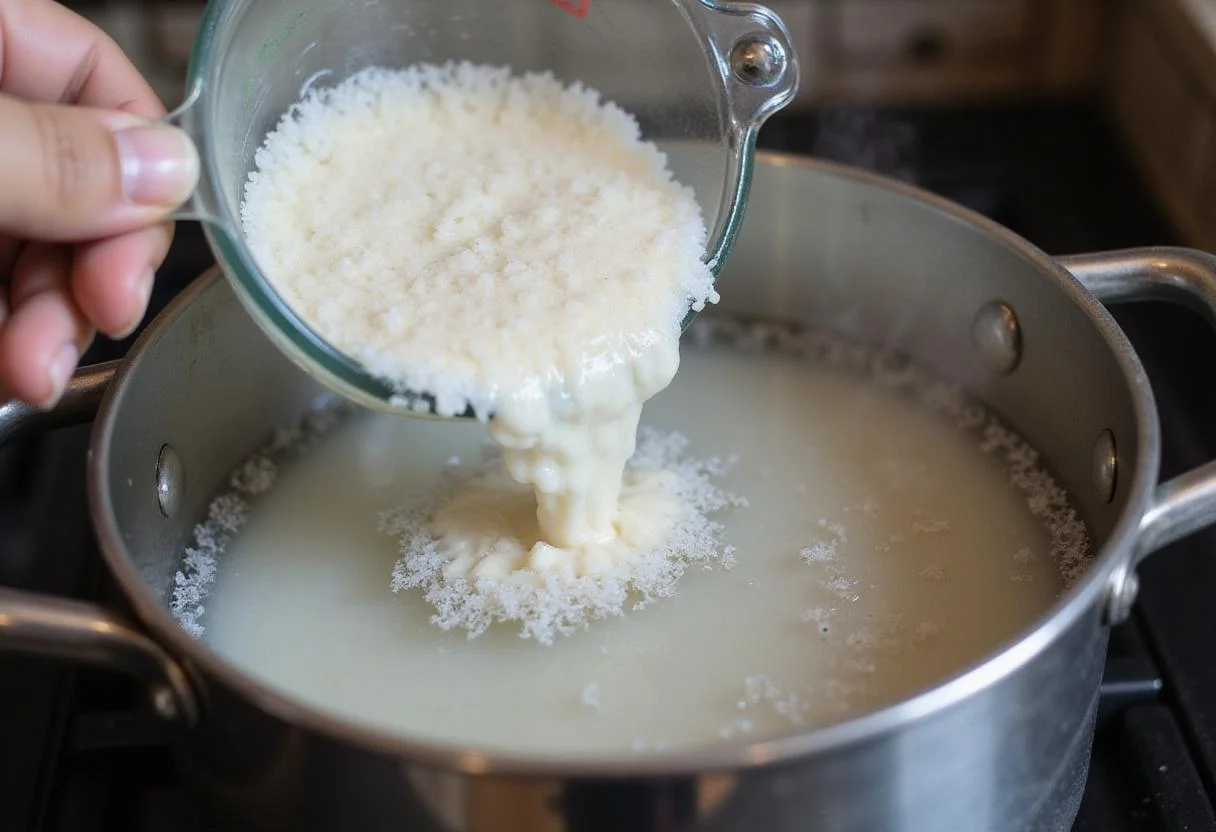
Step 2: Cooking the Japonica Rice to Perfection
In a medium saucepan, combine the rinsed japonica rice with 1 ¼ cups of water. If you wish, add a pinch of salt for flavor enhancement. Bring the mixture to a boil over medium heat. Once boiling, immediately reduce the heat to low, cover the saucepan tightly, and let it simmer undisturbed for about 20 minutes. This precise simmering time allows the japonica rice to absorb the water fully, cooking until it becomes perfectly tender, shiny, and sticky. Patience is key here! You can also find some delicious dinner recipes here.
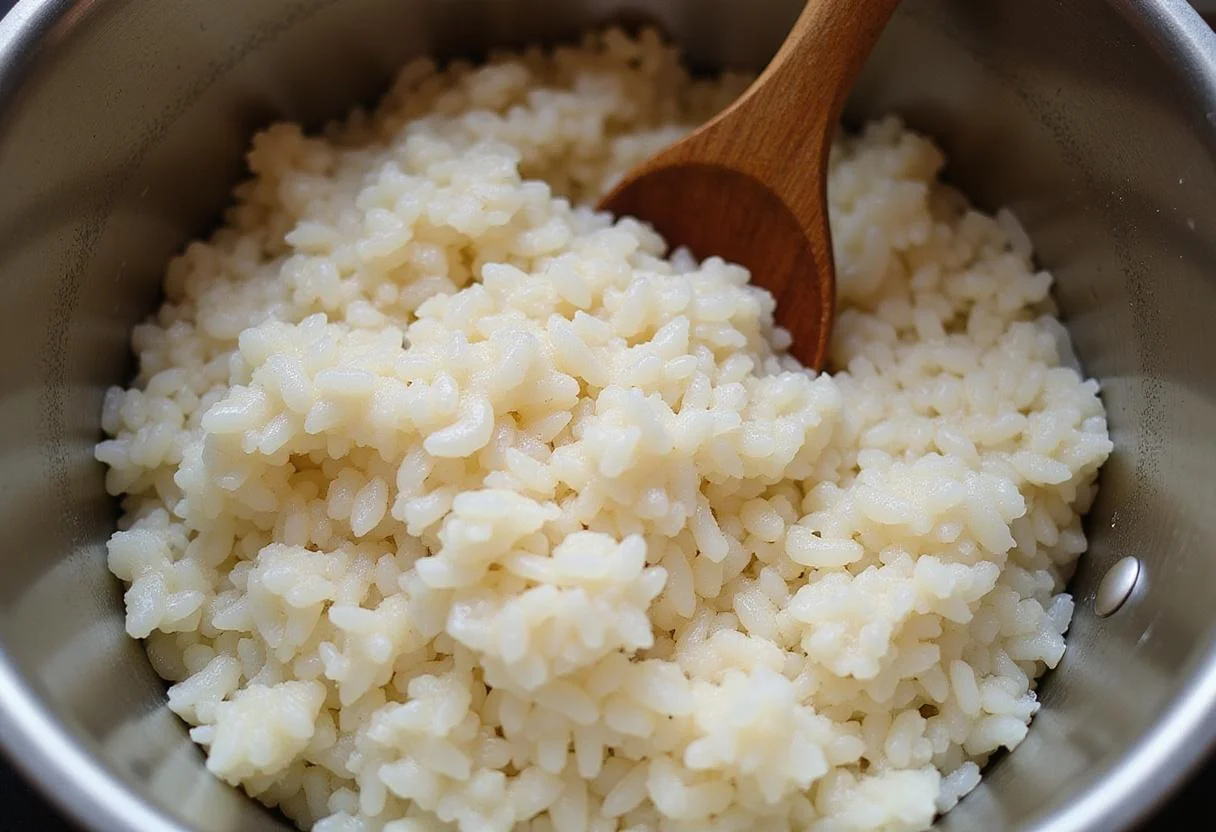
Step 3: Fluffing the Japonica Rice for Optimal Texture
Once the rice is cooked, remove it from the heat and let it sit, still covered, for a crucial 10-minute resting period. This allows the residual steam to evenly distribute, completing the cooking process and setting the sticky texture of the japonica rice. Afterward, use a rice paddle or a fork to gently fluff the rice. This step enhances the texture, ensuring the japonica rice grains are well-separated, fluffy, and perfectly sticky, not mushy. If you enjoy cooking, you might find some interesting discussions on this topic on sites like Reddit.
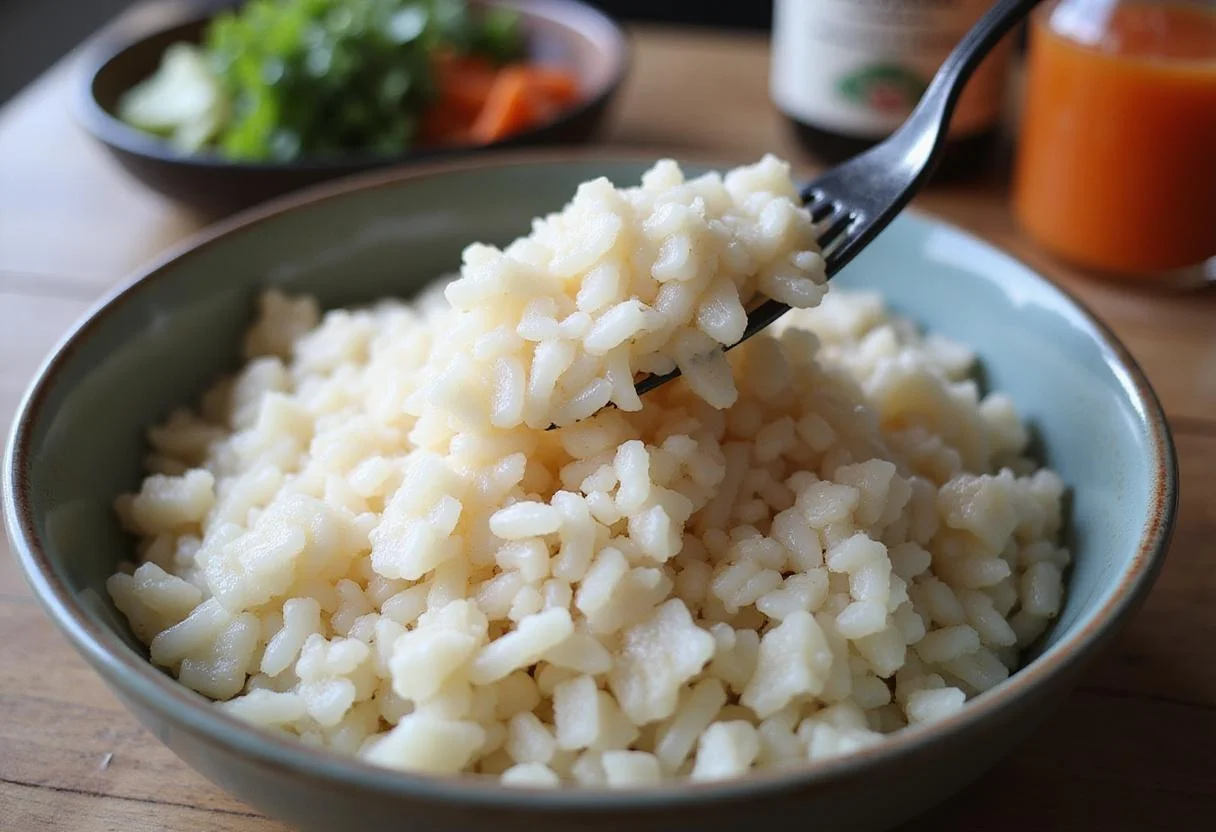
Step 4: Serving Suggestions for Your Sticky Japonica Rice
Your sticky japonica rice is now ready to serve and enjoy! It pairs wonderfully with a vast array of Japanese and Asian-inspired dishes, such as teriyaki chicken, meticulously crafted sushi rolls, or a vibrant veggie stir-fry. The delightfully cohesive texture of japonica rice makes it the perfect complement to both savory and sweet flavors. Looking to expand your palate further? Then consider our zesty tangy chili lime treat.
4. Storage Tips for Keeping Japonica Rice Fresh
To maintain the quality of your sticky japonica rice, proper storage is essential. Store any leftover rice in an airtight container in the refrigerator for up to 3 days. To reheat, add a splash of water to keep it moist and microwave in short intervals until warmed through. It’s best to avoid storing the rice for an extended period, as it can gradually lose its delightful texture and flavorful nuances. Always ensure it’s adequately cooled before refrigerating to prevent bacterial growth.
5. FAQs: Your Questions About Japonica Rice Answered
What exactly is japonica rice, and what makes it special?
Japonica rice is a short-grain rice variety renowned for its distinctive sticky texture when cooked. It’s a cornerstone of Japanese cuisine, widely used in sushi, rice bowls, and a plethora of other Asian dishes. Its unique starch content contributes to its characteristic stickiness.
Can I confidently use japonica rice for making sushi?
Absolutely! Sticky japonica rice is ideally suited for sushi preparation as its unique texture allows it to bind together seamlessly when rolled into those perfect sushi masterpieces. For an authentic sushi experience, be sure to season it meticulously with rice vinegar to achieve that iconic sushi flavor.
What’s the best way to accurately measure rice for cooking consistently?
A standard measuring cup is your best tool for ensuring accurate rice measurements. For optimal results, remember to thoroughly rinse the japonica rice under cold water before cooking. This removes any excess starch, leading to a better final texture.
What other side dishes pair well with Japonica Rice?
Japonica rice pairs well with a wide variety of dishes. If you’re looking for something different, you might enjoy our nutritious Hawaiian roll delights as a sweet complement, or even experiment with something savory like giant dinosaur beef ribs feast for a complete meal experience. Find more ideas with the recipe tag!
6. Conclusion: Embrace the Delight of Japonica Rice
Mastering the art of making sticky japonica rice is a highly rewarding experience that consistently yields delicious results. With its distinctive flavor profile and satisfying texture, this versatile japonica rice recipe is an absolute must-try for both seasoned cooks and beginners venturing into the world of culinary arts. So, savor your culinary adventure, incorporate this fragrant rice into your everyday meals, and elevate your dining experience with each and every serving. Happy cooking and enjoy the delightful chewy texture of perfectly cooked japonica rice!
Print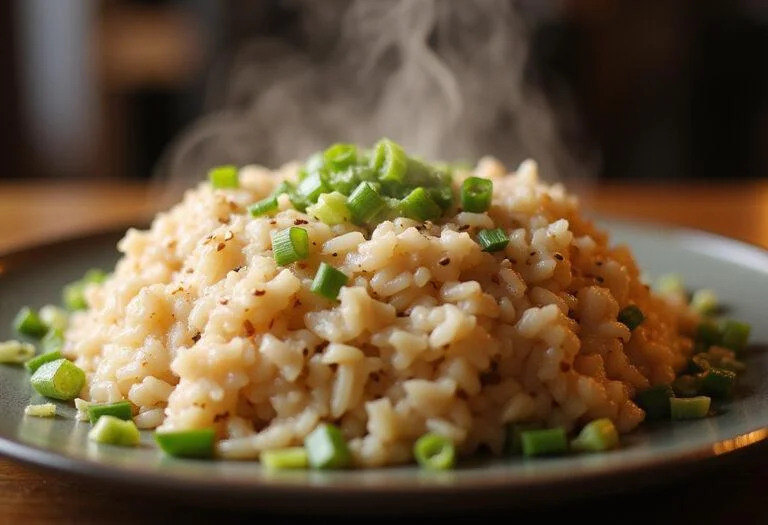
Sticky Japonica Rice Grains
Discover the delightful chewy texture of Sticky Japonica Rice Grains, a staple in Japanese cuisine perfect for sushi and side dishes. This easy recipe ensures your rice is perfectly sticky and flavorful!
- Total Time: 35 minutes
- Yield: 2 servings 1x
Ingredients
- 1 cup japonica rice
- 1 ¼ cups water
- Pinch of salt (optional)
Instructions
- Rinse the japonica rice under cold water to remove excess starch.
- In a saucepan, combine rinsed rice, water, and optional salt. Bring to a boil, then lower heat and cover, simmering for 20 minutes.
- Remove from heat and let sit covered for 10 minutes. Then fluff with a rice paddle or fork.
- Serve alongside favorite dishes like teriyaki chicken or sushi.
Notes
- Store leftover rice in an airtight container in the fridge for up to 3 days.
- Reheat with a splash of water to maintain texture.
- Ensure to rinse the rice for optimal texture and flavor.
- Prep Time: 5 minutes
- Cook Time: 20 minutes
- Category: Side Dish
- Method: Stovetop
- Cuisine: Japanese
- Diet: Gluten-Free
Nutrition
- Serving Size: 1 cup cooked
- Calories: 280 Kcal
- Sugar: 0g
- Sodium: 5mg
- Fat: 1g
- Saturated Fat: 0g
- Unsaturated Fat: 0.5g
- Trans Fat: 0g
- Carbohydrates: 62g
- Fiber: 1g
- Protein: 5g
- Cholesterol: 0mg